

Technologies of marking and unmarking the fractal-inspired spatial structure on the dance floor.
In the beginning of April 2019, I started doing the different squares in space, always being curious about which is the smallest square I can do, by using my steps as measure unit. The whole thing became quite complicated very soon, as the answer to my pursuits was frequently fluctuating according to how much accuracy my movement, rhythm and speed allowed me in space, especially when I reached the smallest squares. My first response to this problem was a technology of two-colored strings and paper tape for constructing my spatial structure on the floor and marking the desired intersection points of the squares.
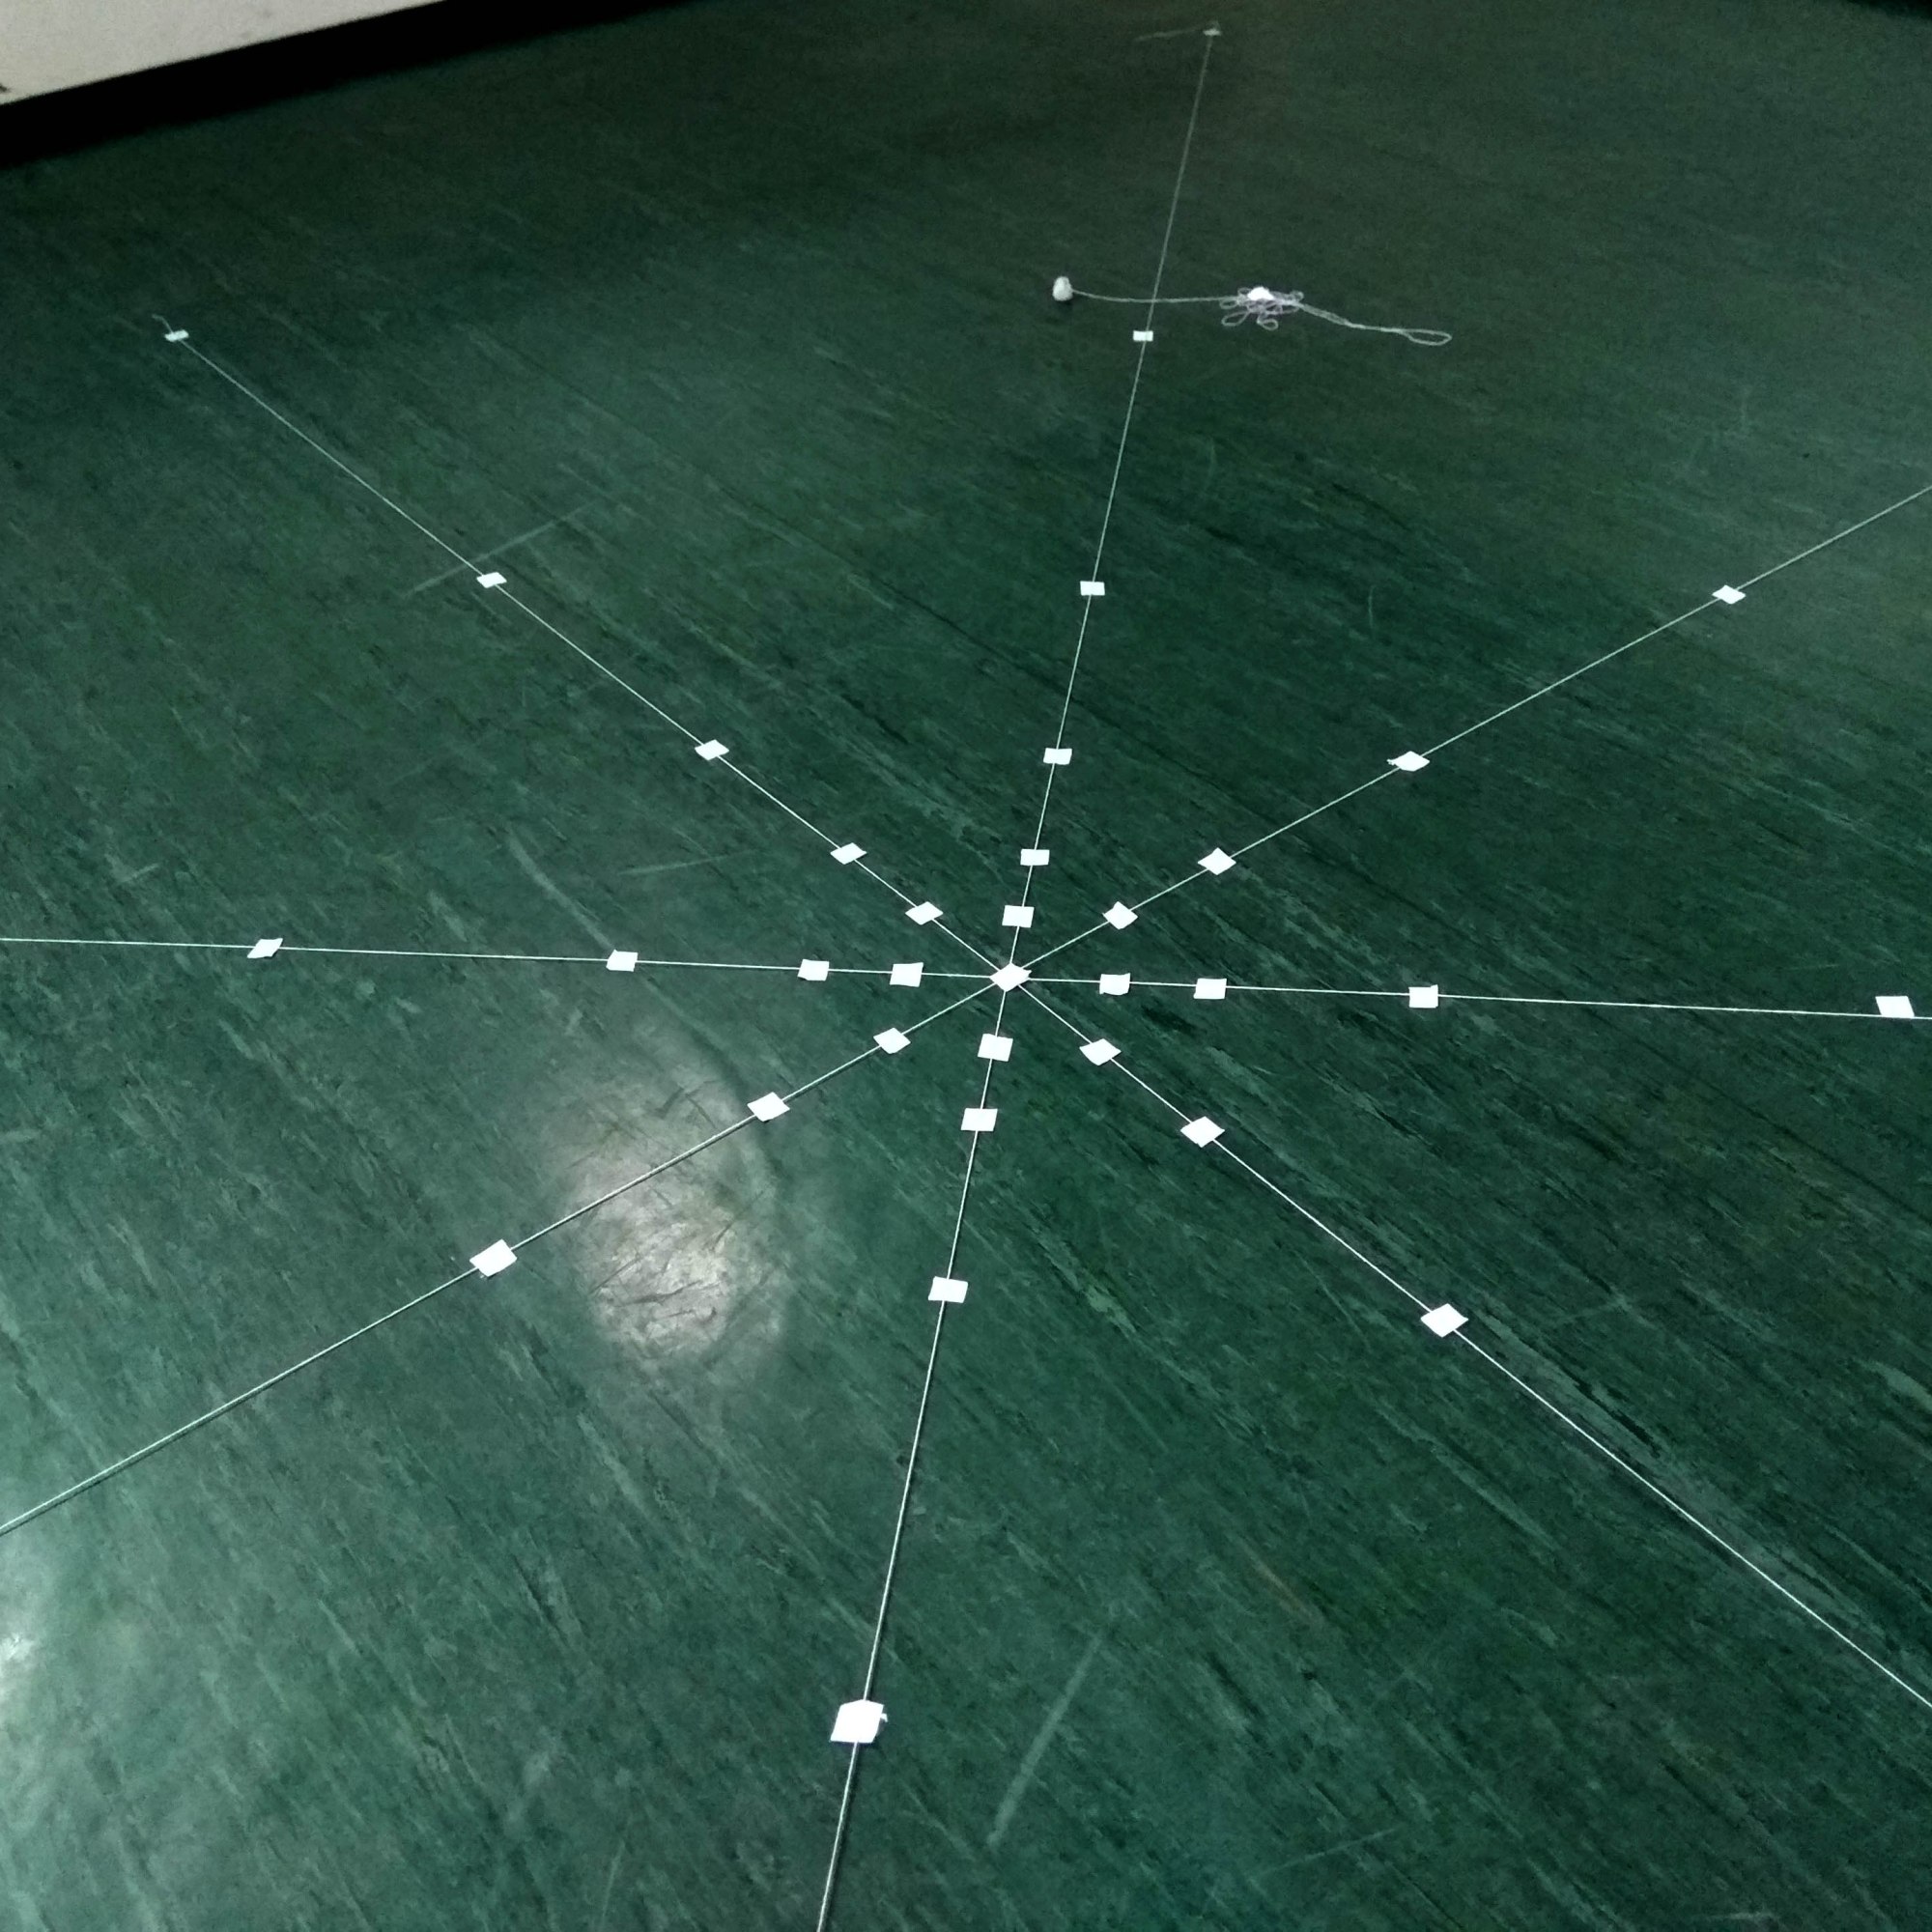
MAY 2019: technology #1
MATERIALS: Two-colored strings, paper tape, carton paper and a marker

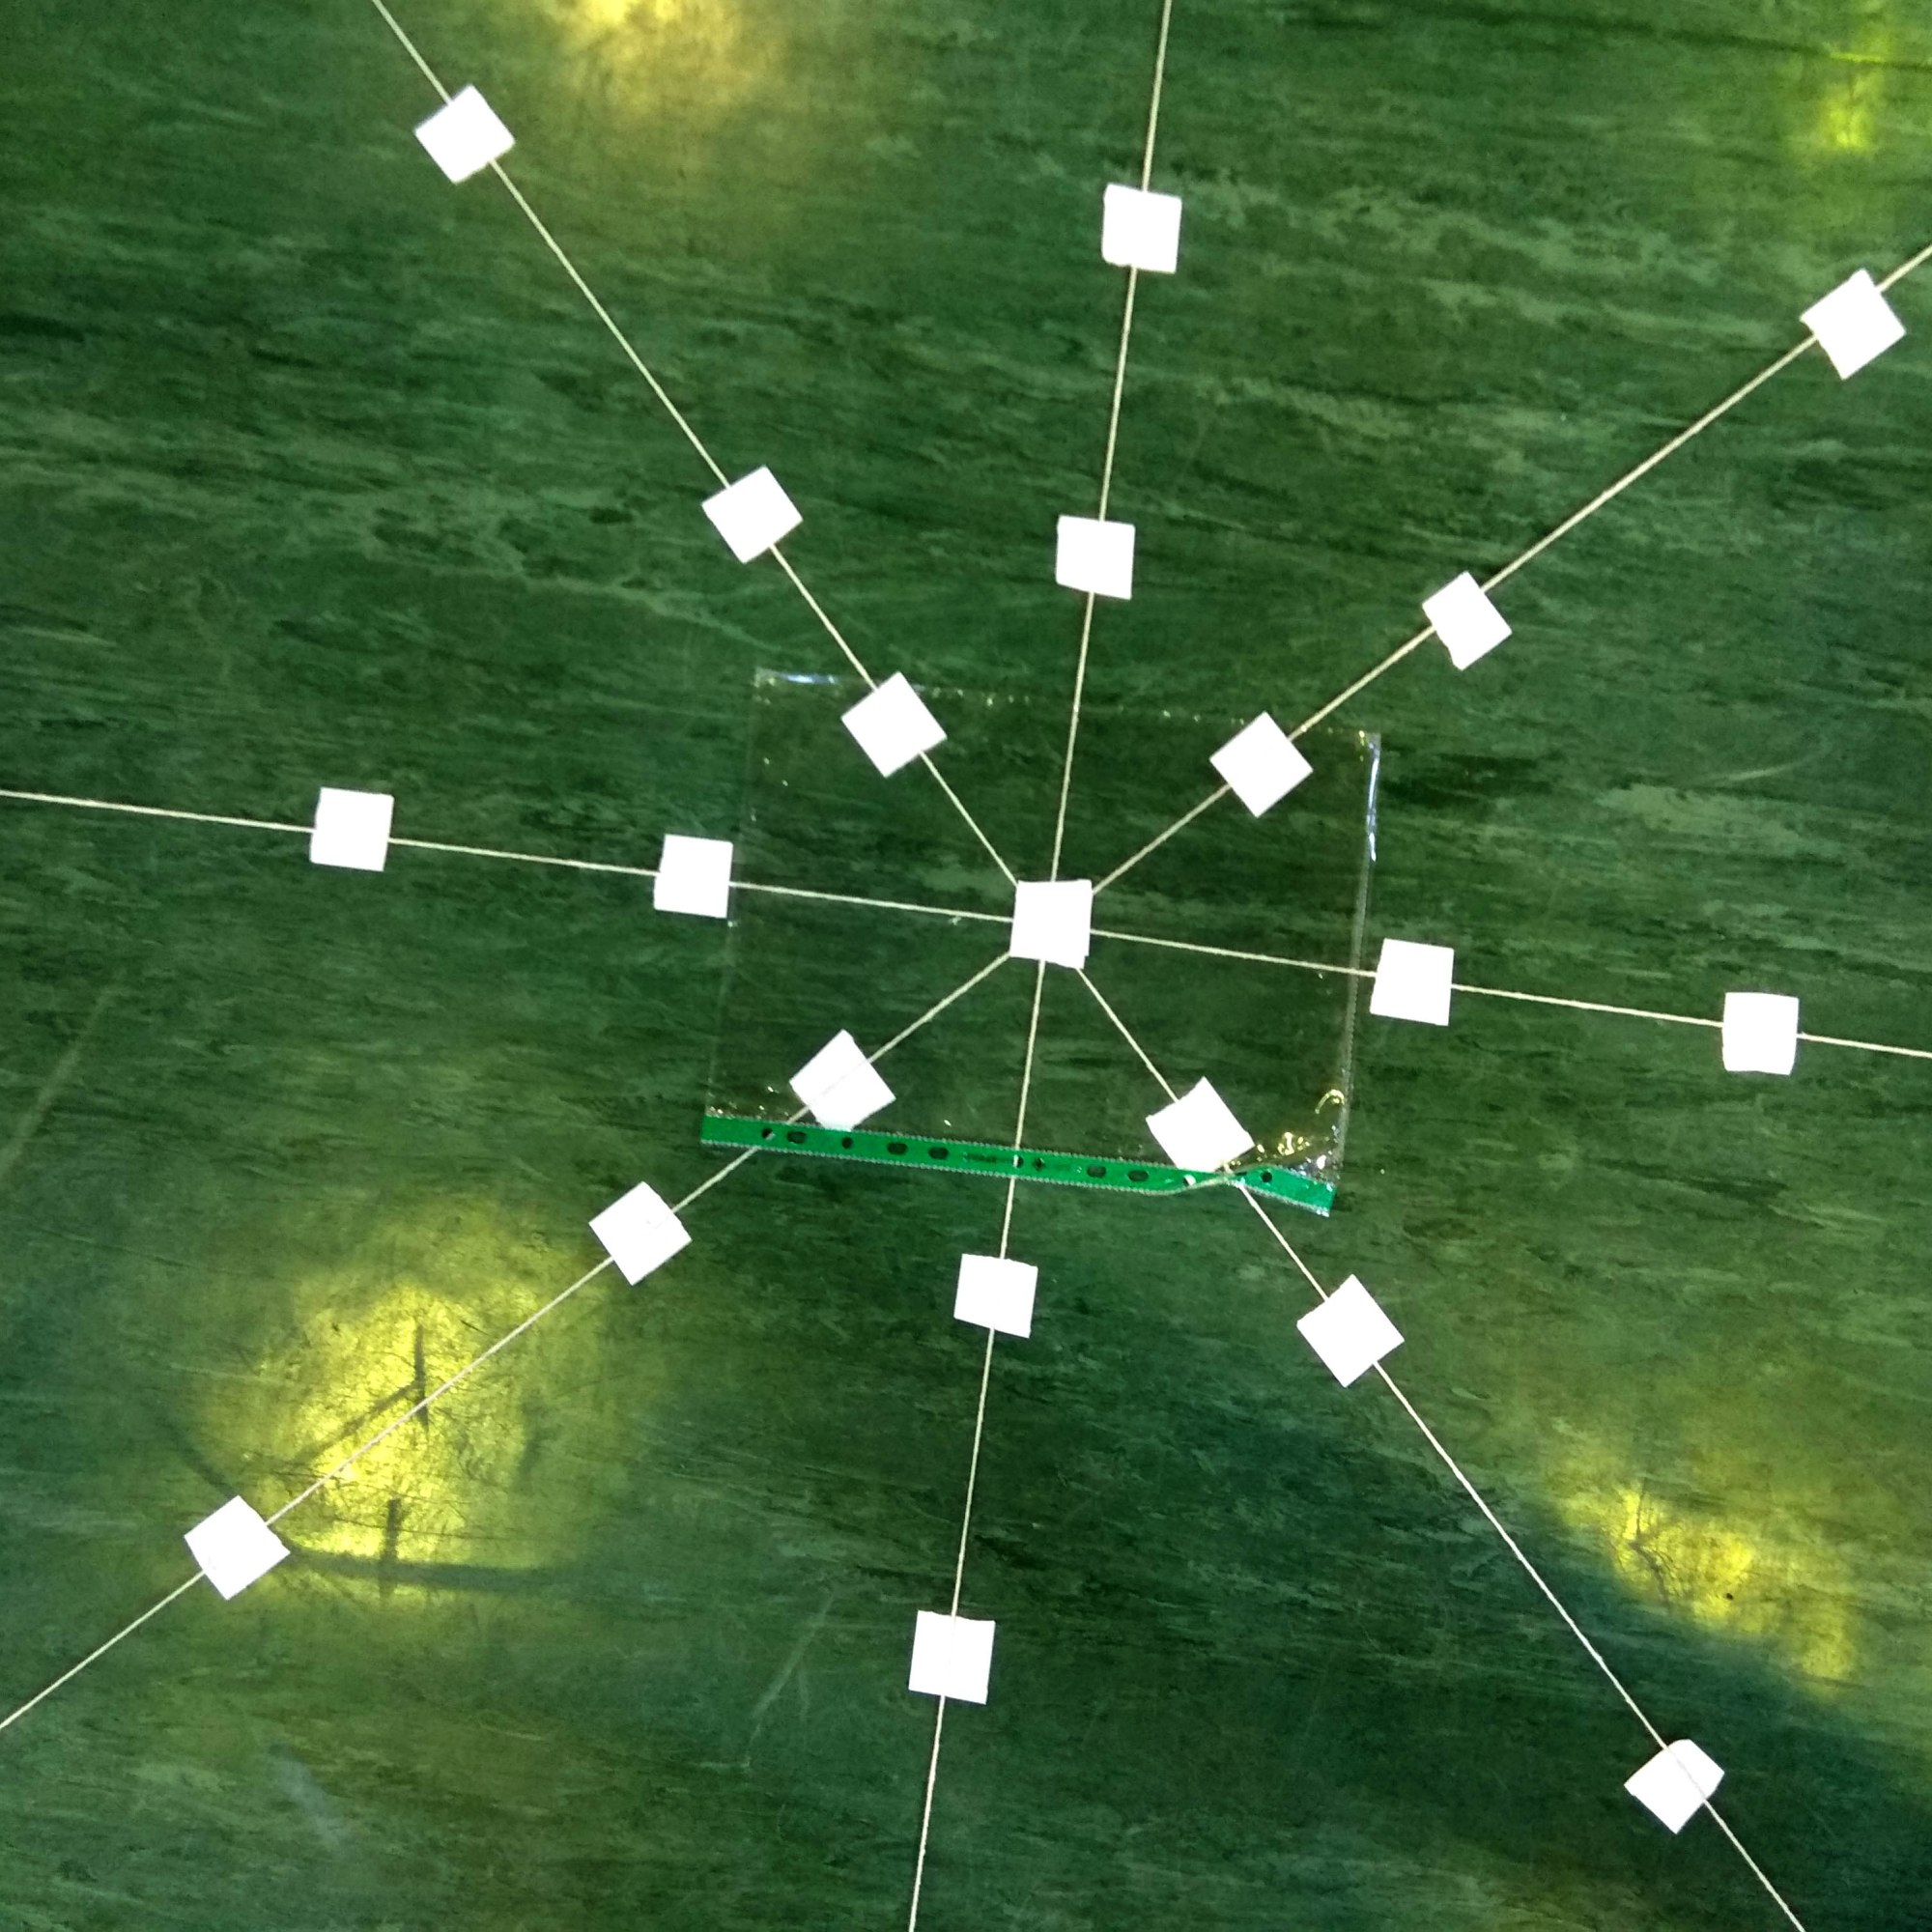
I decided to use two different colors of strings, each one for the two basic axes of the geometry, on which my squares give their four corners. That means I need at least four strings to begin with. Of course, this wasn’t gonna be the case, as I wouldn’t be able to check whether I have accomplished right angles in their intersection at the center of my construction. My bigger square is approximately 7,46 m long, so it was impossible to achieve a perfect right angle in 1:1 scale. I thought I should apply Pythagoras’ triangle calculation and mark the exact geometry on the floor, by starting my calculations from the periphery of the biggest square. That partially worked, with a lot of physical checking (in steps) during the construction of the construction, a lot of effort in calculating, marking, cutting and double-checking the numerous strings (because their slight elasticity wasn’t helpful at all) and then mark their points of intersection on the floor with common paper tape. Followingly, I removed most of the strings, and arrived at this that is shown in the left picture. I also used a marker to mark the points on the four strings forming the basic axes of the construction and then removed them also. I used carton paper to fold the strings carefully without them getting entangled, which took me a considerable amount of time. I was then prepared for reuse when needed. Last, I left the space removing any traces of marks, which also took more time than I had expected (about 15 minutes).
It was such a disaster in terms of time (the whole construction and its application took about 6 hours), that my rehearsal never actually happened. The next day I tried to do it quicker by applying only the strings demarcating my big square and the four axes with the marks of the smaller squares applied on them. It got better (1,5 hours to set), but it was still too much, considering I am usually given a studio for about 2-4 hours.
Best scenario regarding setting time: 1-1,5 hours
Best scenario regarding clear up time: 10-15 minutes
Reflecting on what was so time-consuming I realized the following failures:
– The construction was too sophisticated without giving handiness in application and removal.
– The strings were disrupting accuracy due to their slight elasticity and instability in marking the corners of the squares.
– The paper tape was time consuming in cutting, applying and removing it from the floor.
January 2020: TECHNOLOGY #2
MATERIALS: Transparent TAPE
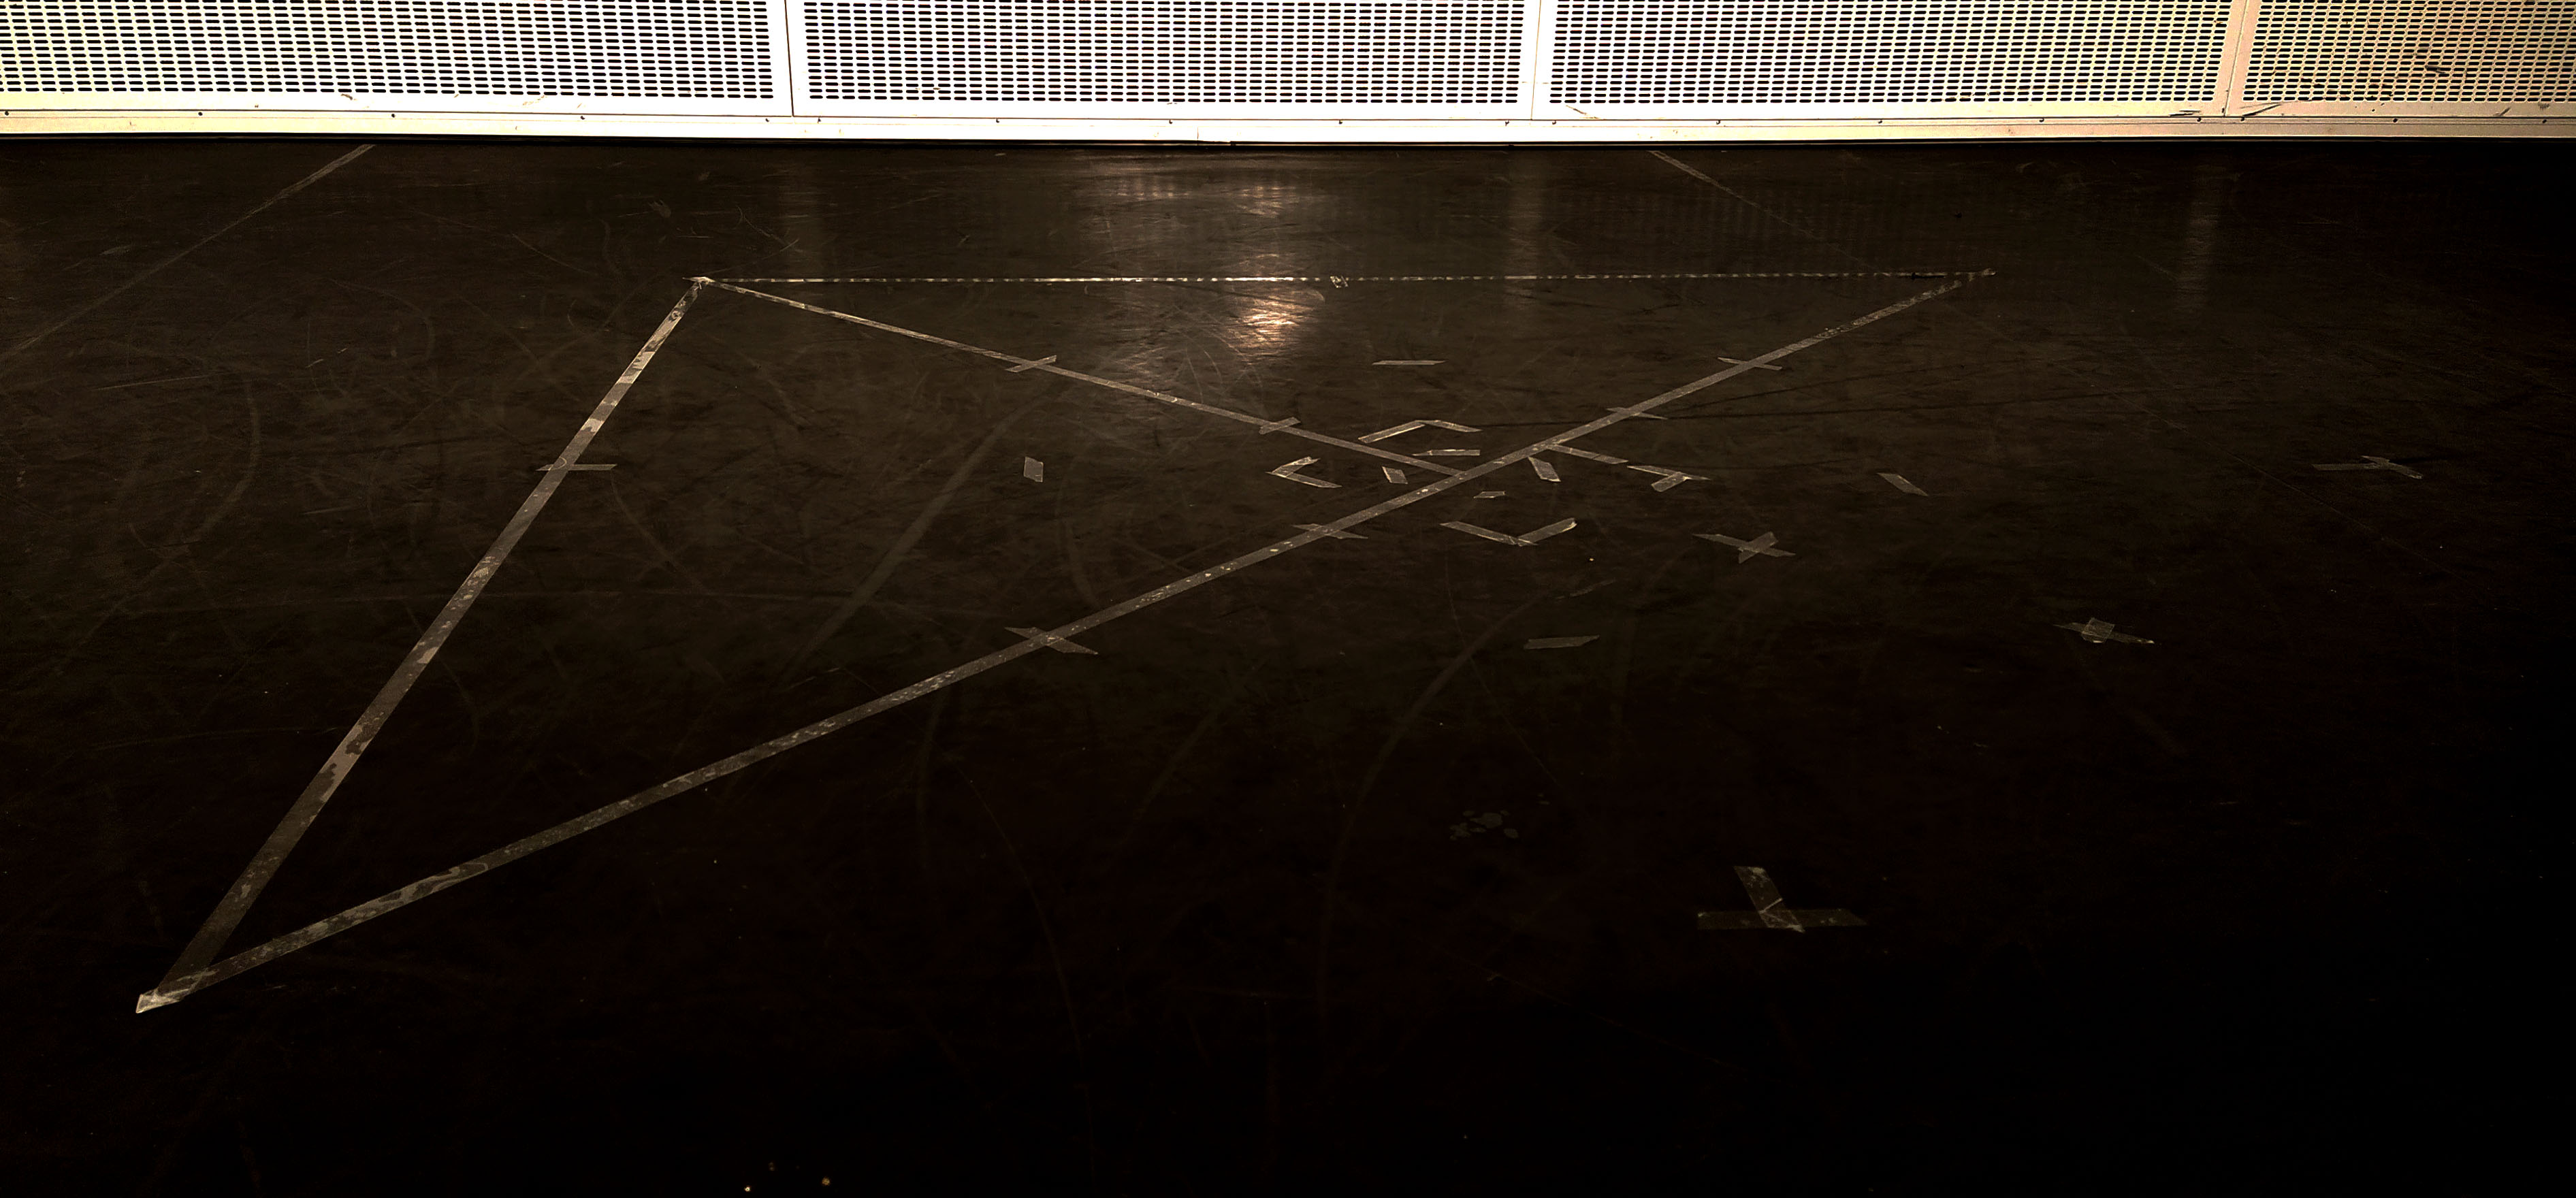

This was my second attempt of marking the squares on the floor, which mainly served a short screendance filming of my shadow on the white wall, while performing. Practicalities and preparation for filming were so time consuming, that I had to be short with marking my spatial structure on the dance floor. Without much thought I grabbed a transparent tape and started walking the squares, measuring them by my steps and taping down their intersections. Repetition on each square while marking minimized some considerable failure in the geometry, and after approximately 1 hour my squares where there. Yet, the time I needed to clear up the space was quite the same…
Best scenario regarding setting time: 1 hour
Best scenario regarding clear up time: 1 hour
Reflecting on what was so time-consuming I realized the following failures:
– The construction was too simplistic, successful in giving handiness in application, but not in removal of the marks.
– The time I spent in cutting the tape, adjusting and readjusting the marks, in order to eliminate failure gave me real pain in the head and my back.
– The transparent tape was so sticky on the dance floor that I had to take extra care for residues of it when removing it.
March 2020: TECHNOLOGY #3
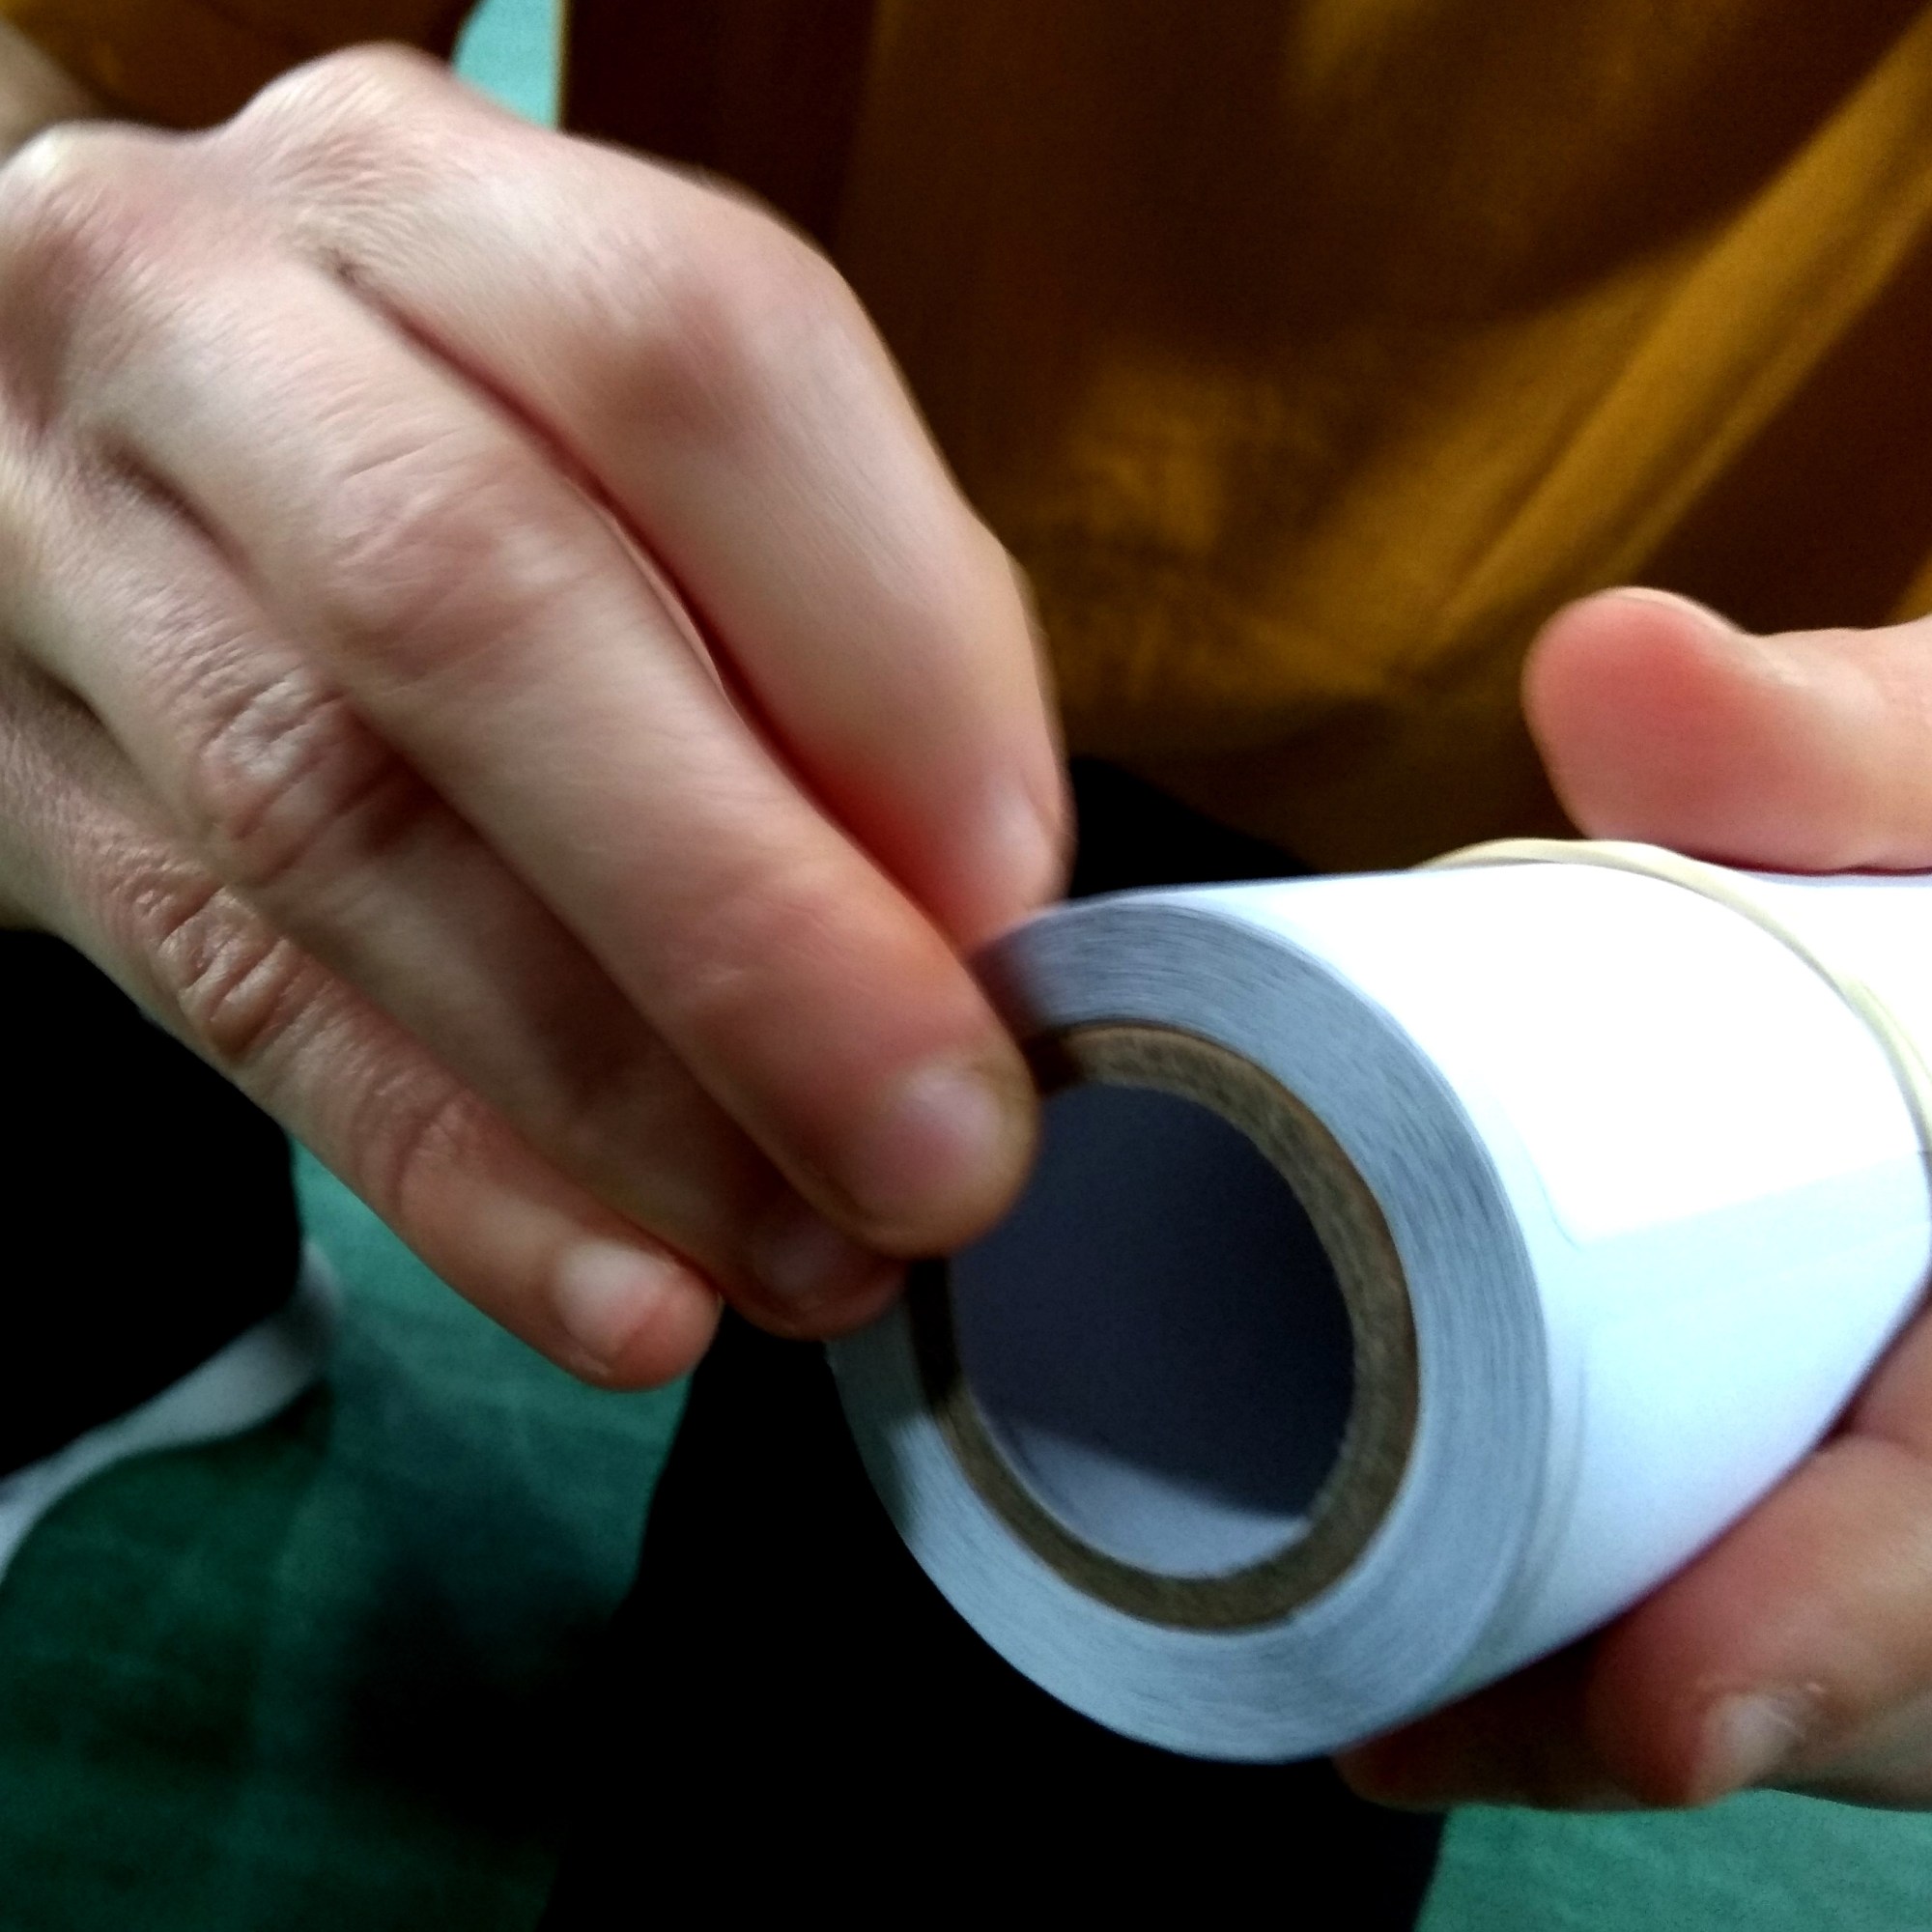
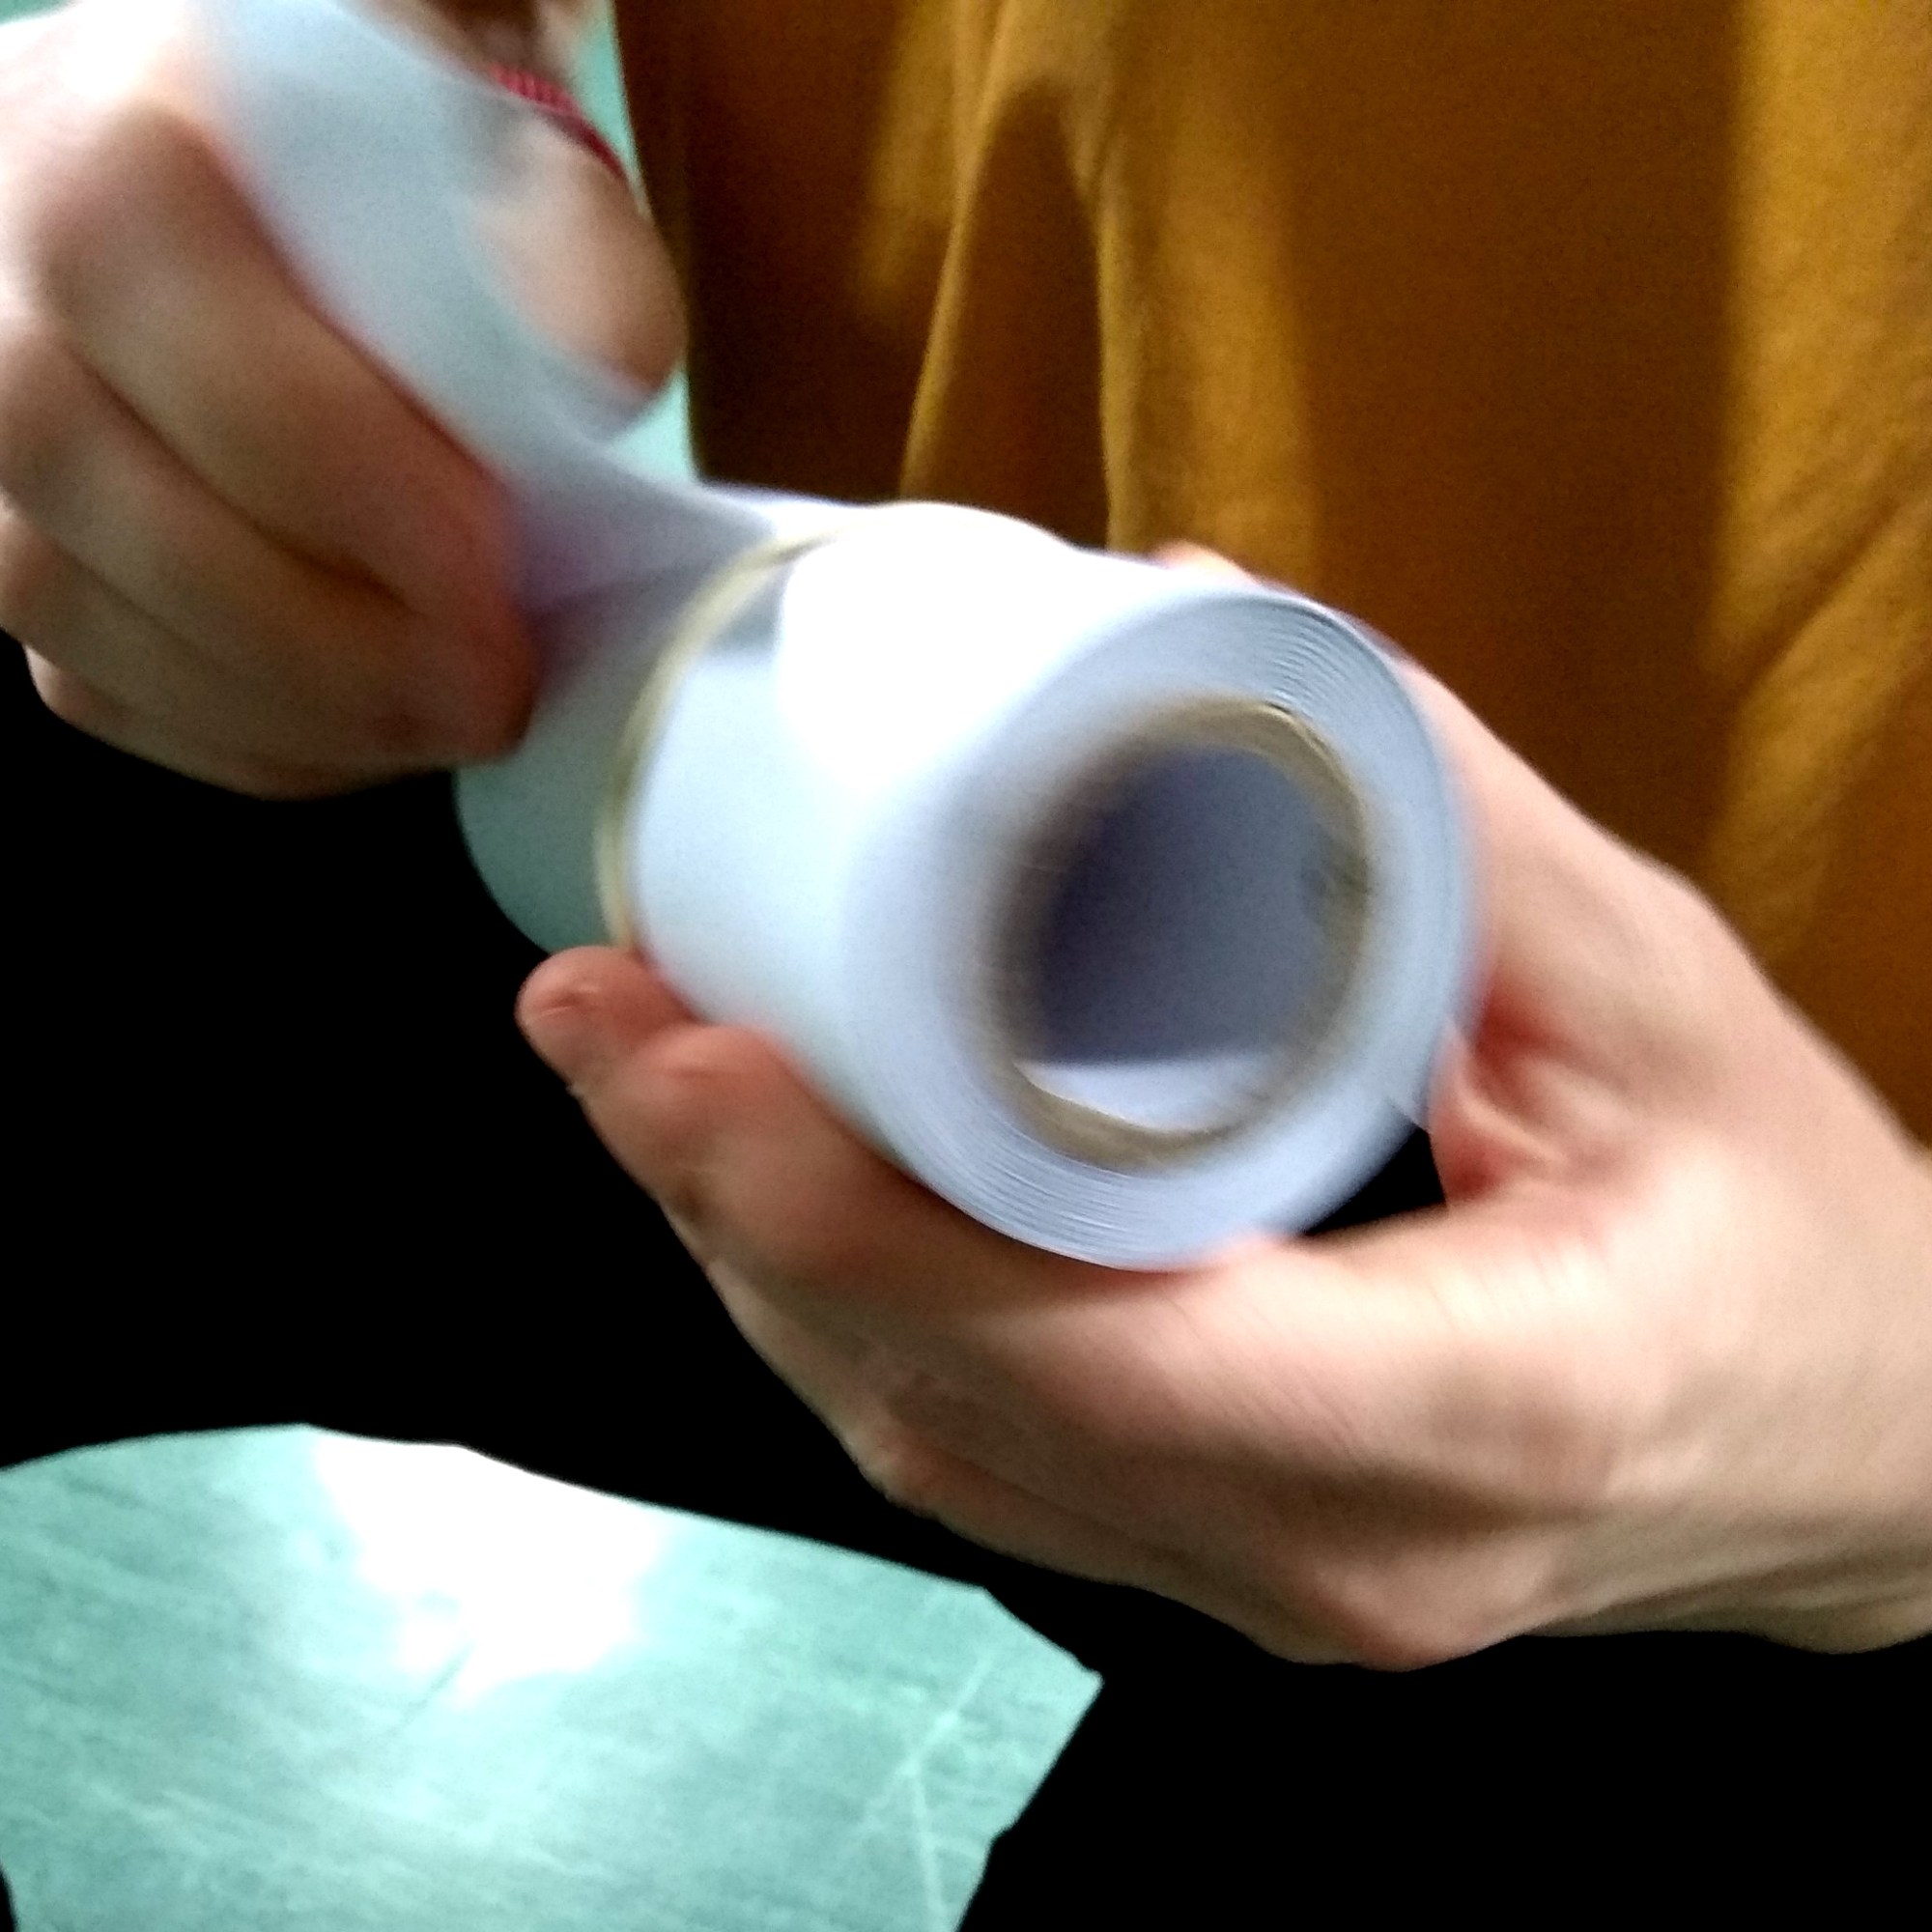
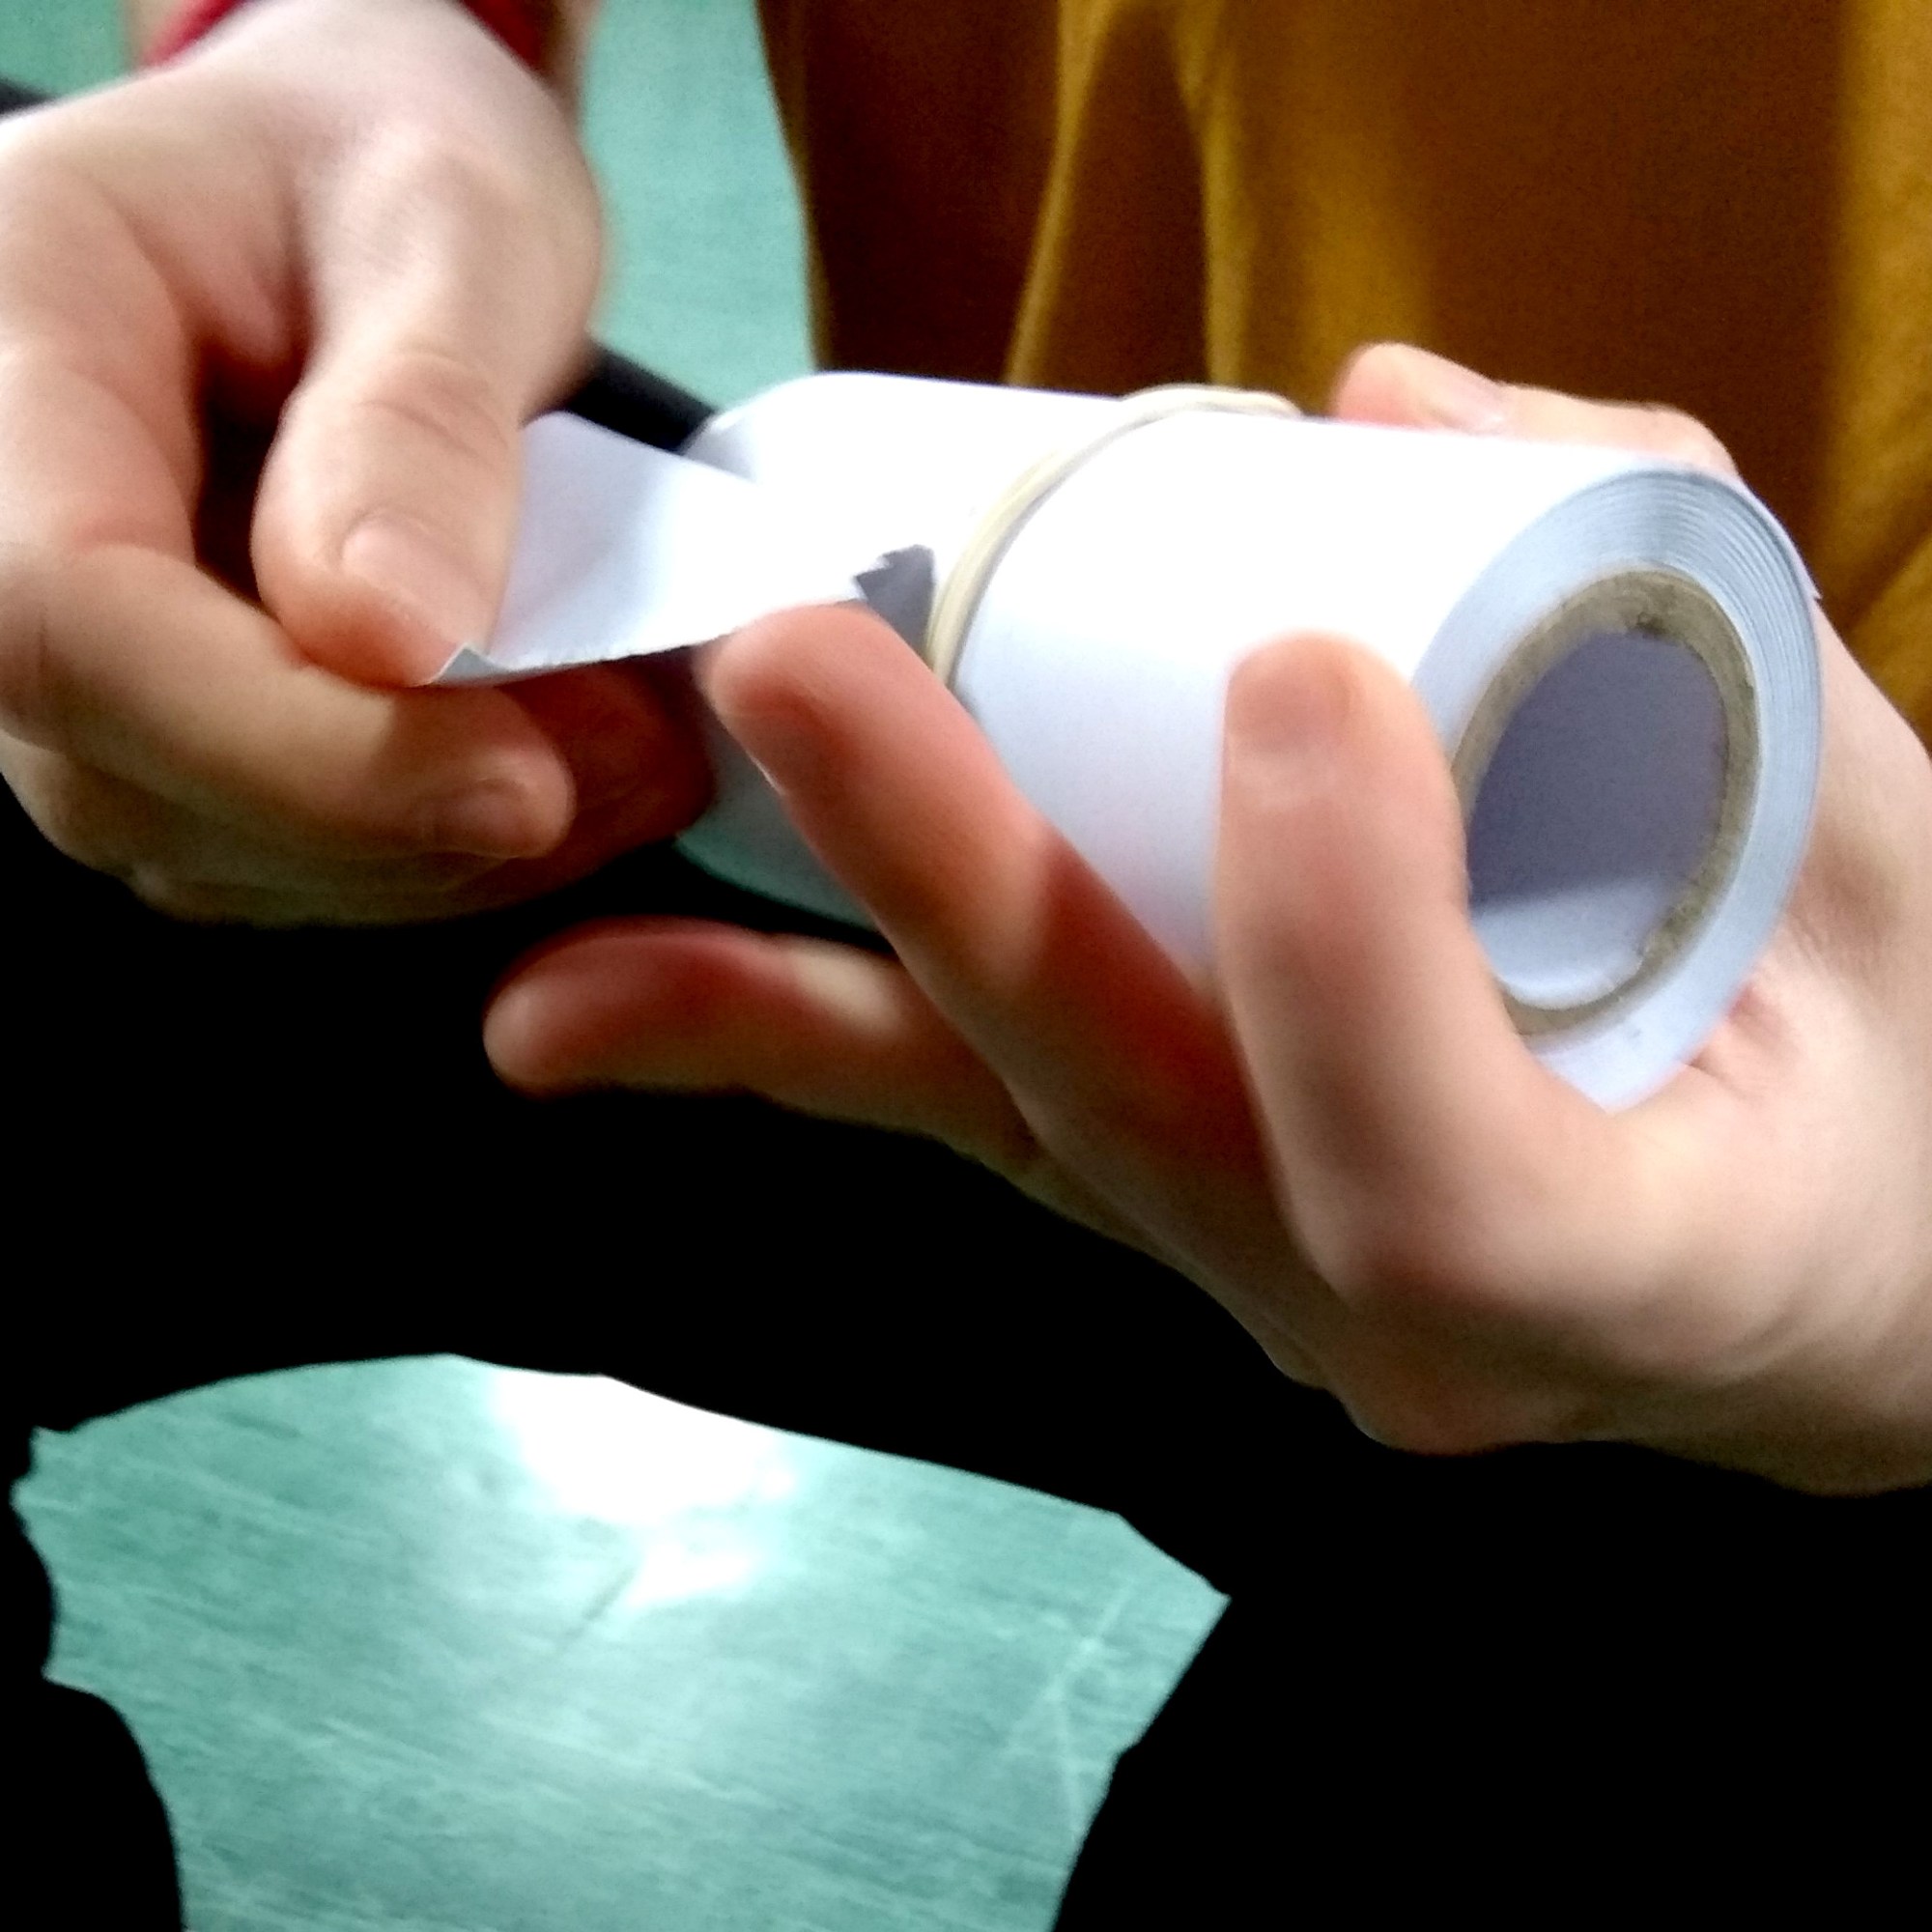
MATERIALS: 1 x 12m parcel wrapping paper roll, cartons, coloured masking tape, white label stickers, 5 rocks, rubbers, transparent tape
The need for a third technology, surpassing the problems and failures of the previous two, arose as soon as I began going deeper with movement research, reconsidering the dramaturgy of it and my general somatic approach in the squares, especially when approaching the smallest ones, as this would define when, where and how my loop stops (or transforms, or regenerates itself).
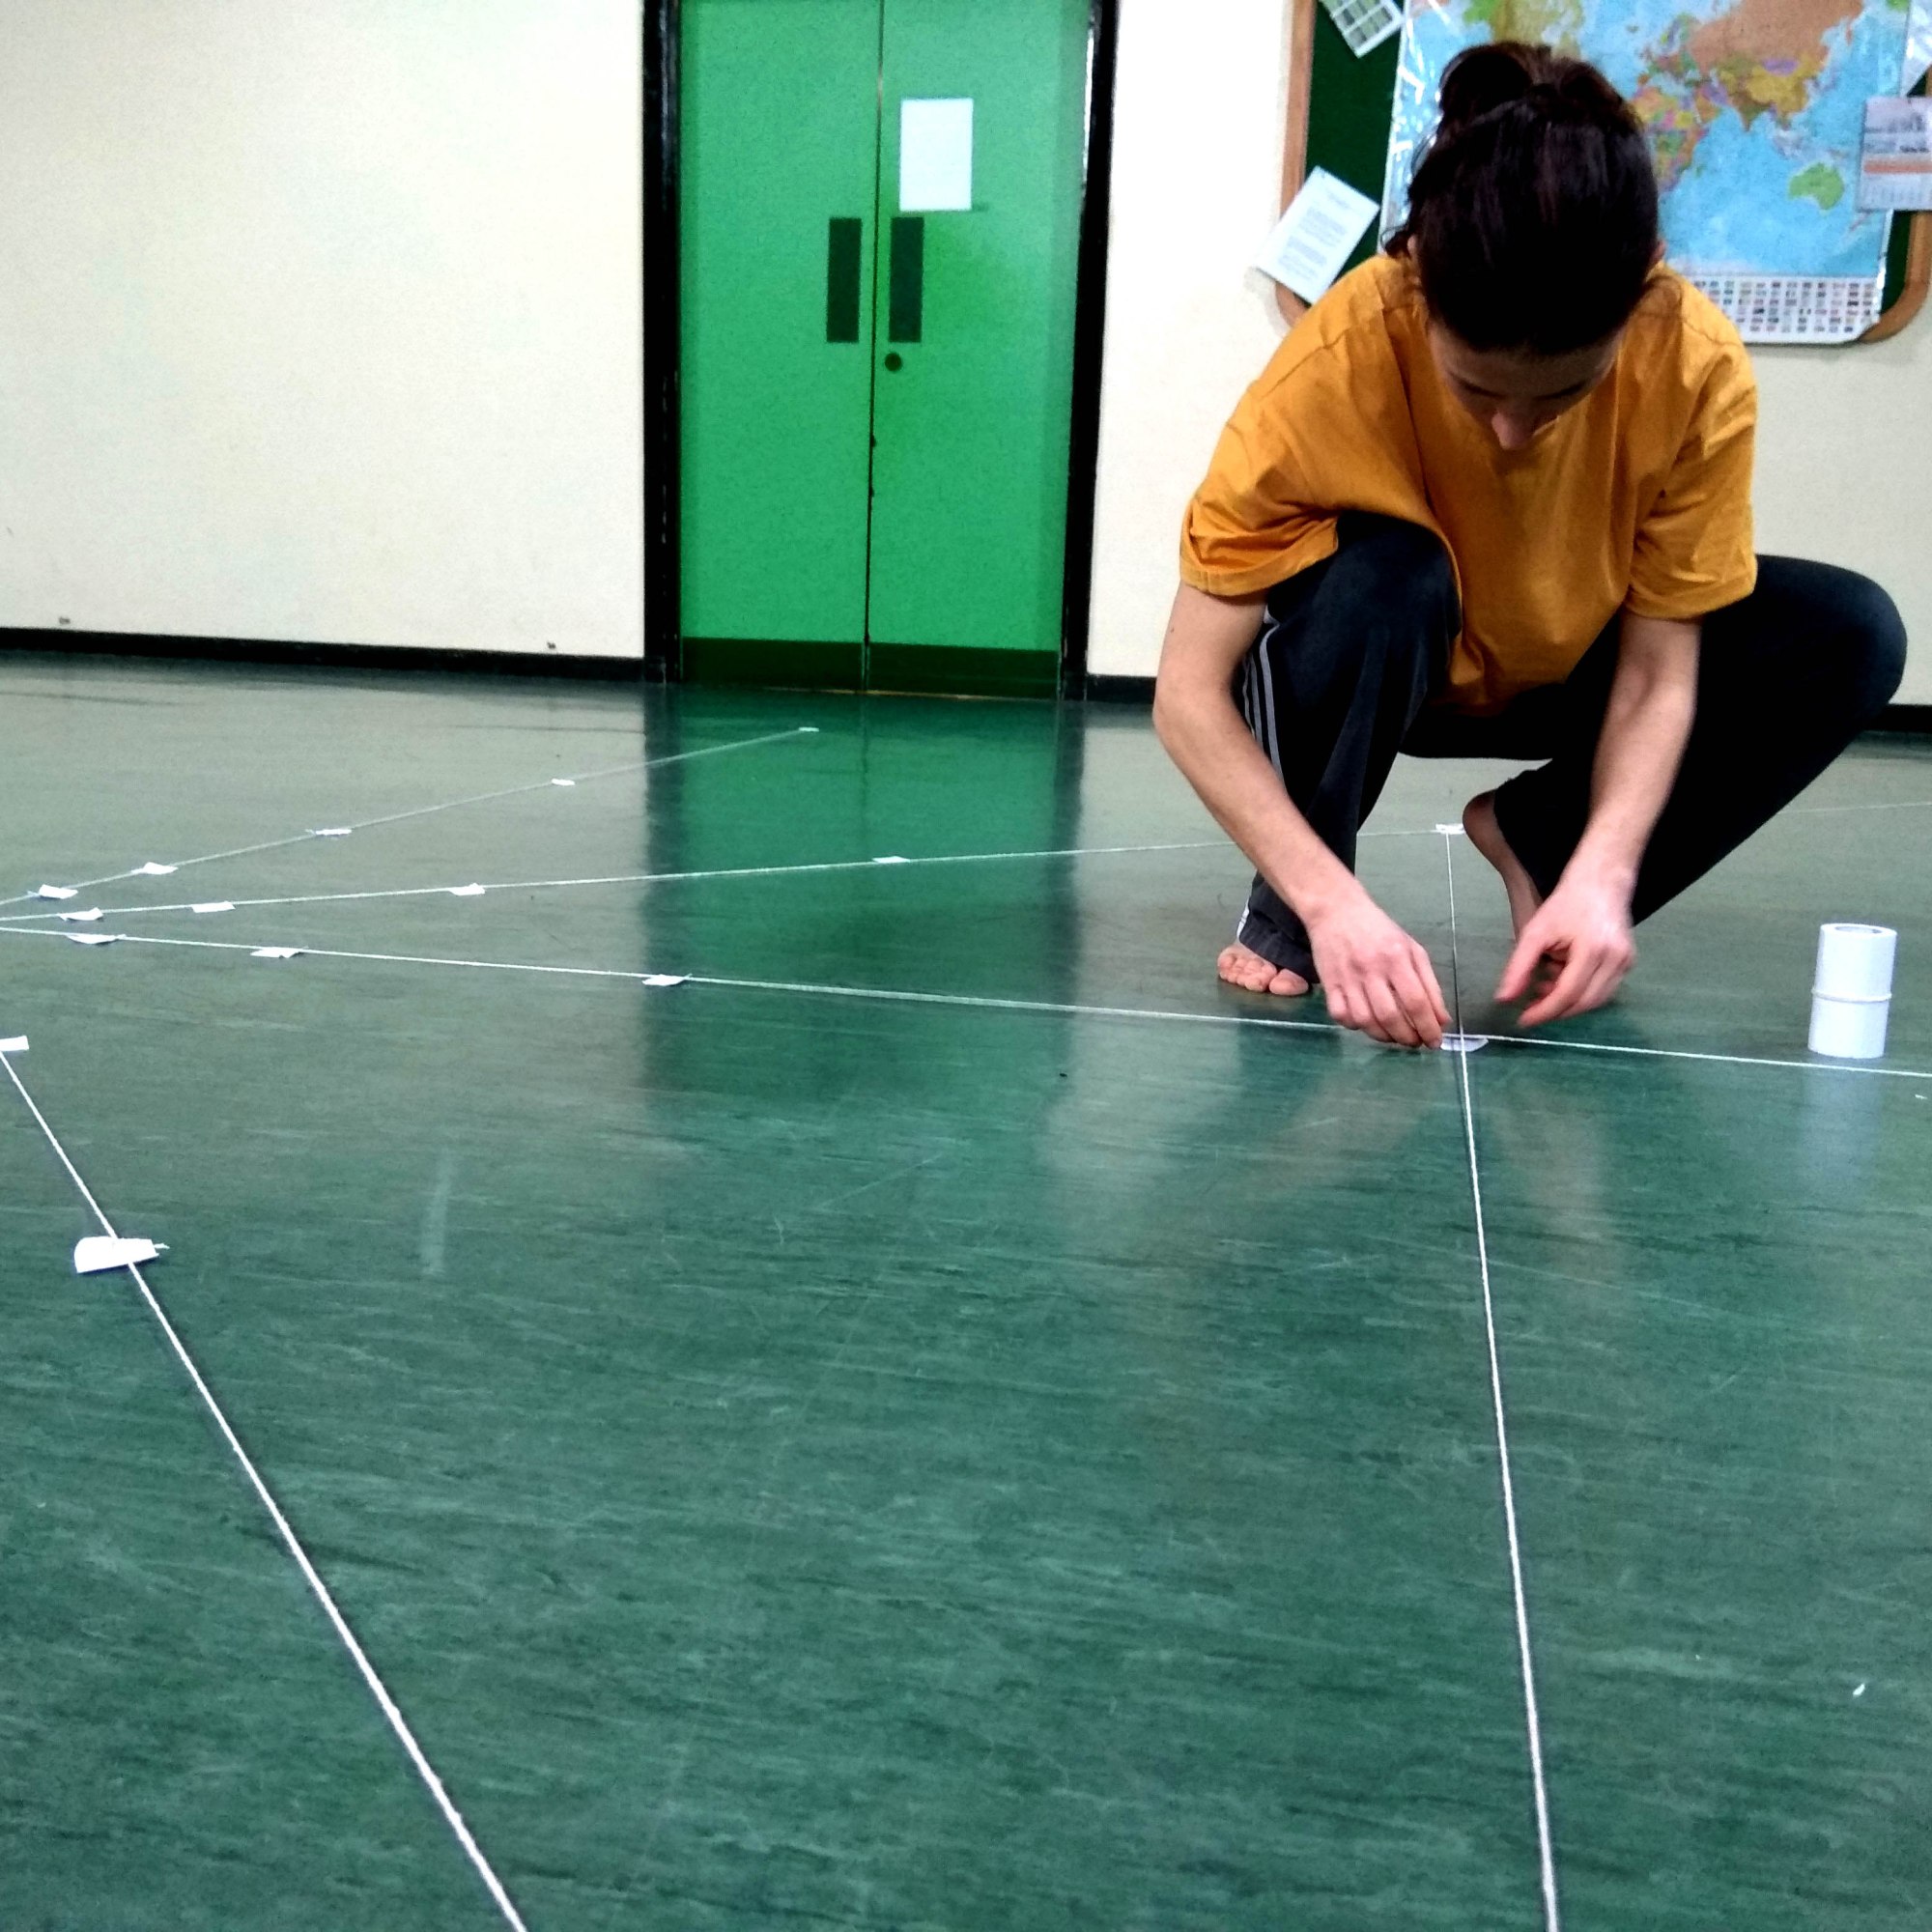
I decided to go for a far more sophisticated construction that would allow me maximum accuracy and minimum set up and clear up time, plus it would be easily foldable and transferable from place to place. I chose to work mainly with paper, for I was searching for a not-at-all elastic material, possible to form long strips (that is, the four basic axes of my spatial structure) without cuts. On those strips I would make holes at the points I need marks of my different sized squares, so that when placed on the floor, I would only mark the floor with label stickers (instead of sticky tape). In this way I would quickly have my marks exactly at the correct positions, ensuring, on the one hand, that my geometry is there, and, on the other, that removing my marks would not be such a pain, since those label stickers are less sticky, thus easily removable without traces. I was aiming at 15 minutes set up time and 5 minutes clear up.
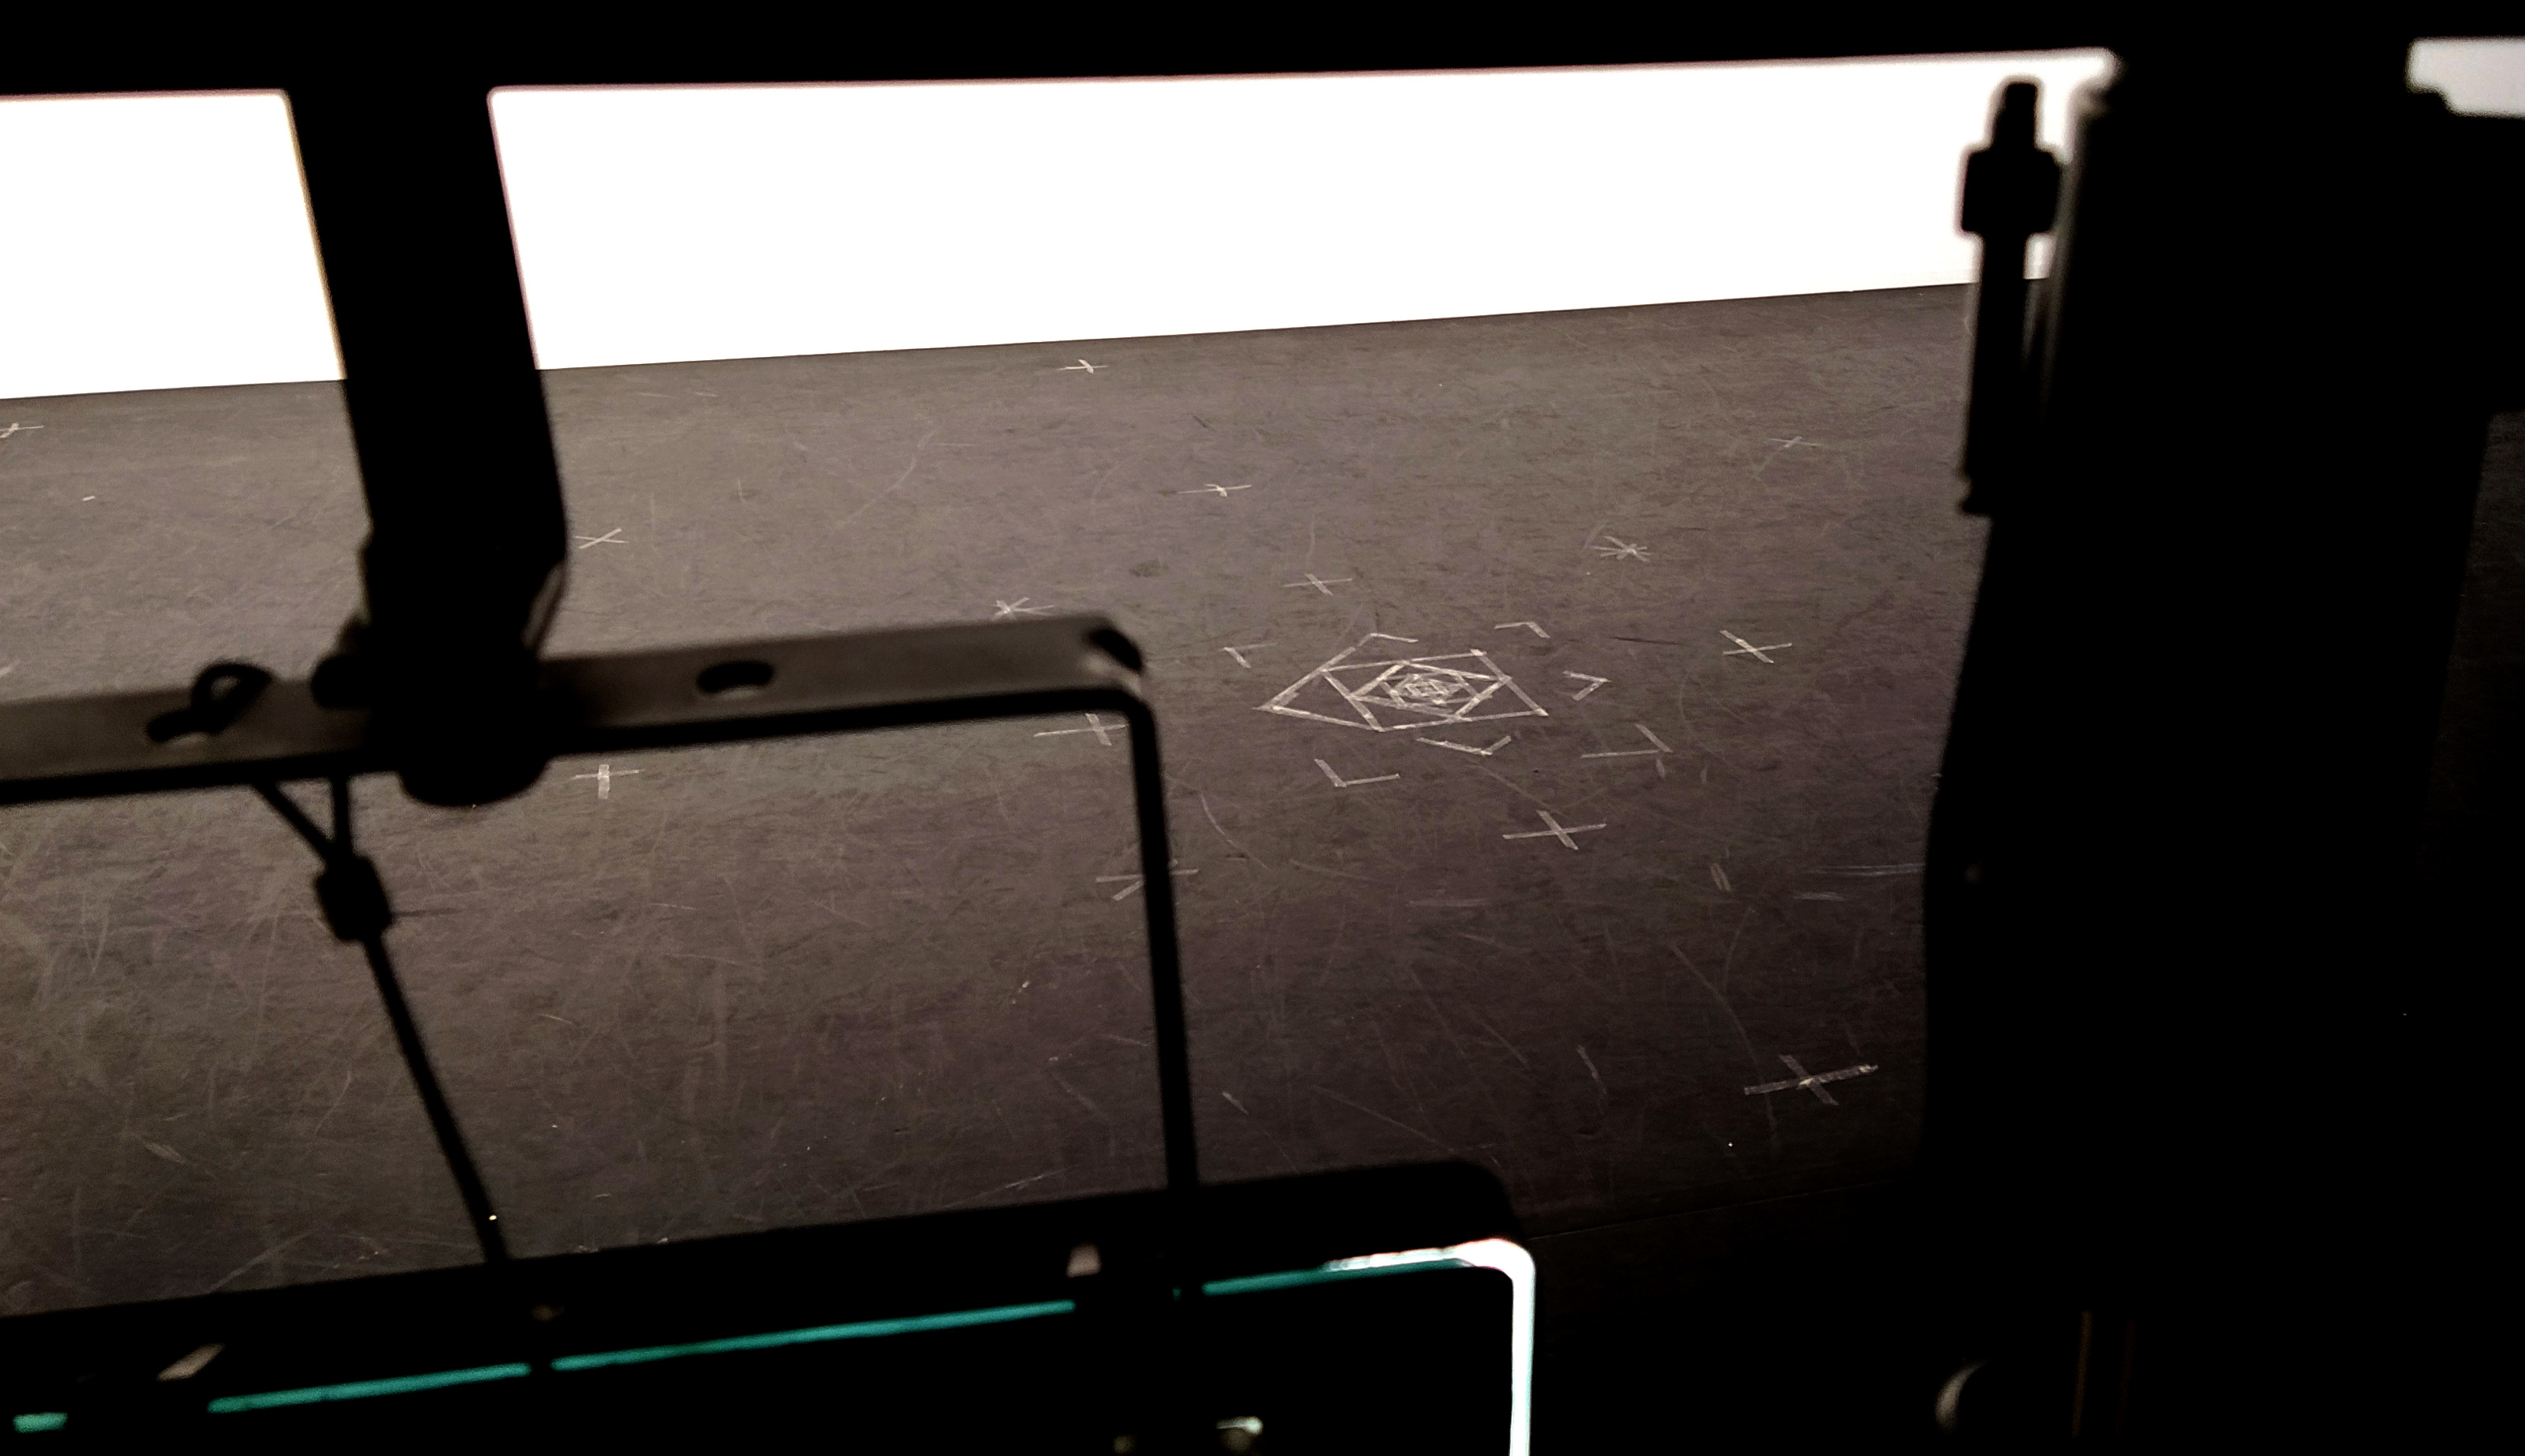
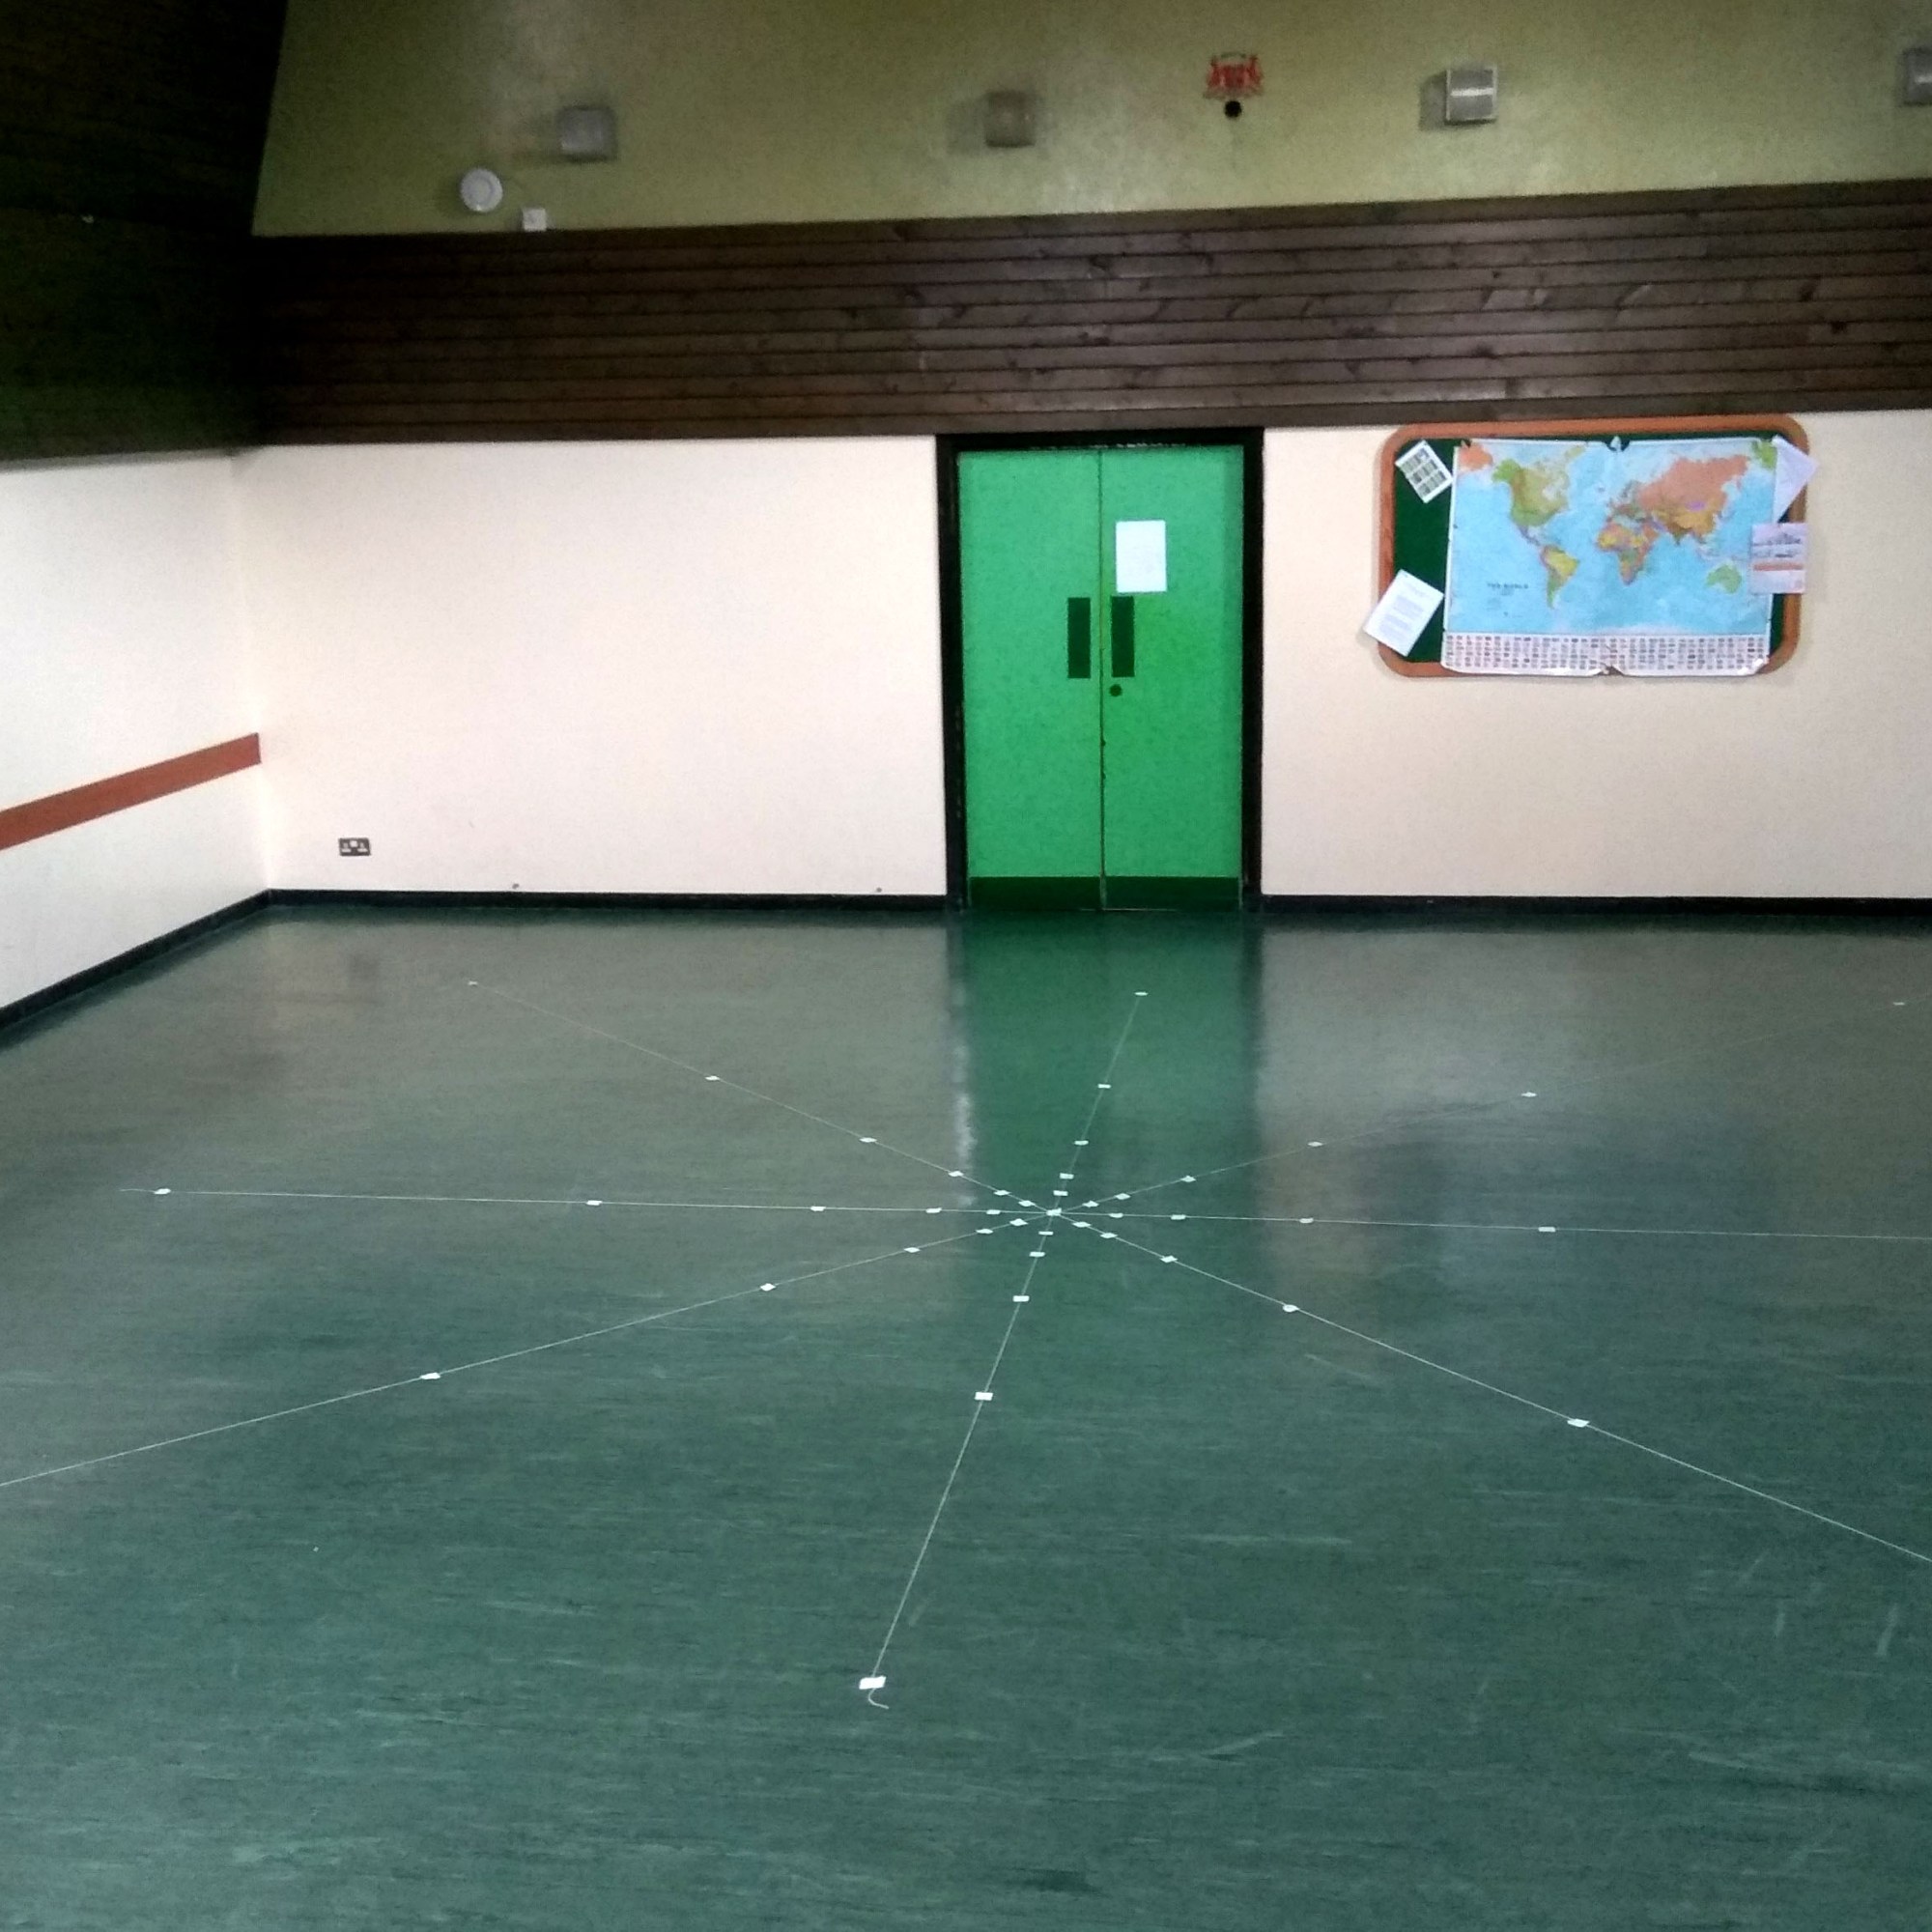
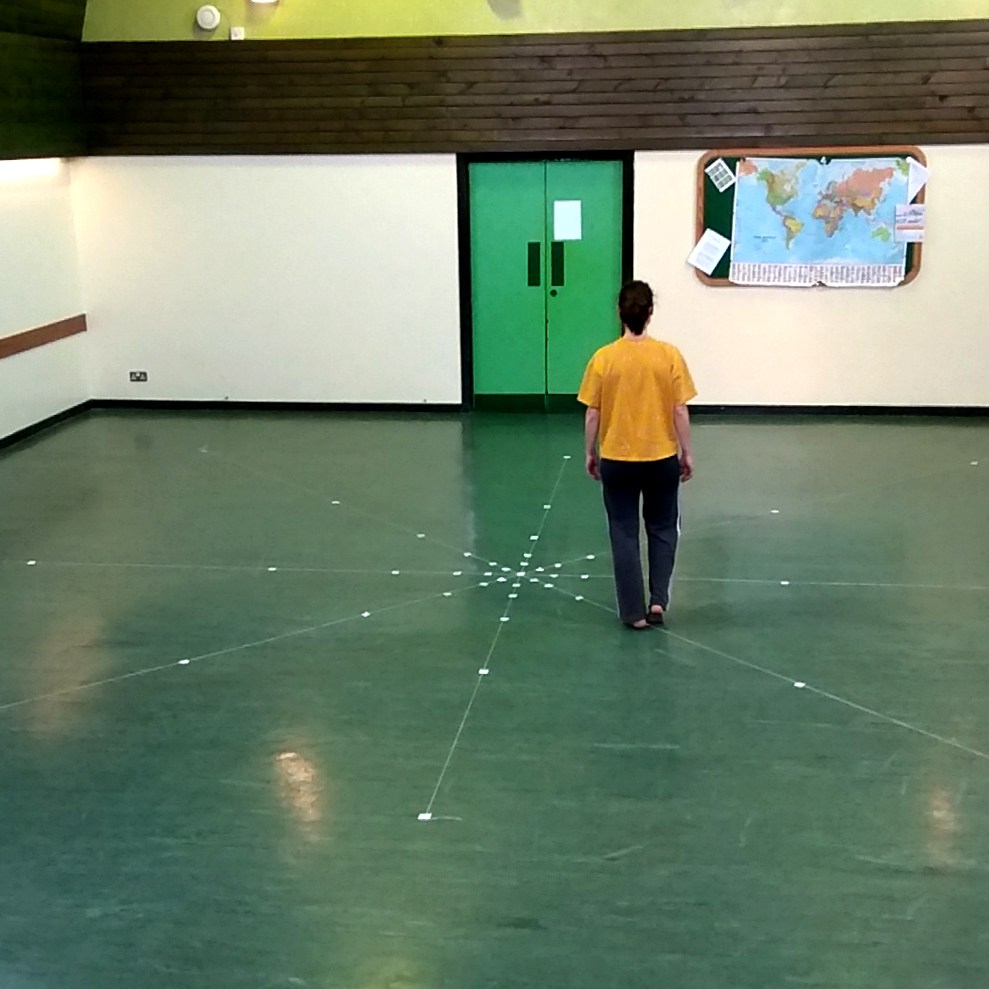
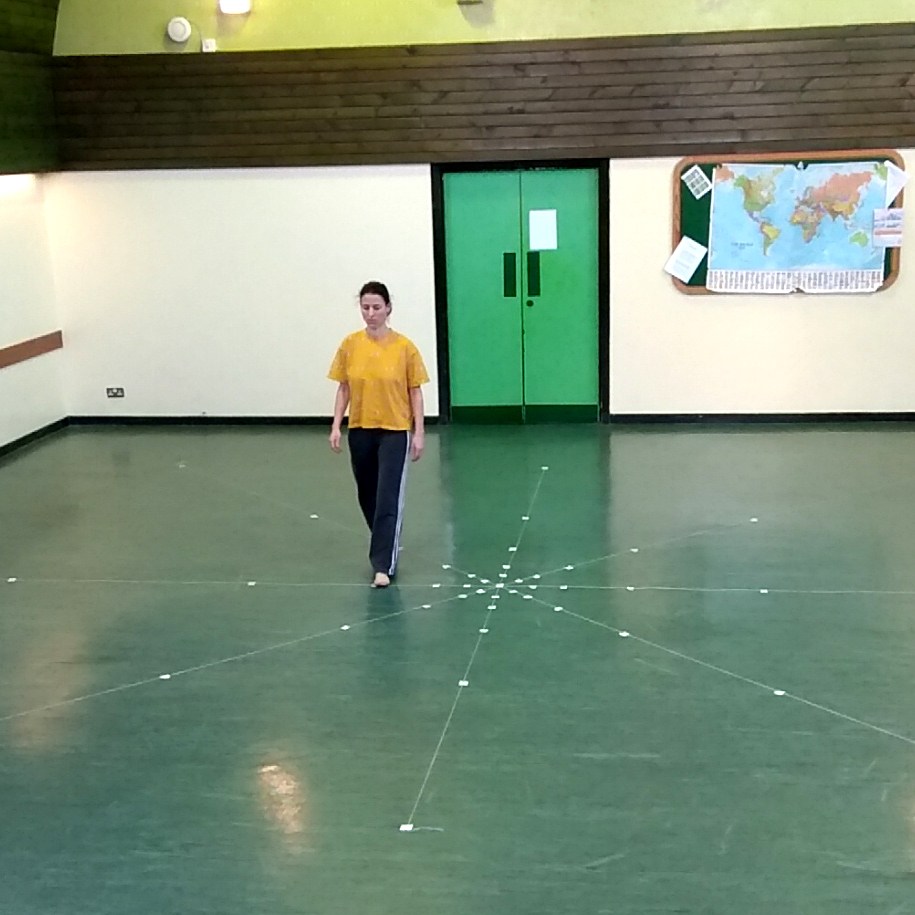
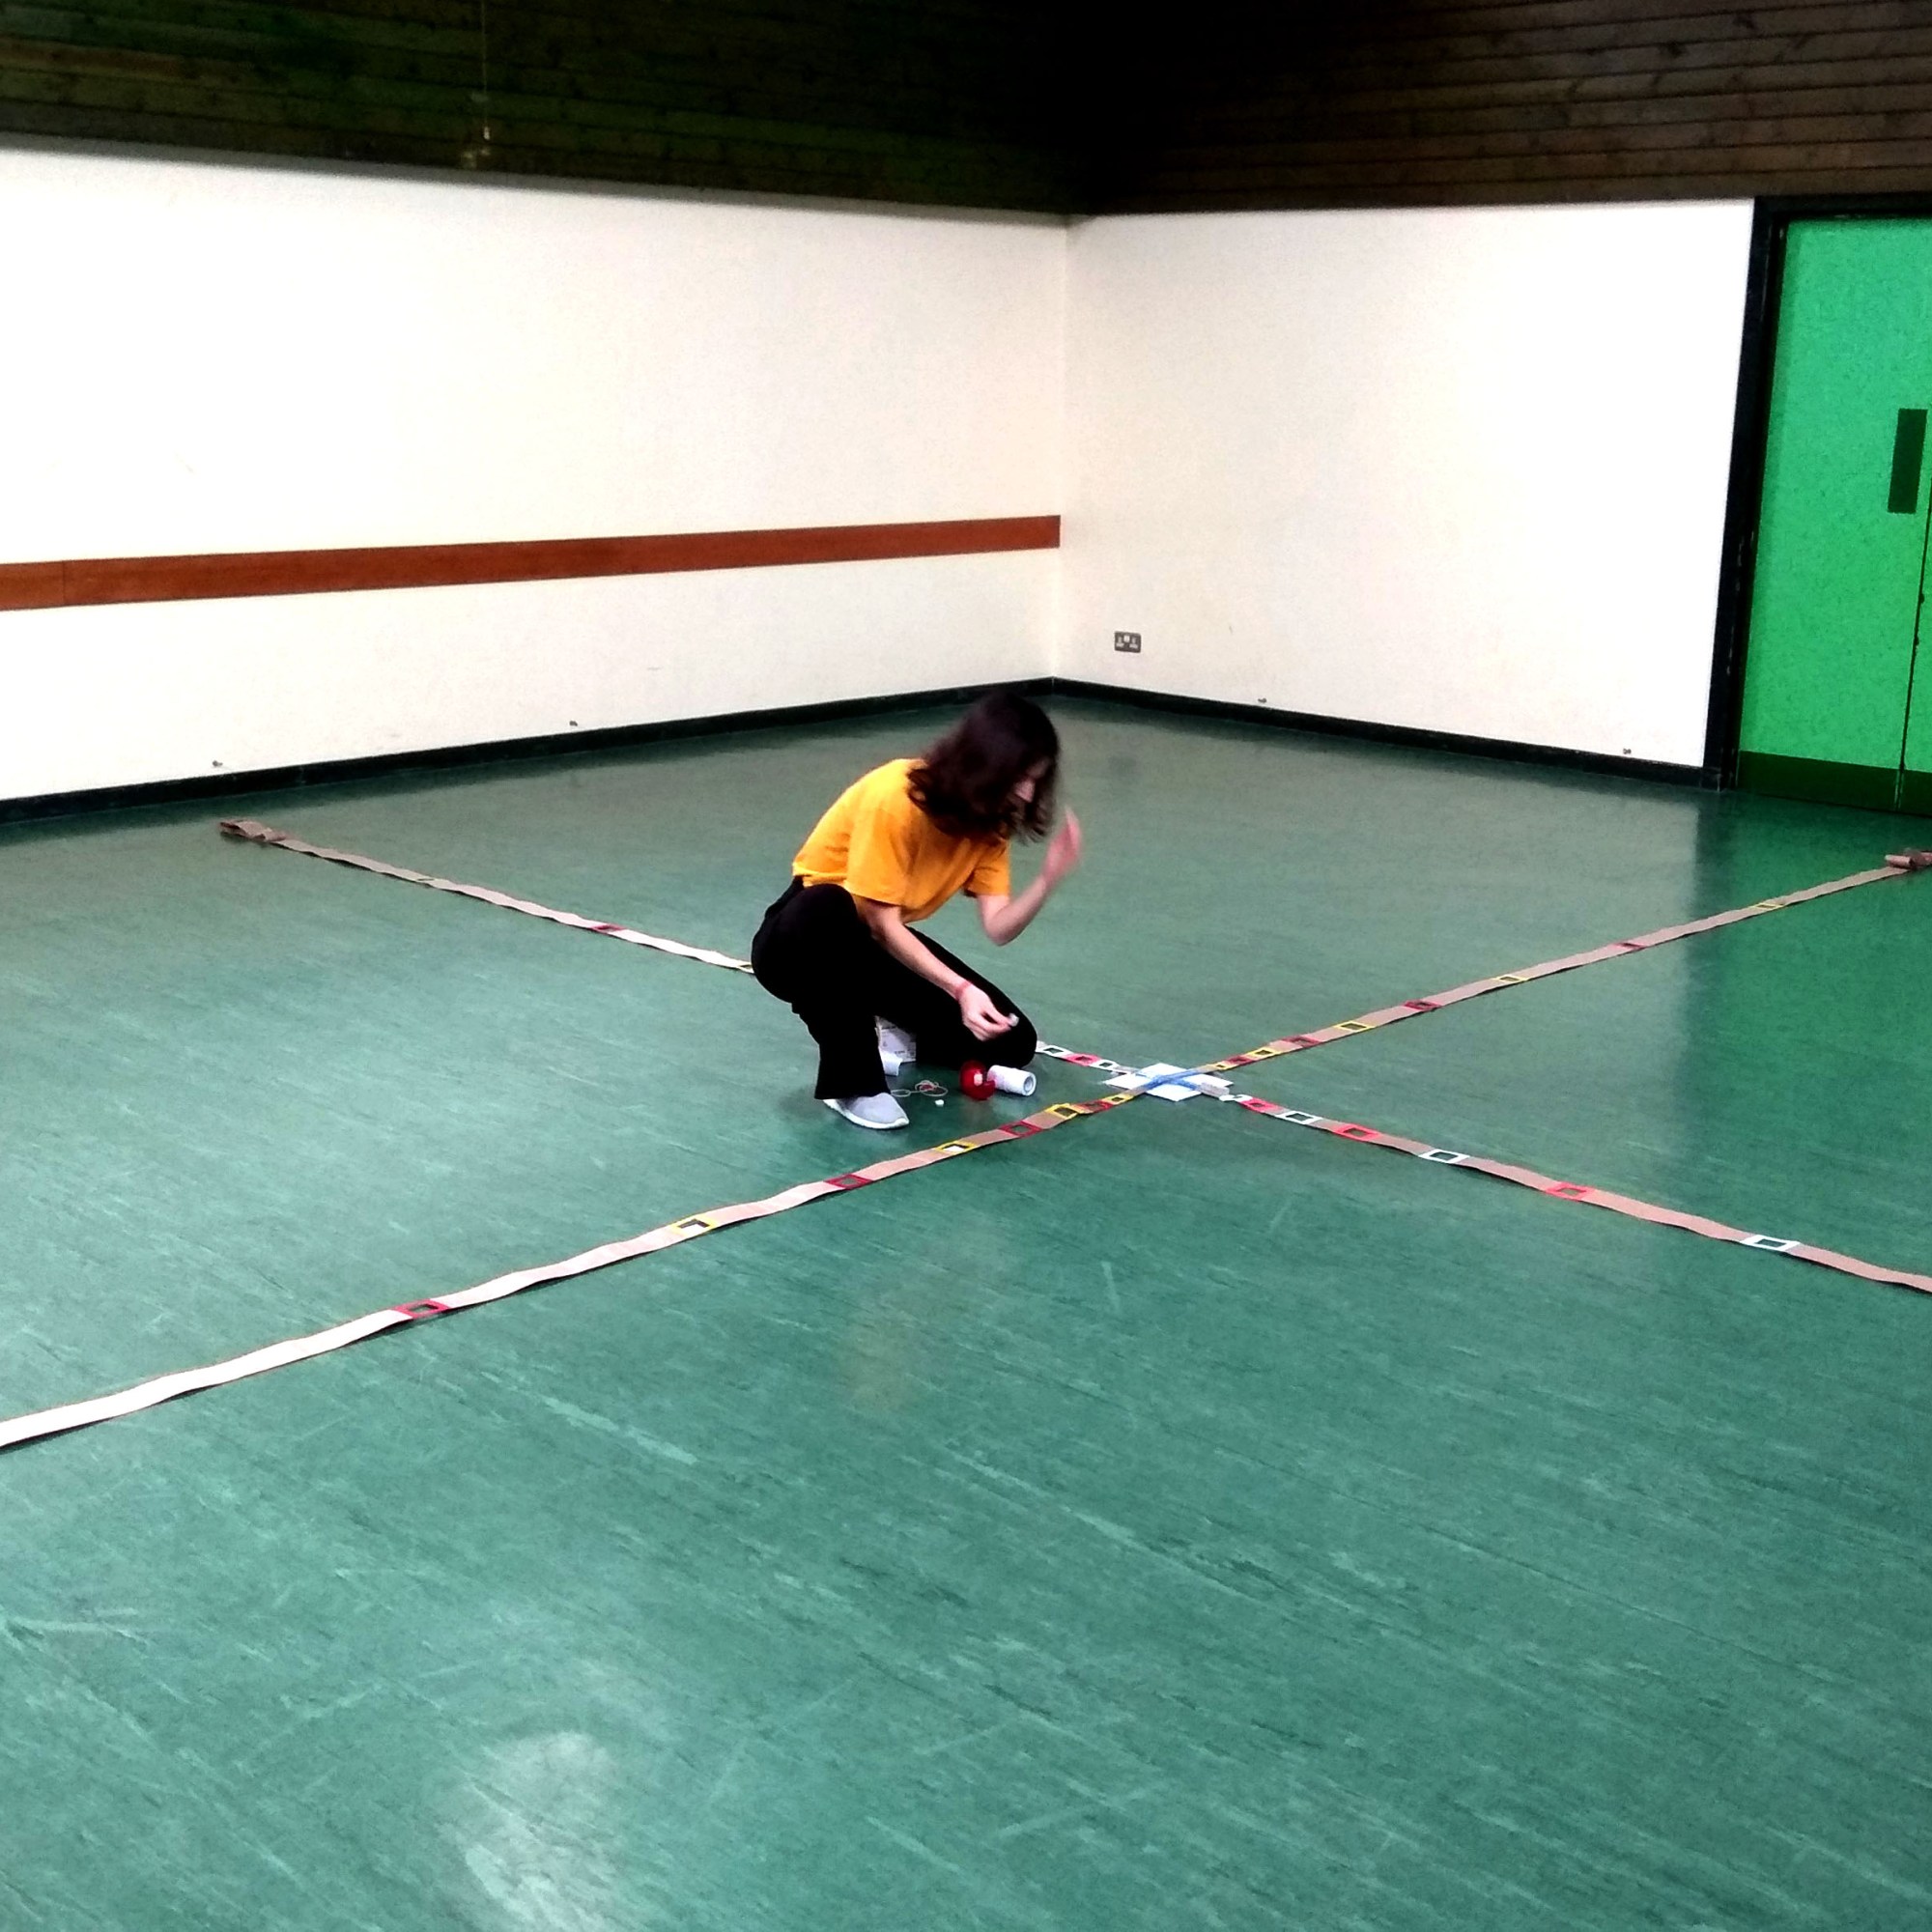
So, the whole thing started quite the traditional way (images below). Me walking the squares, measuring the edges’ equivalent distance with my steps, placing the stickers, repeating, checking, correcting, moving one sticker this way, the other sticker that way, until they become aligned. Then I used string again, to correct any misalignment on the four axes of my structure. Having finished that, I also danced on it, did some squares with have closed, have opened eyes, as I wanted to triple-check that I had done it correctly, that failure had been to the fullest eliminated and my marks were demarcating exactly the geometrical space I need. It seemed so definite to me, what I wanted to do, I had to be sure I was doing well. This took me about 2 hours.


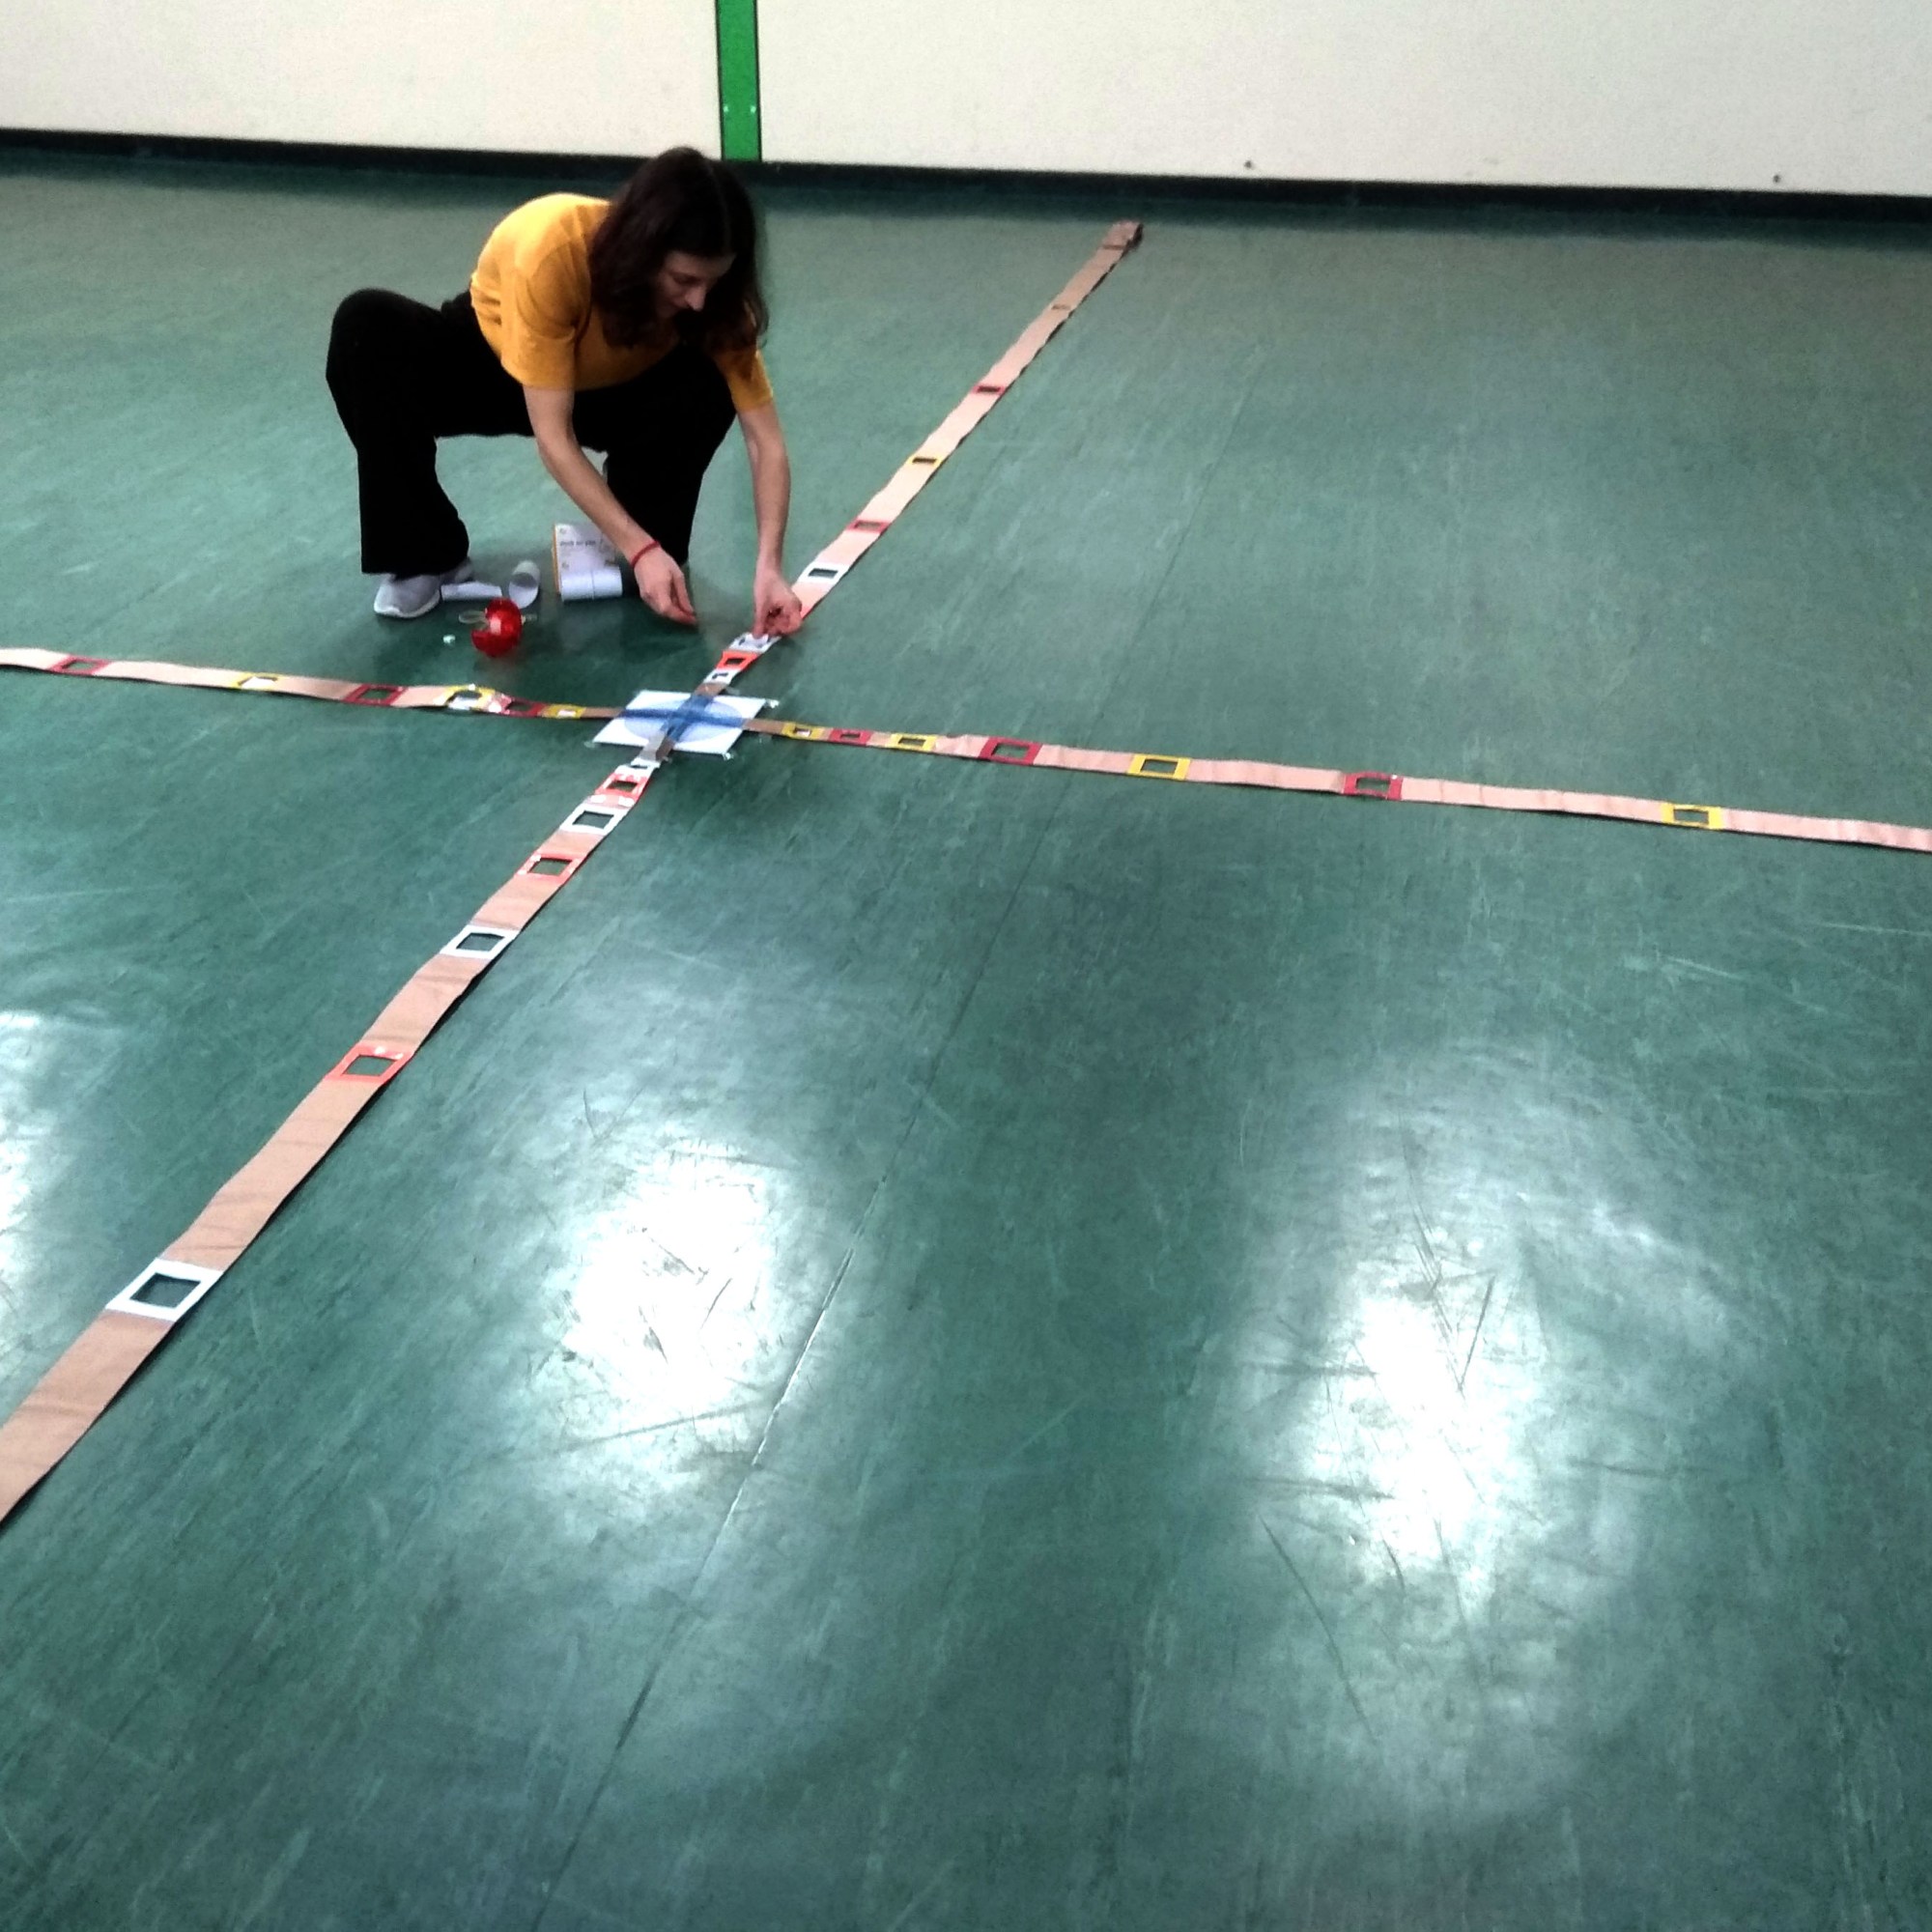
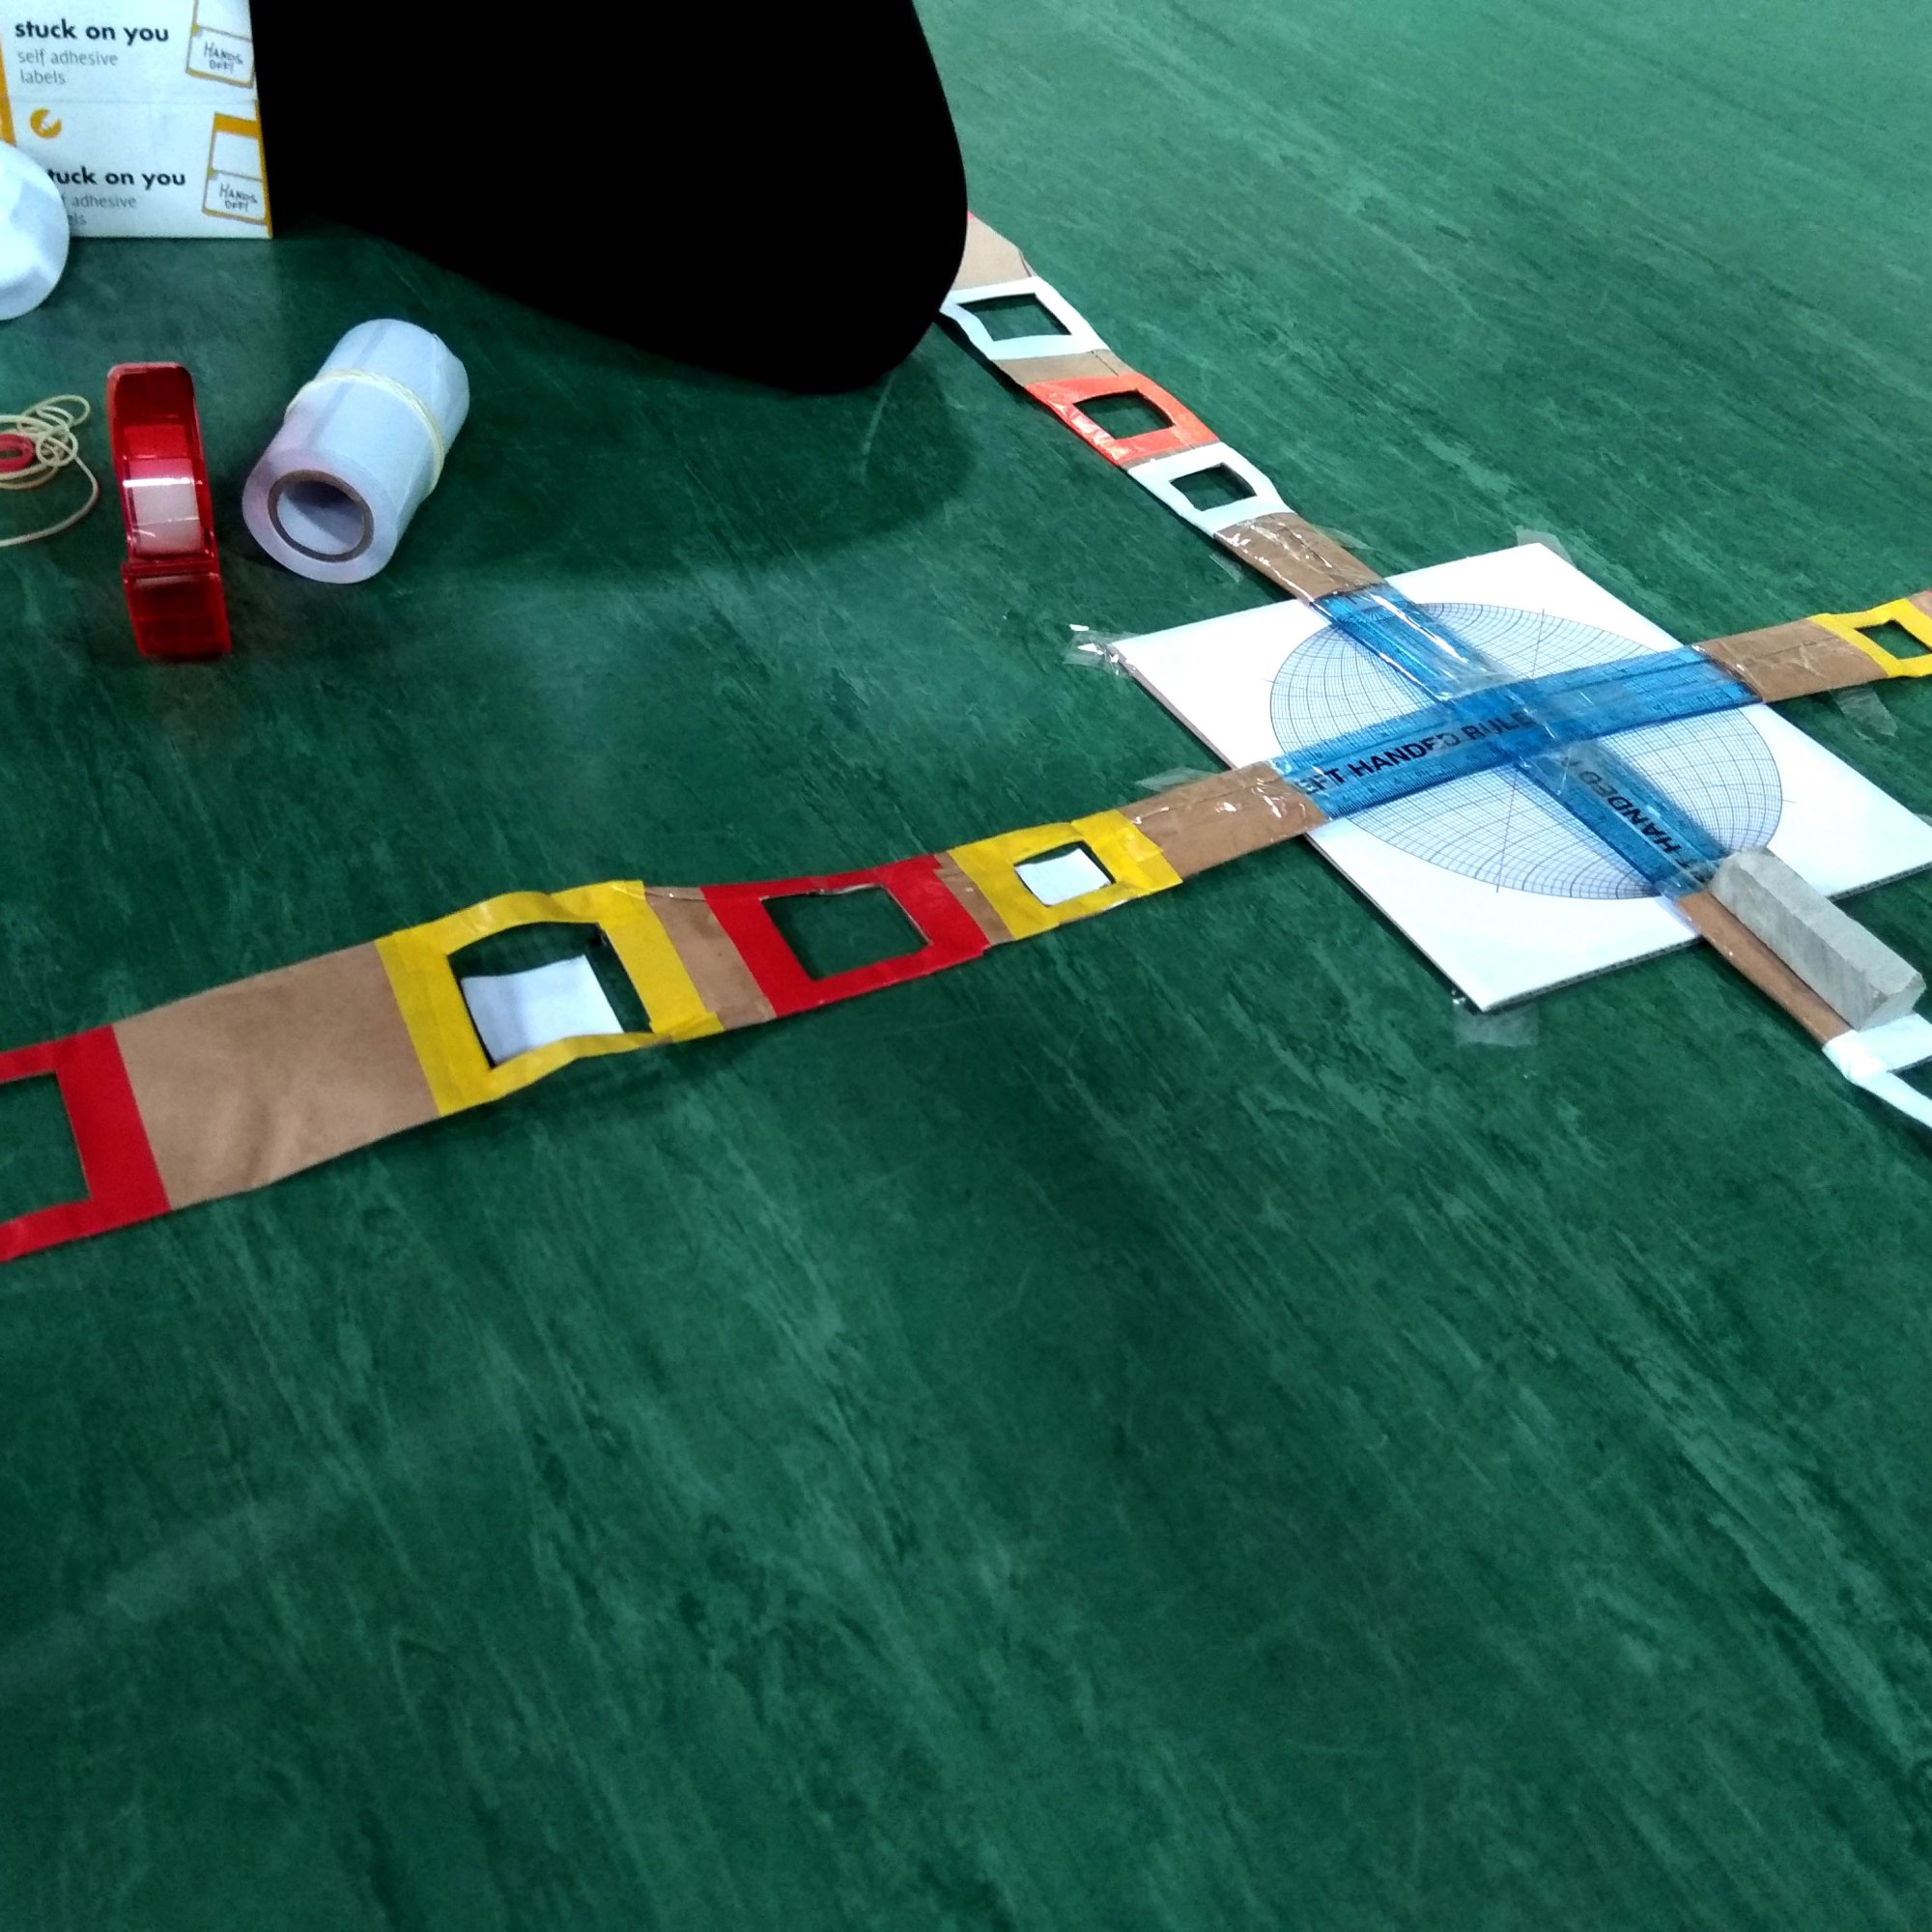
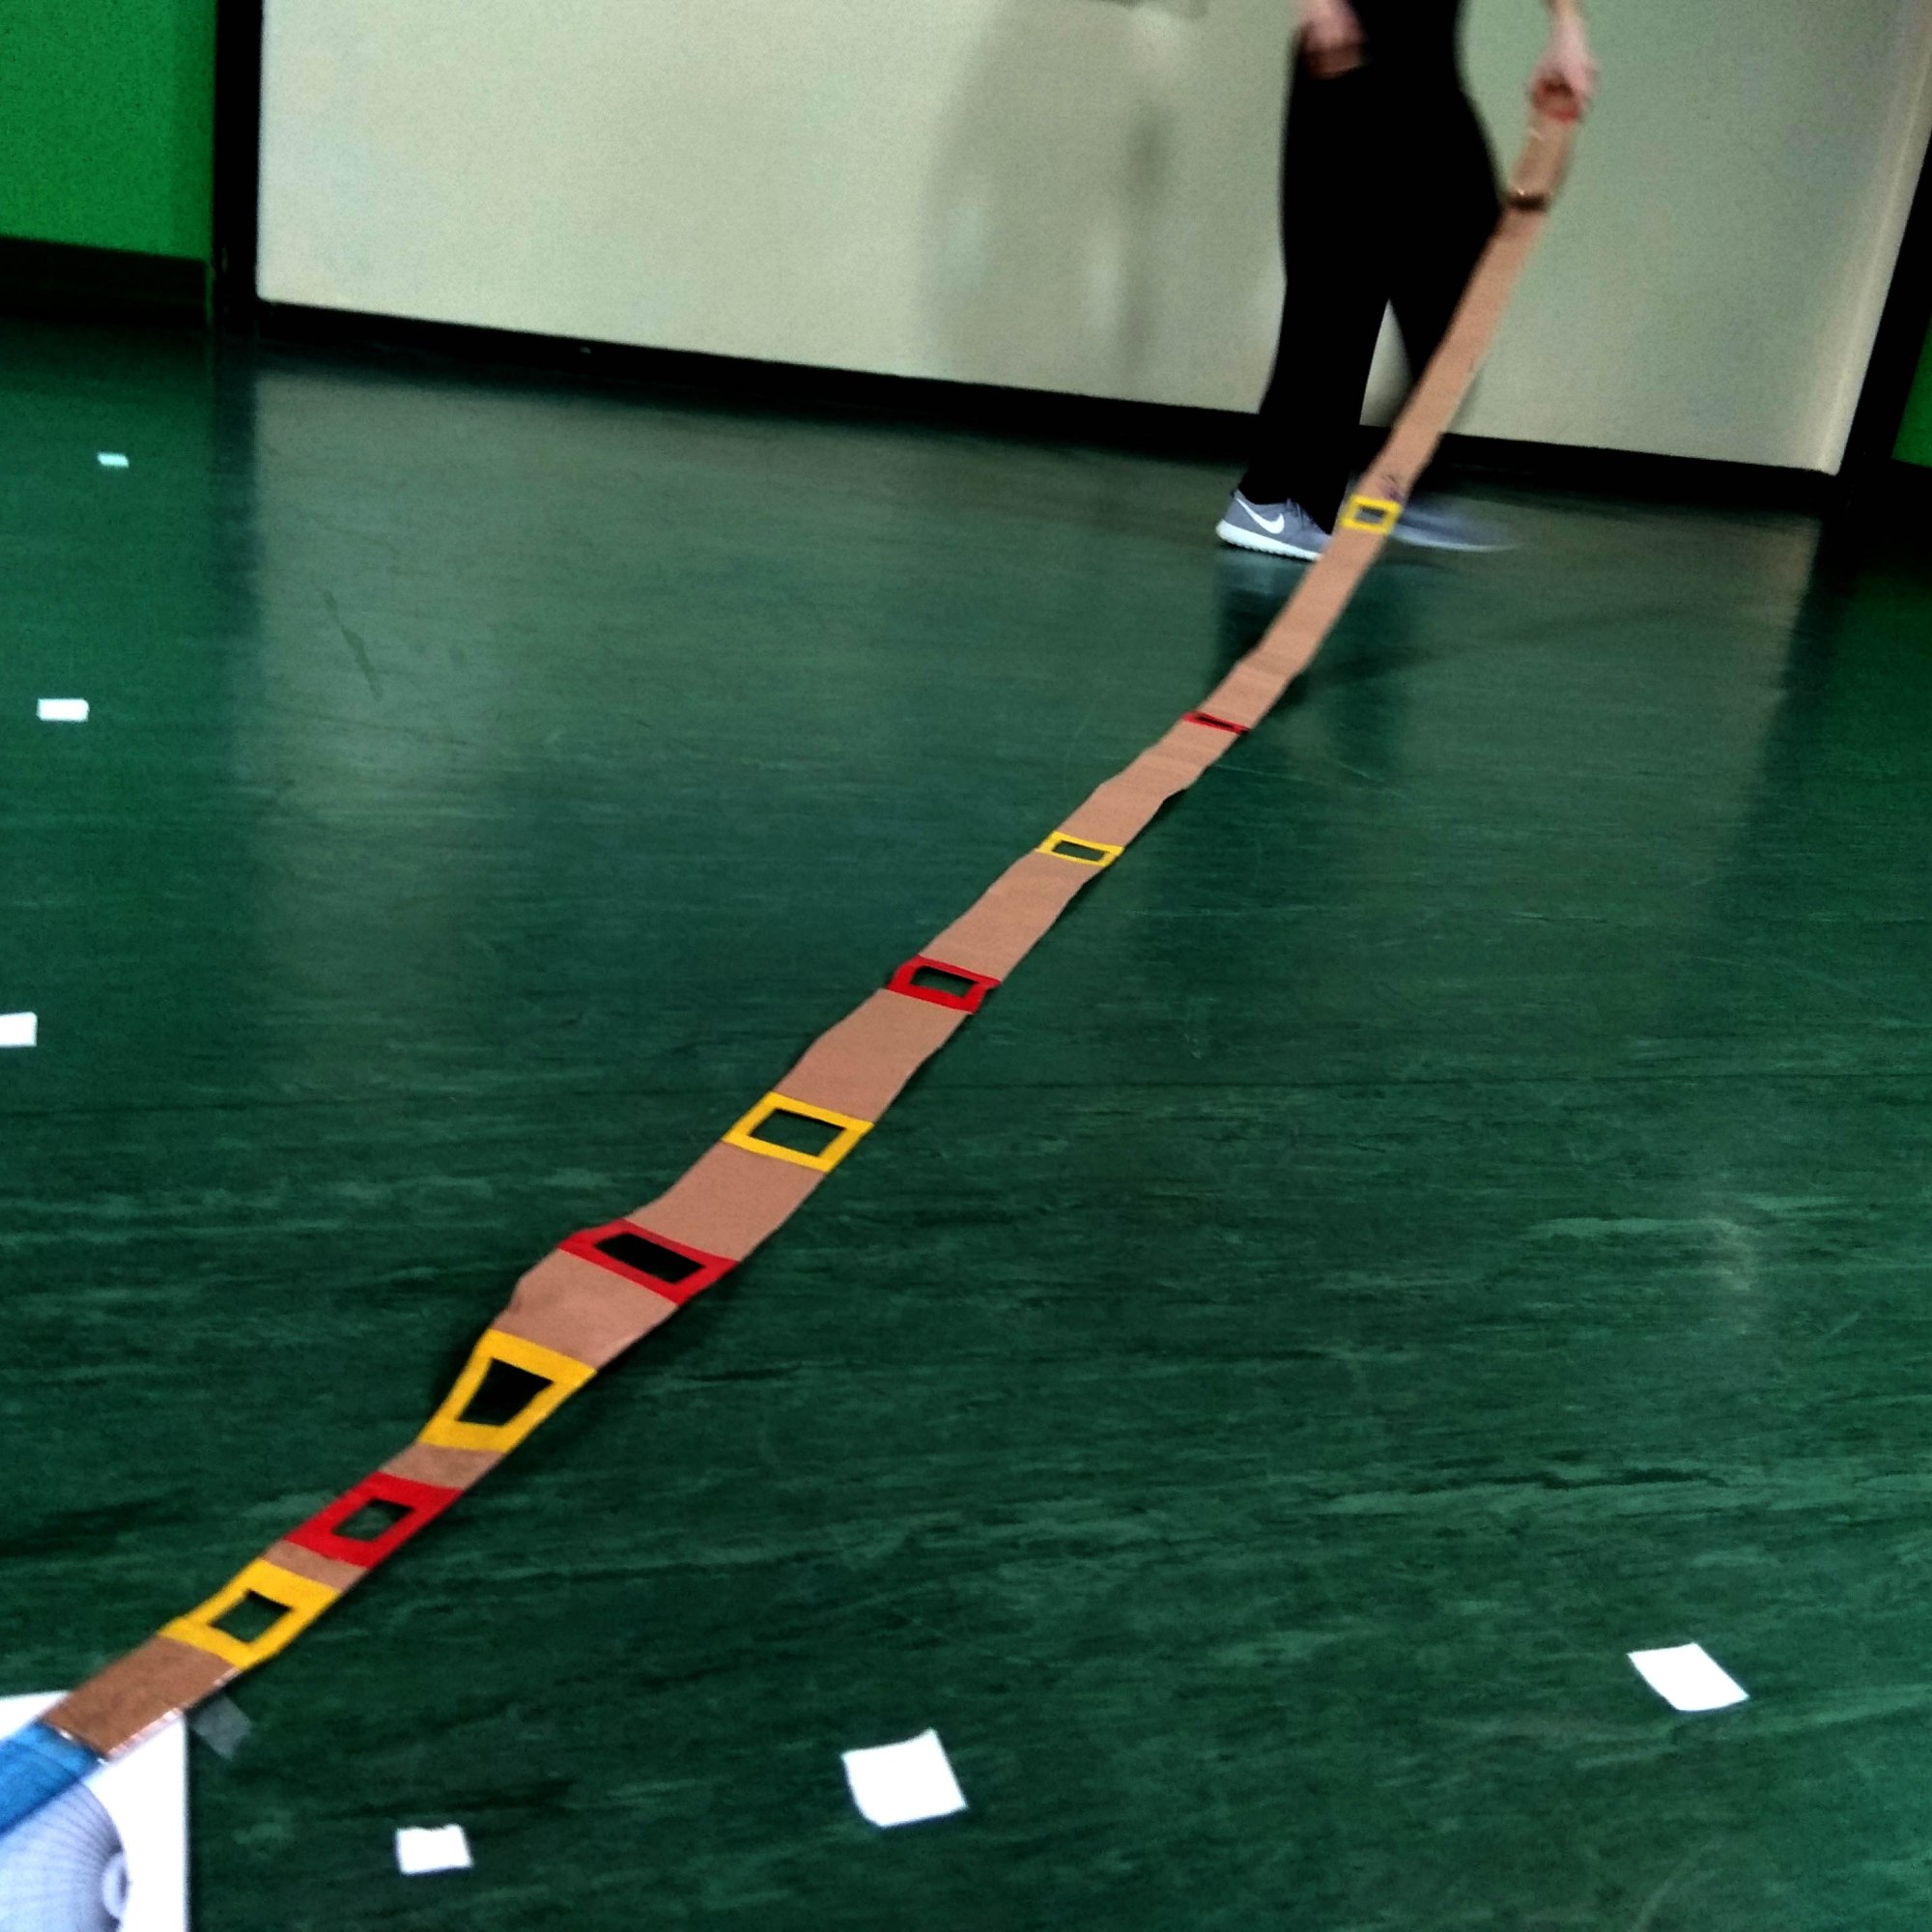
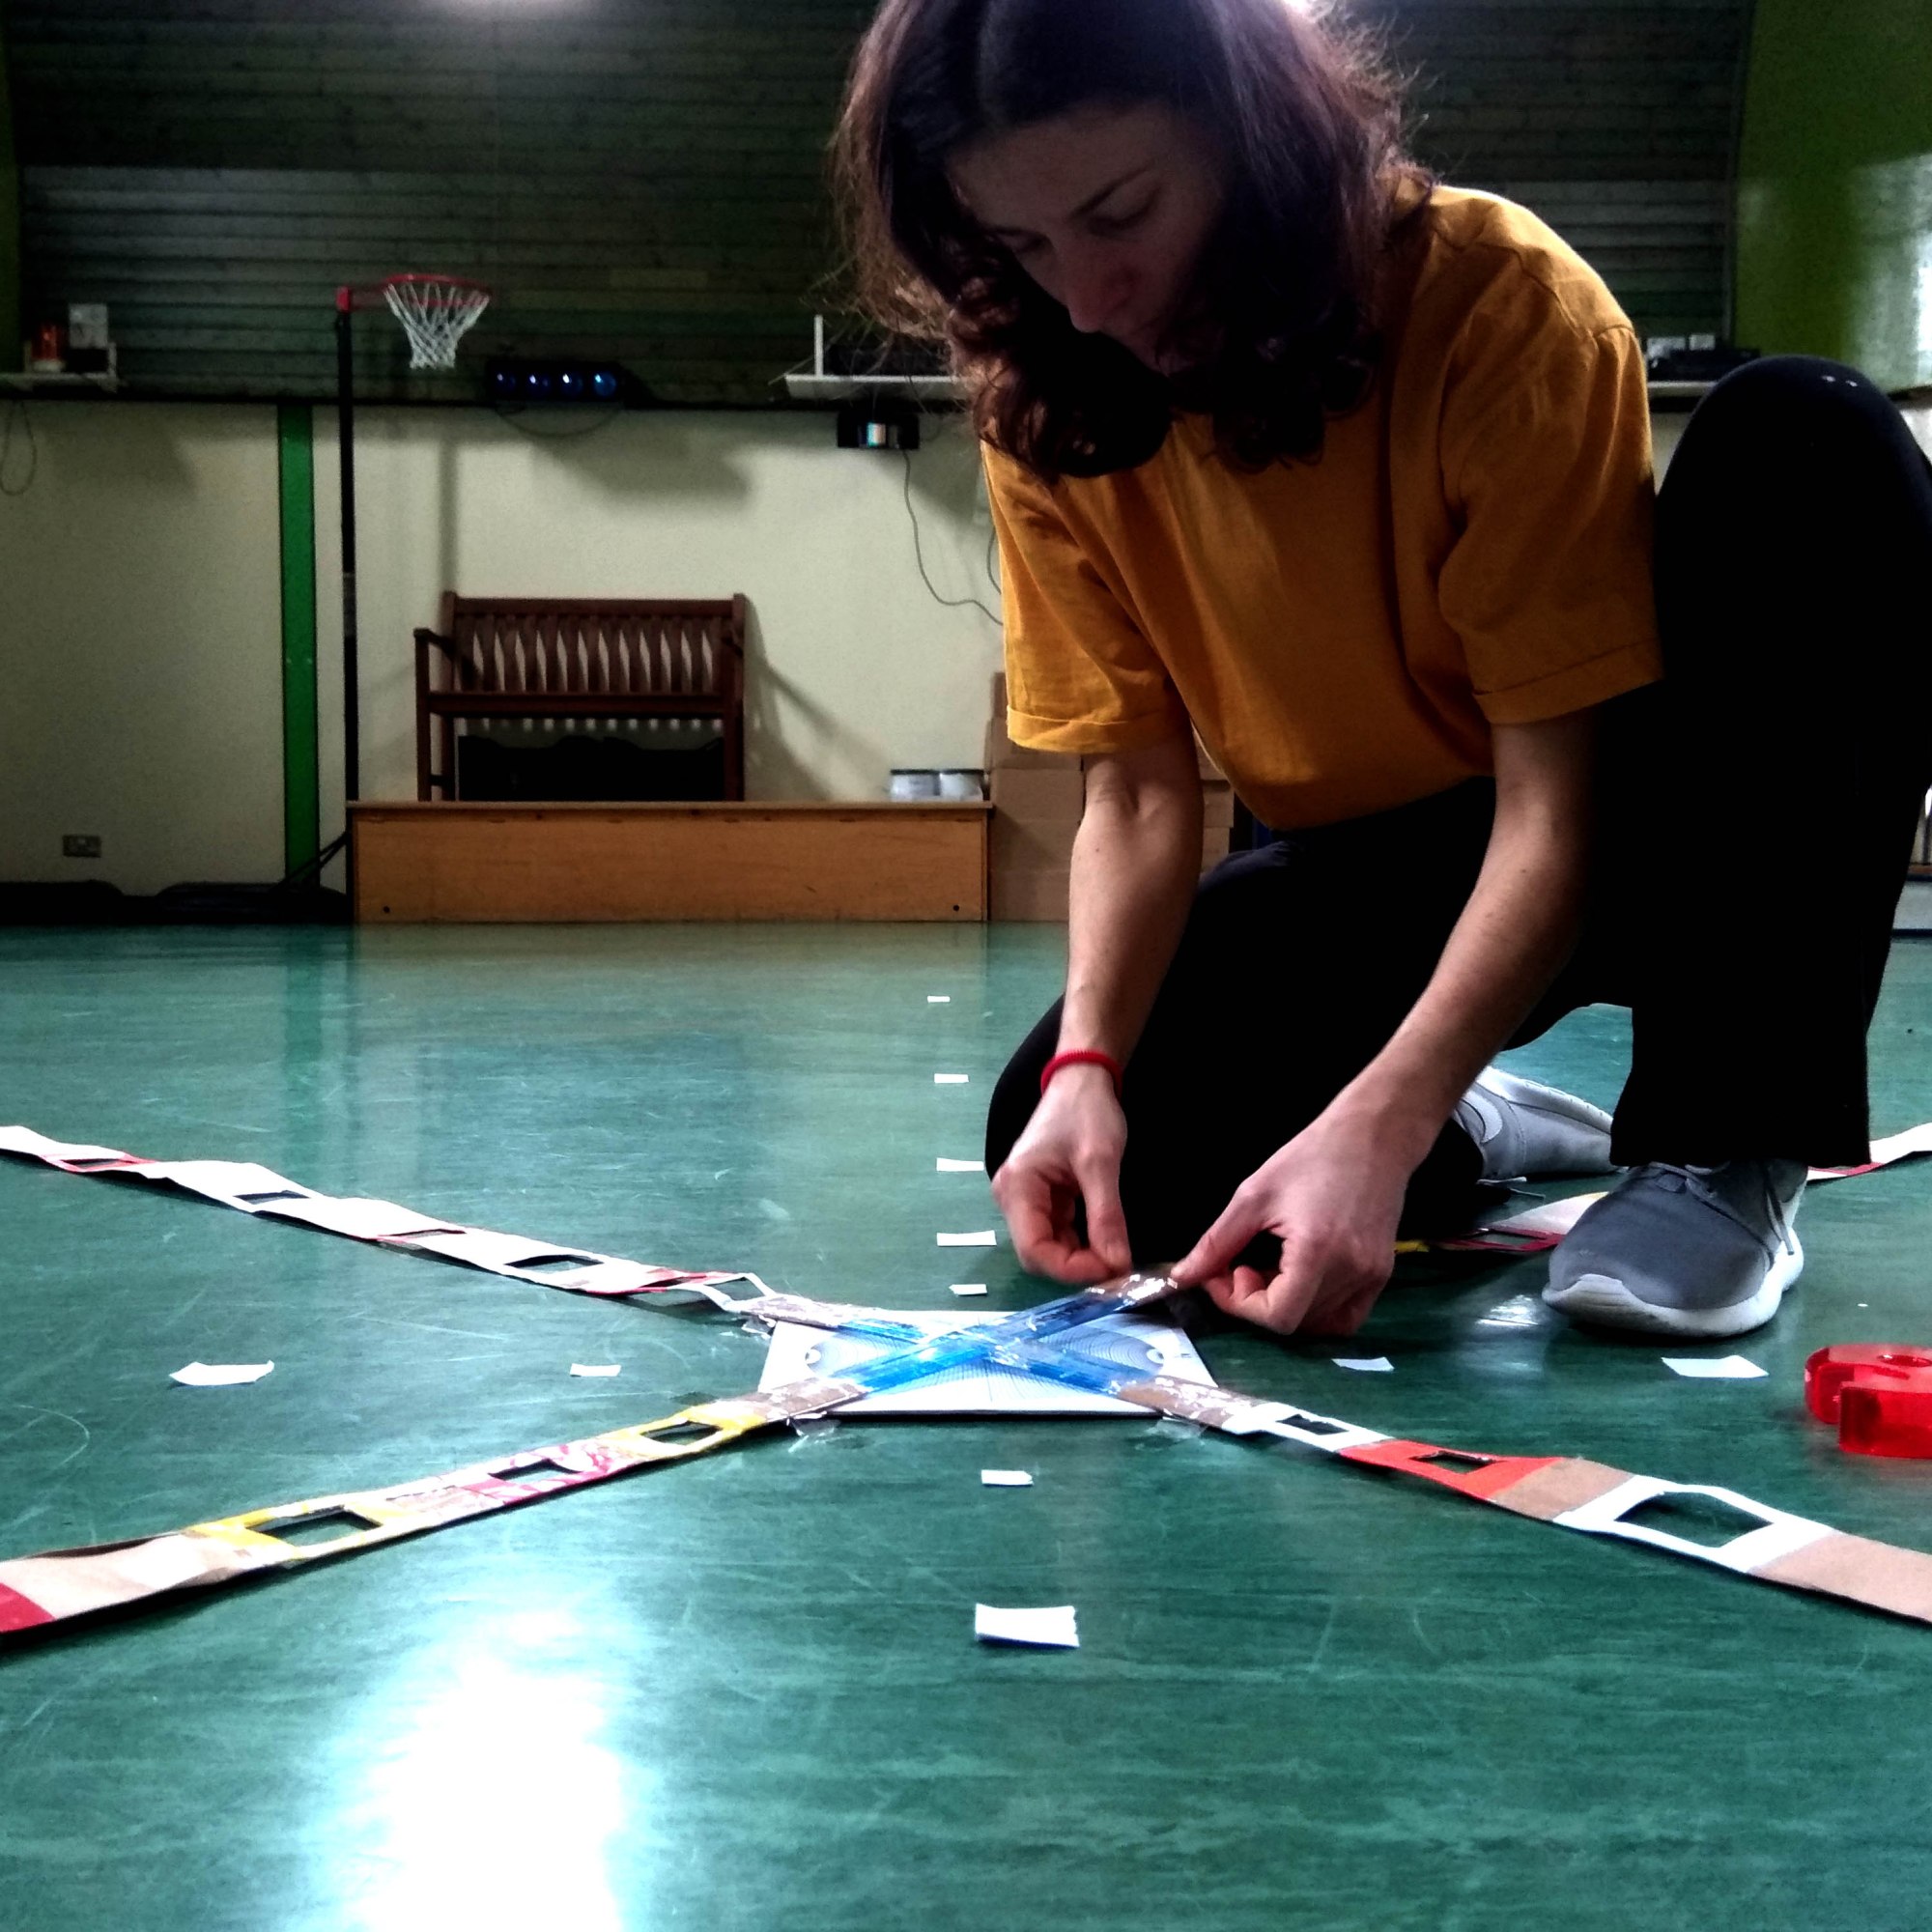
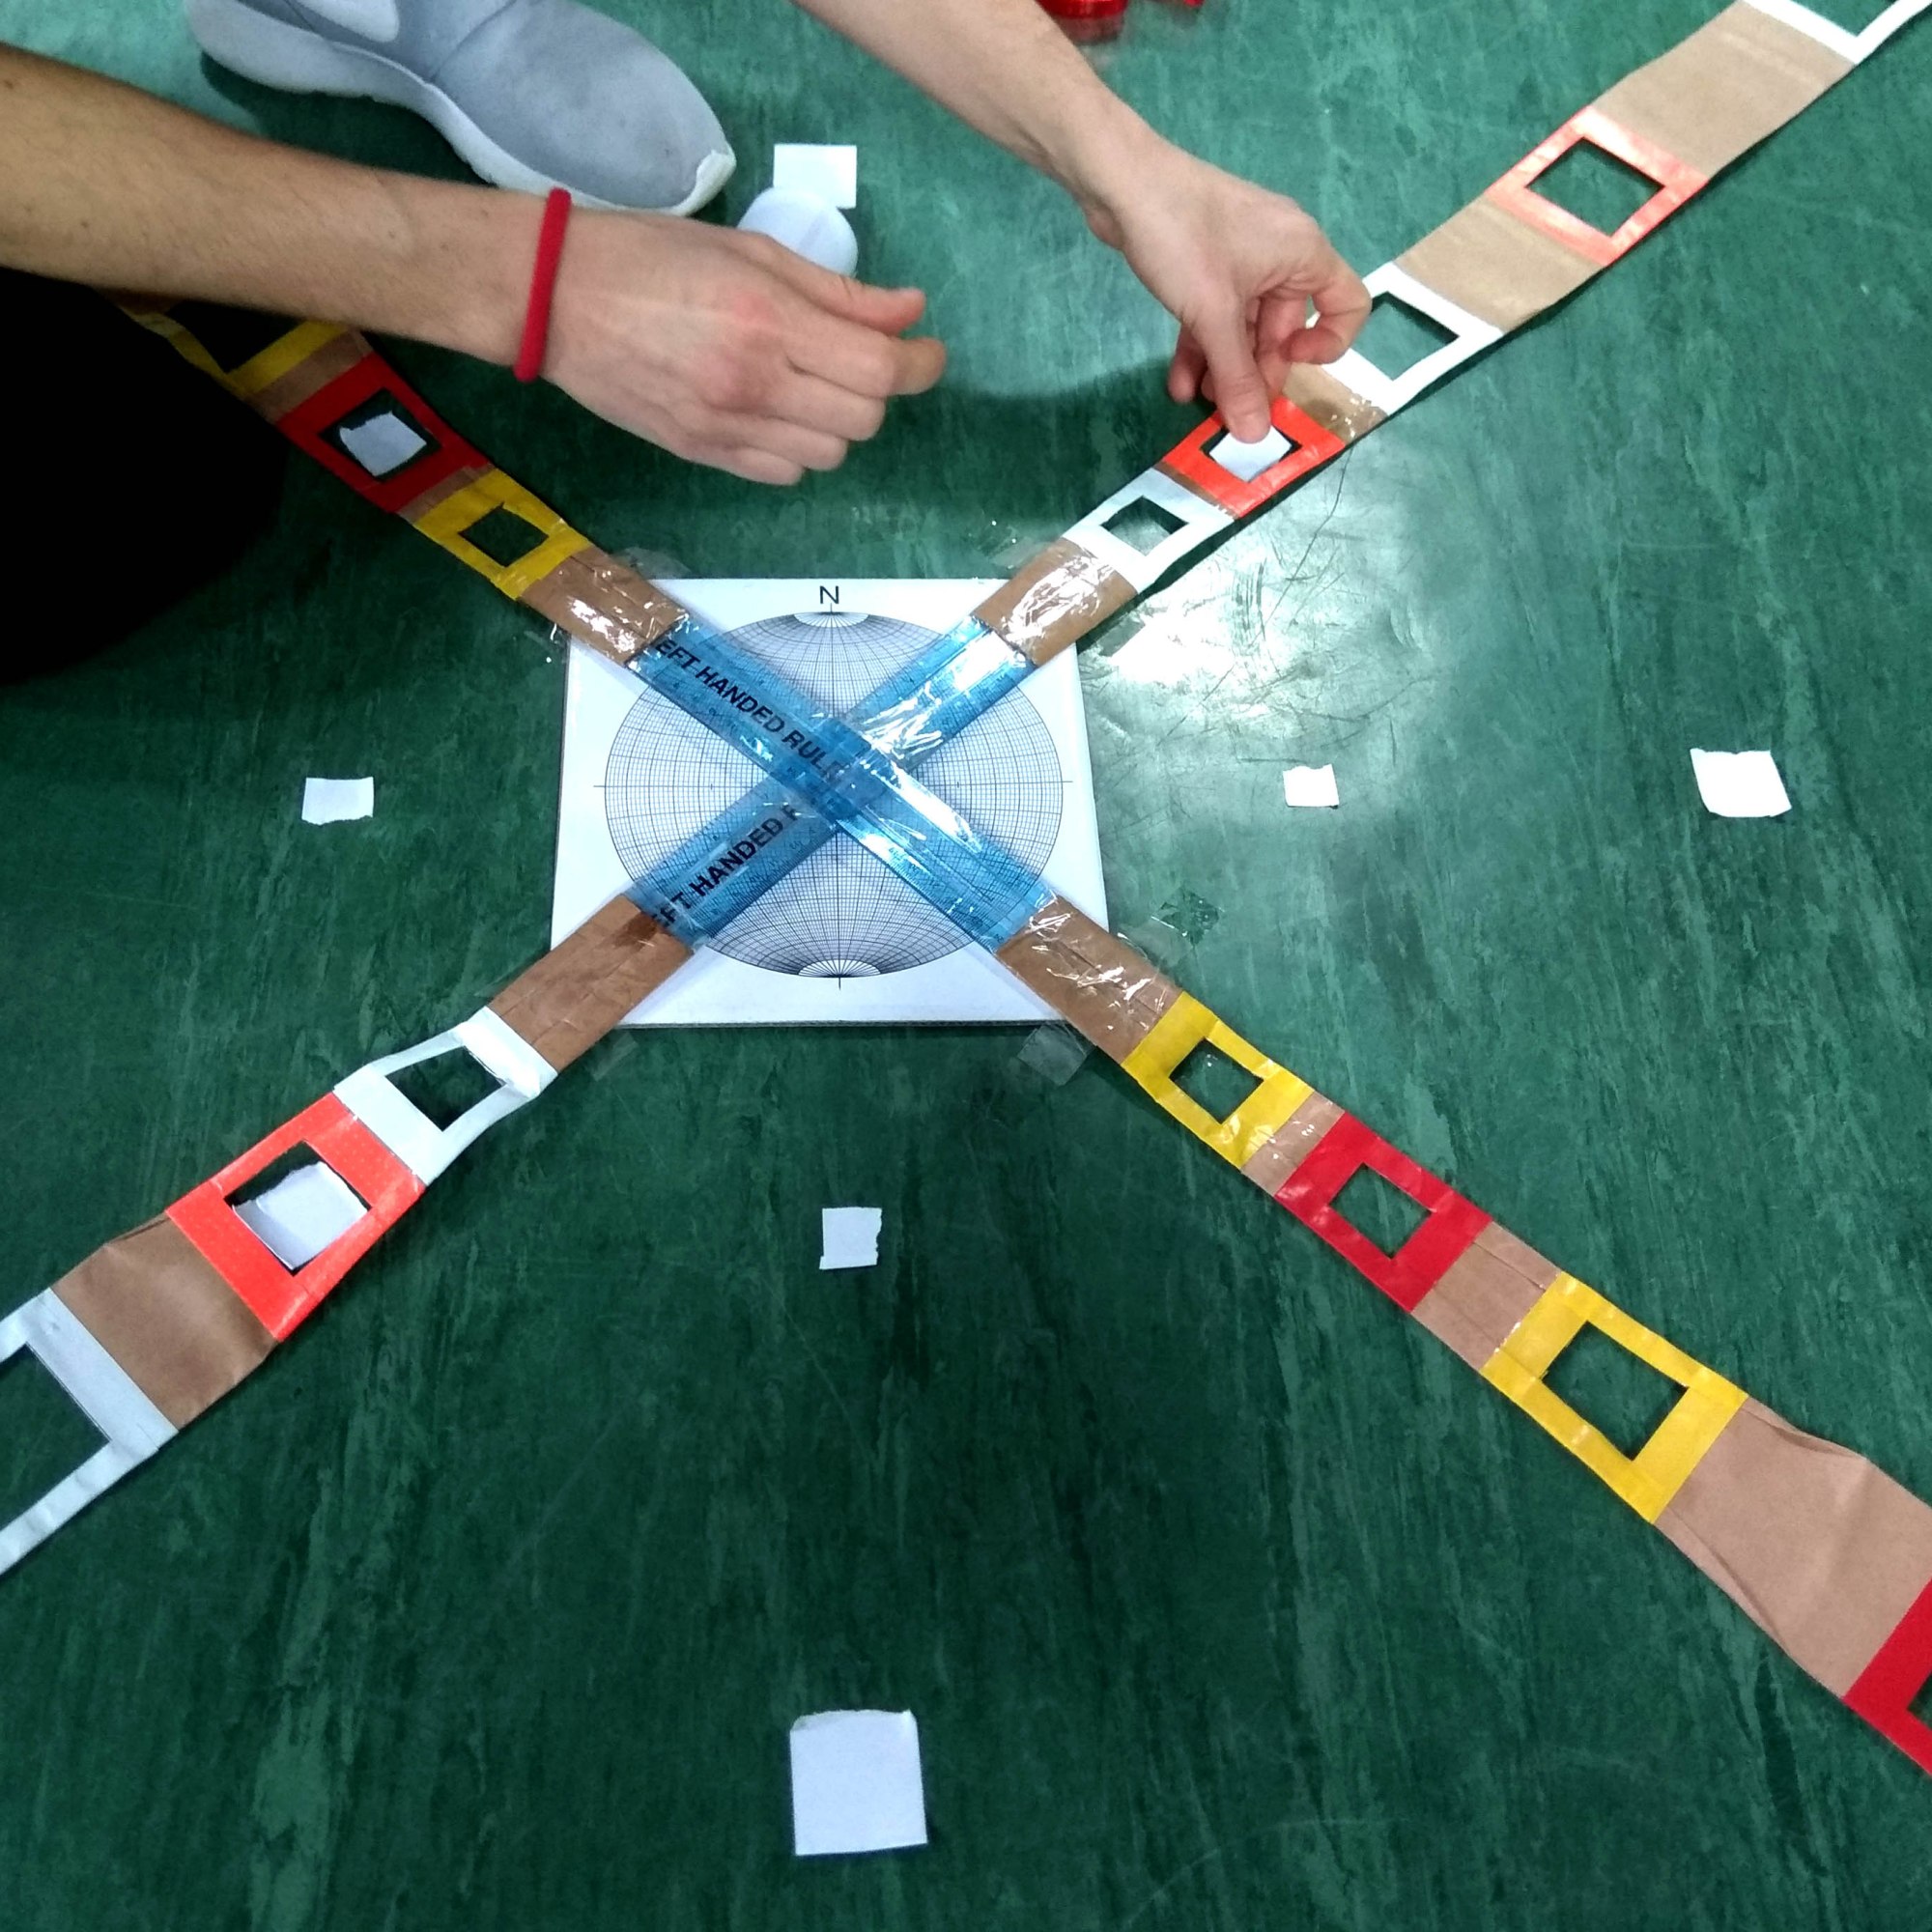
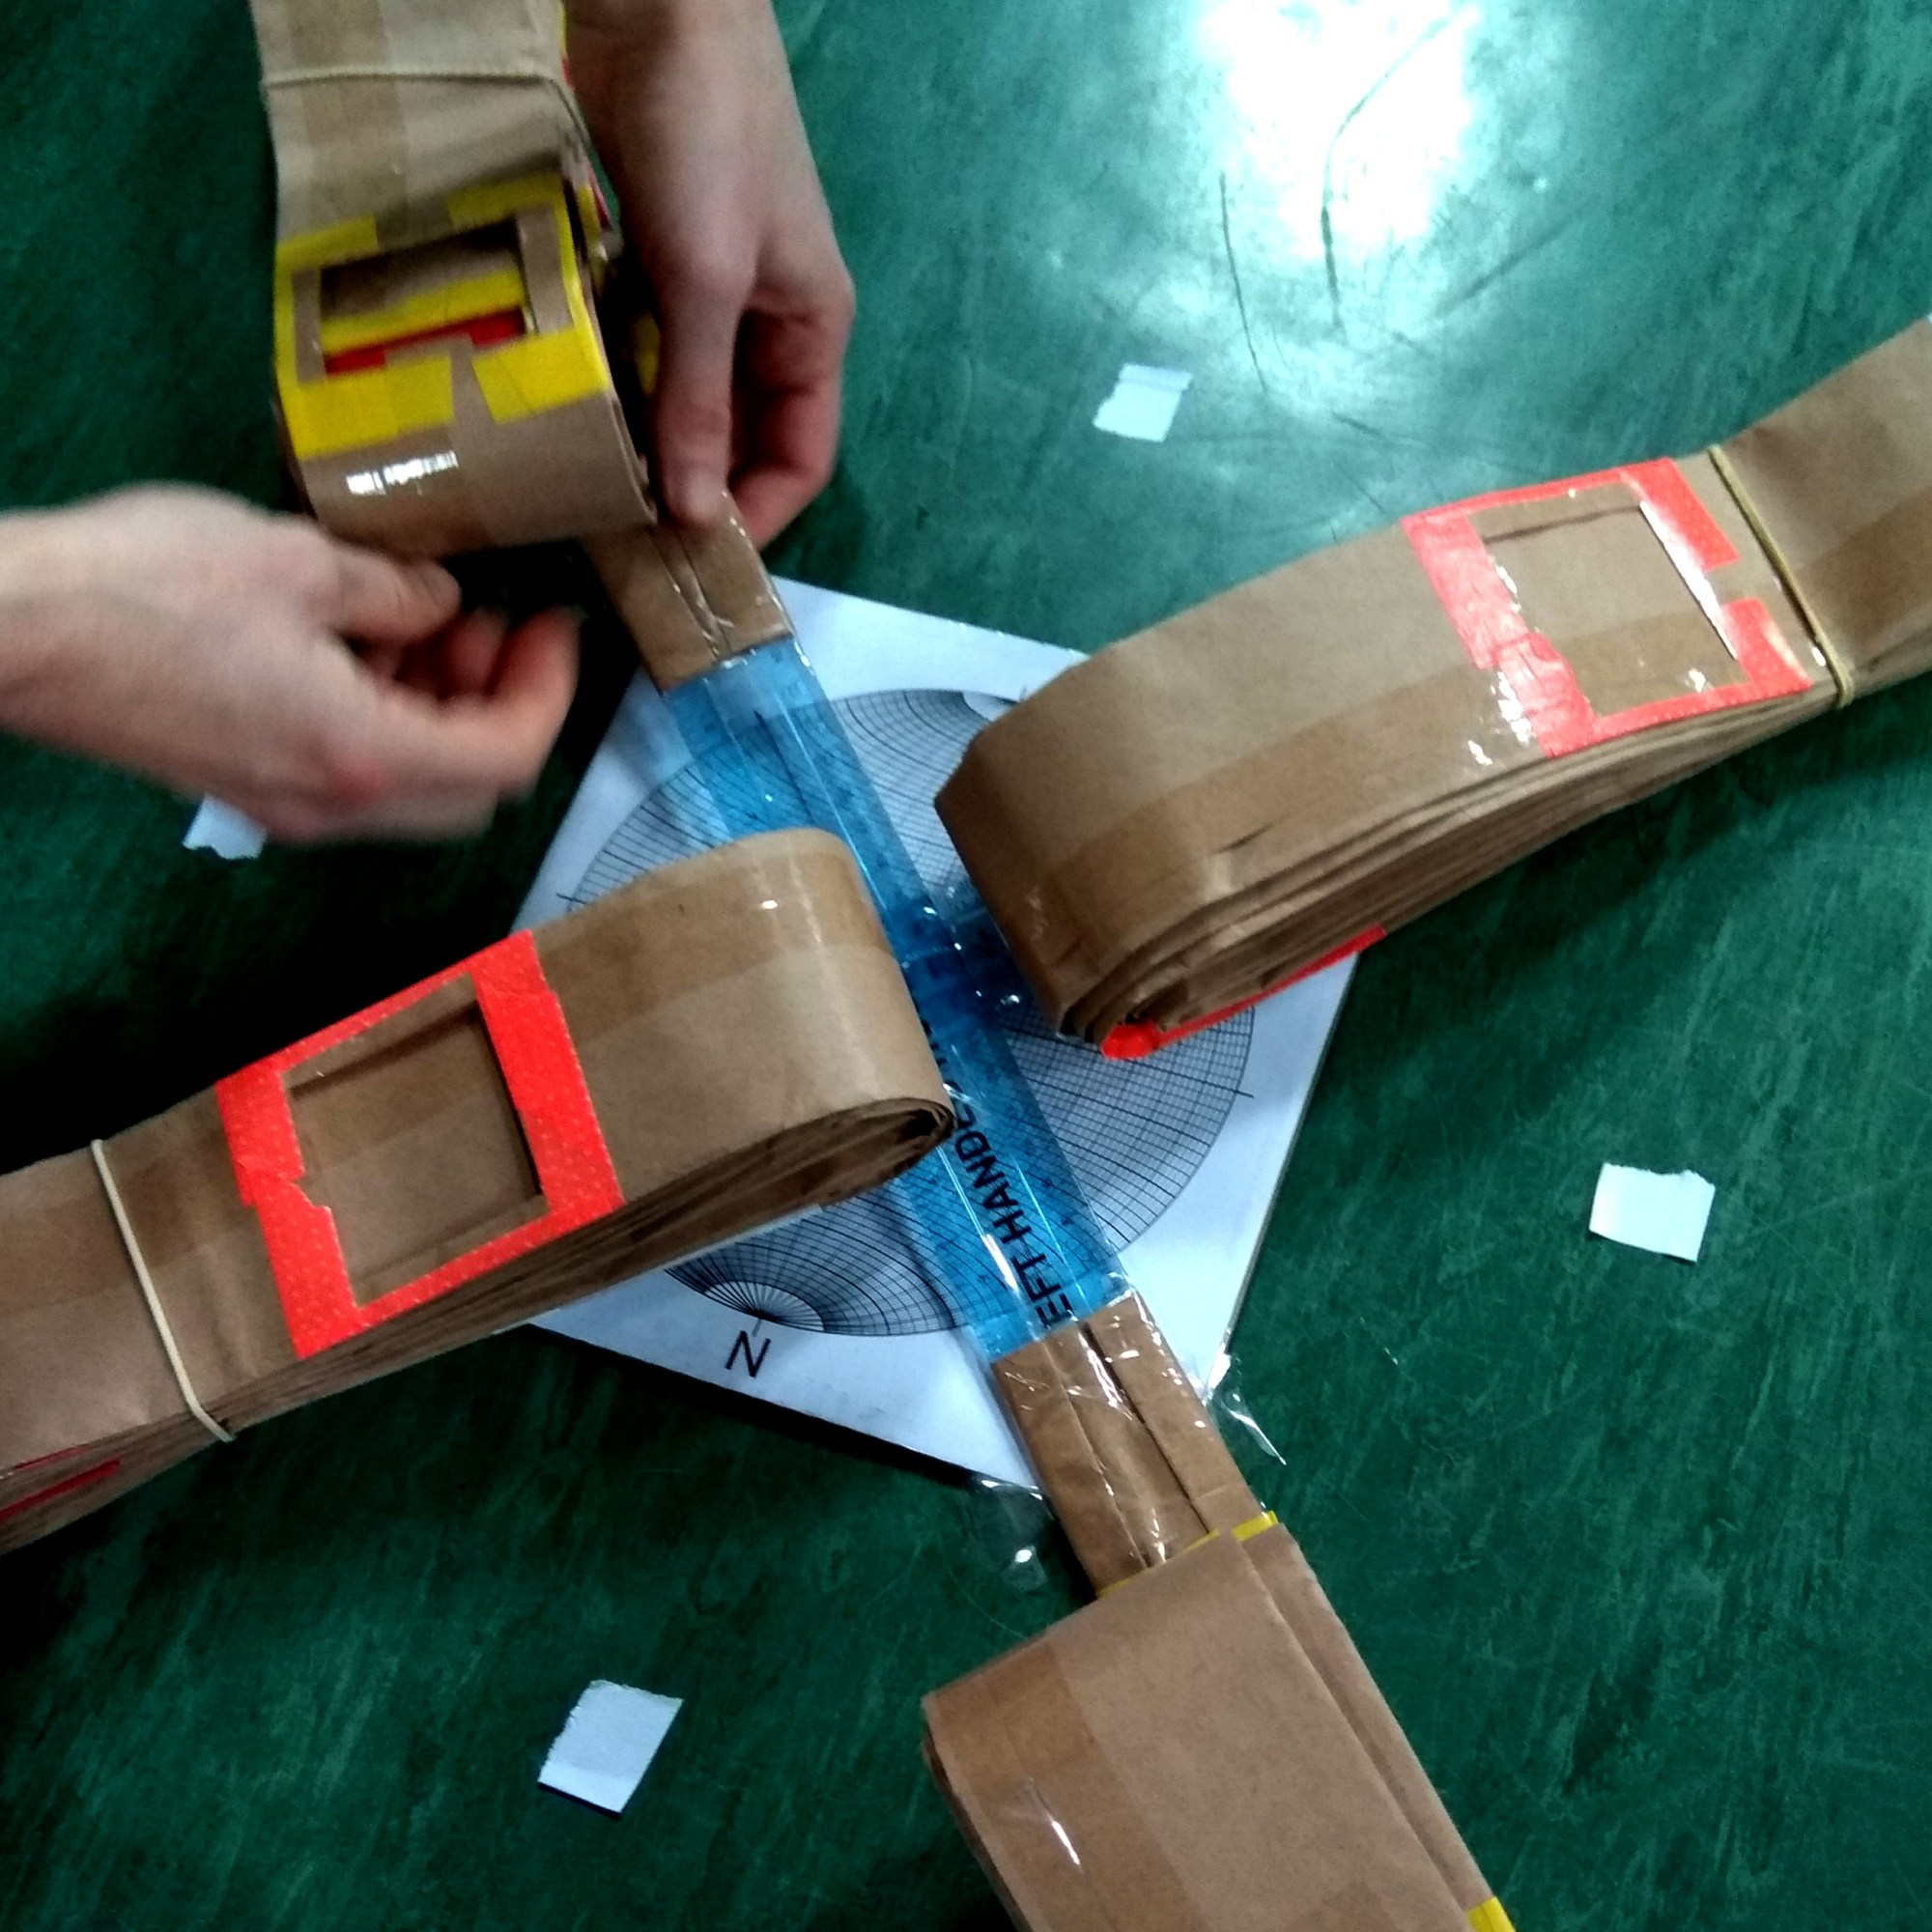
Then I unfolded the four 6m long paper strips we (my partner and I) had brought with us, which were separately made at home, out of brown, parcel wrapping paper that comes in a 12m roll (see images below). In our home preparation, it was cut in half, then carefully folded in the form of four 6m long strips with rulers and guides and last, taped with common transparent tape. The four stripes had already been adjusted in a perfect right-angled cross, made of plastic rulers. Along with the cross, we had also prepared a squared carton with a Schmidt net* and a rotator on it (made out of a pin and a little rubber) in order to first place the cross on it, at the center of the space, mark the four stripes with the first set of intersection points, coming from the two axes of my structure, and, then rotate it for 45 degrees, in order to mark the second set of intersection points, coming from the other two axes of my structure, on the same stripes. For the very, very small squares, that couldn’t be marked because they were hidden under the rulers of the cross, my partner had prepared a small “surprise” … This took us two afternoons, around 8 hours.
*The Schmidt net is a method for the Lambert azimuthal equal-area projection using graph paper… and OK, I admit that it was a little bit sophisticated using this for having a division of the 360 degrees into 8 equal parts, but who am I to judge us, I am just doing squares…


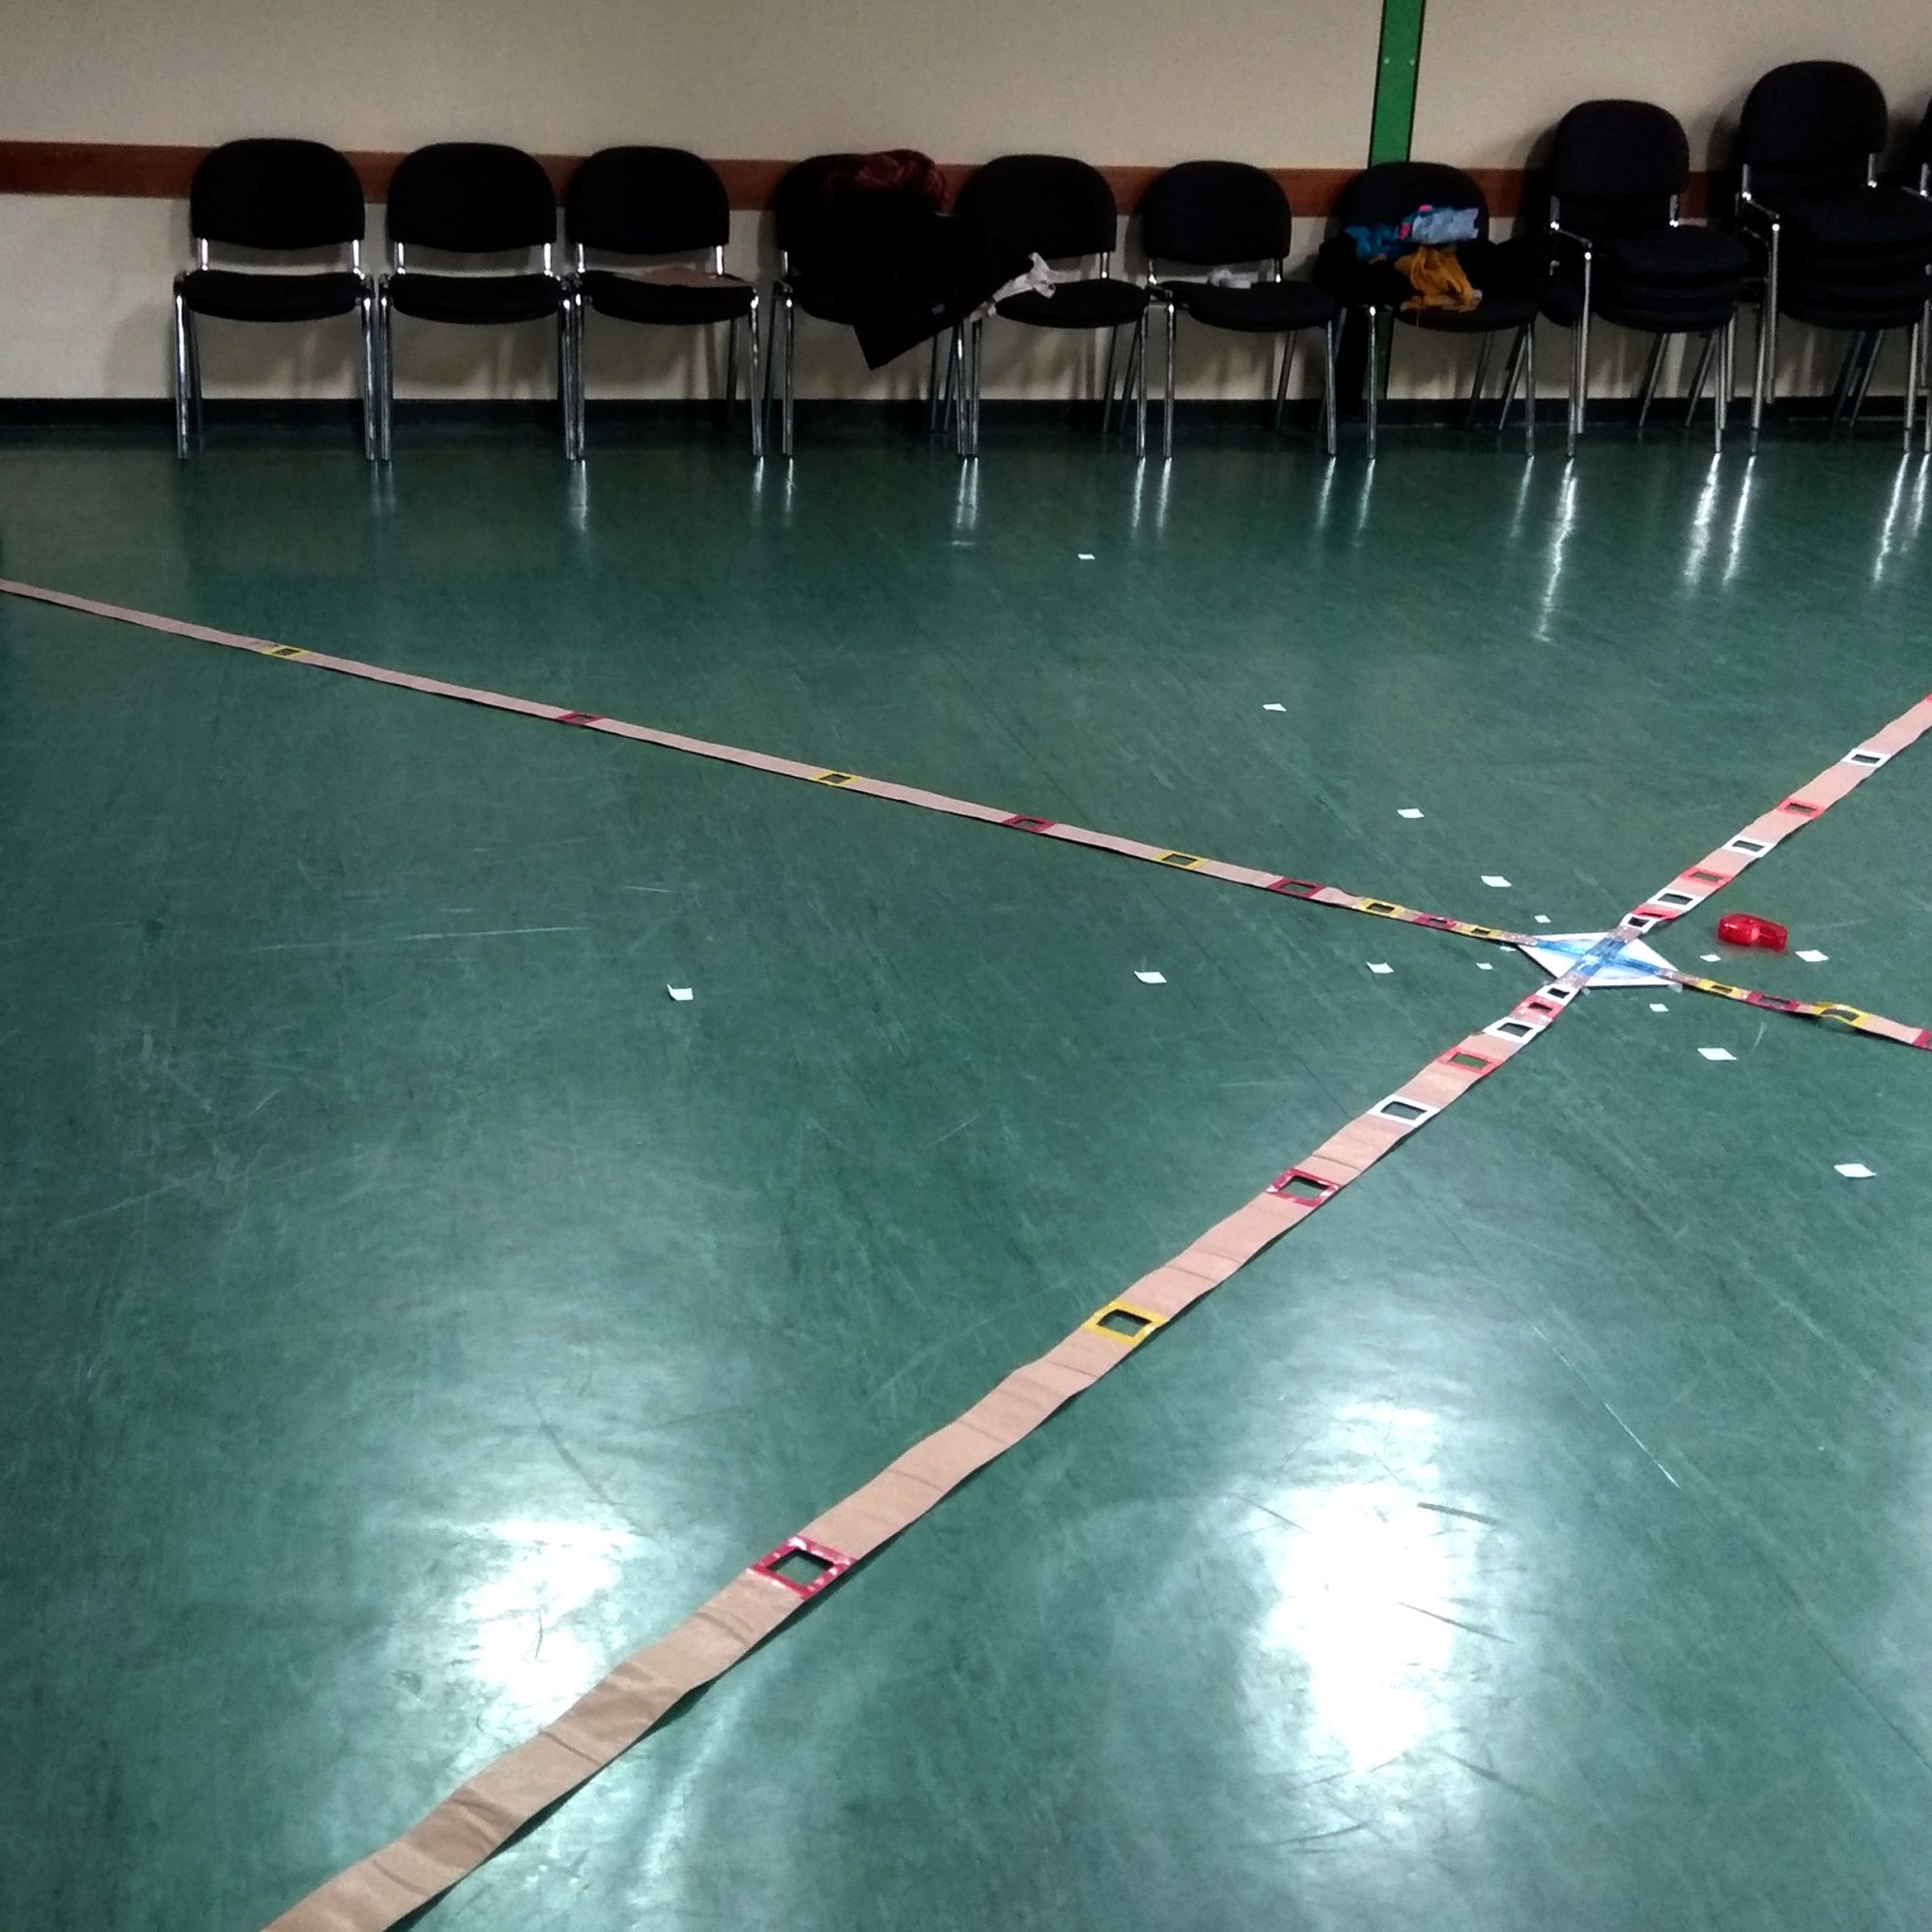
So, while in the studio (images above), we first placed the cross, secure it with a large rock, then unfolded the stripes, secured them also with some respectable weight (rocks), and then marked the two different sets of intersection points on each stripe. Then we cleared up the space and went home. Marking the stripes took us 45 minutes and clear up 15.
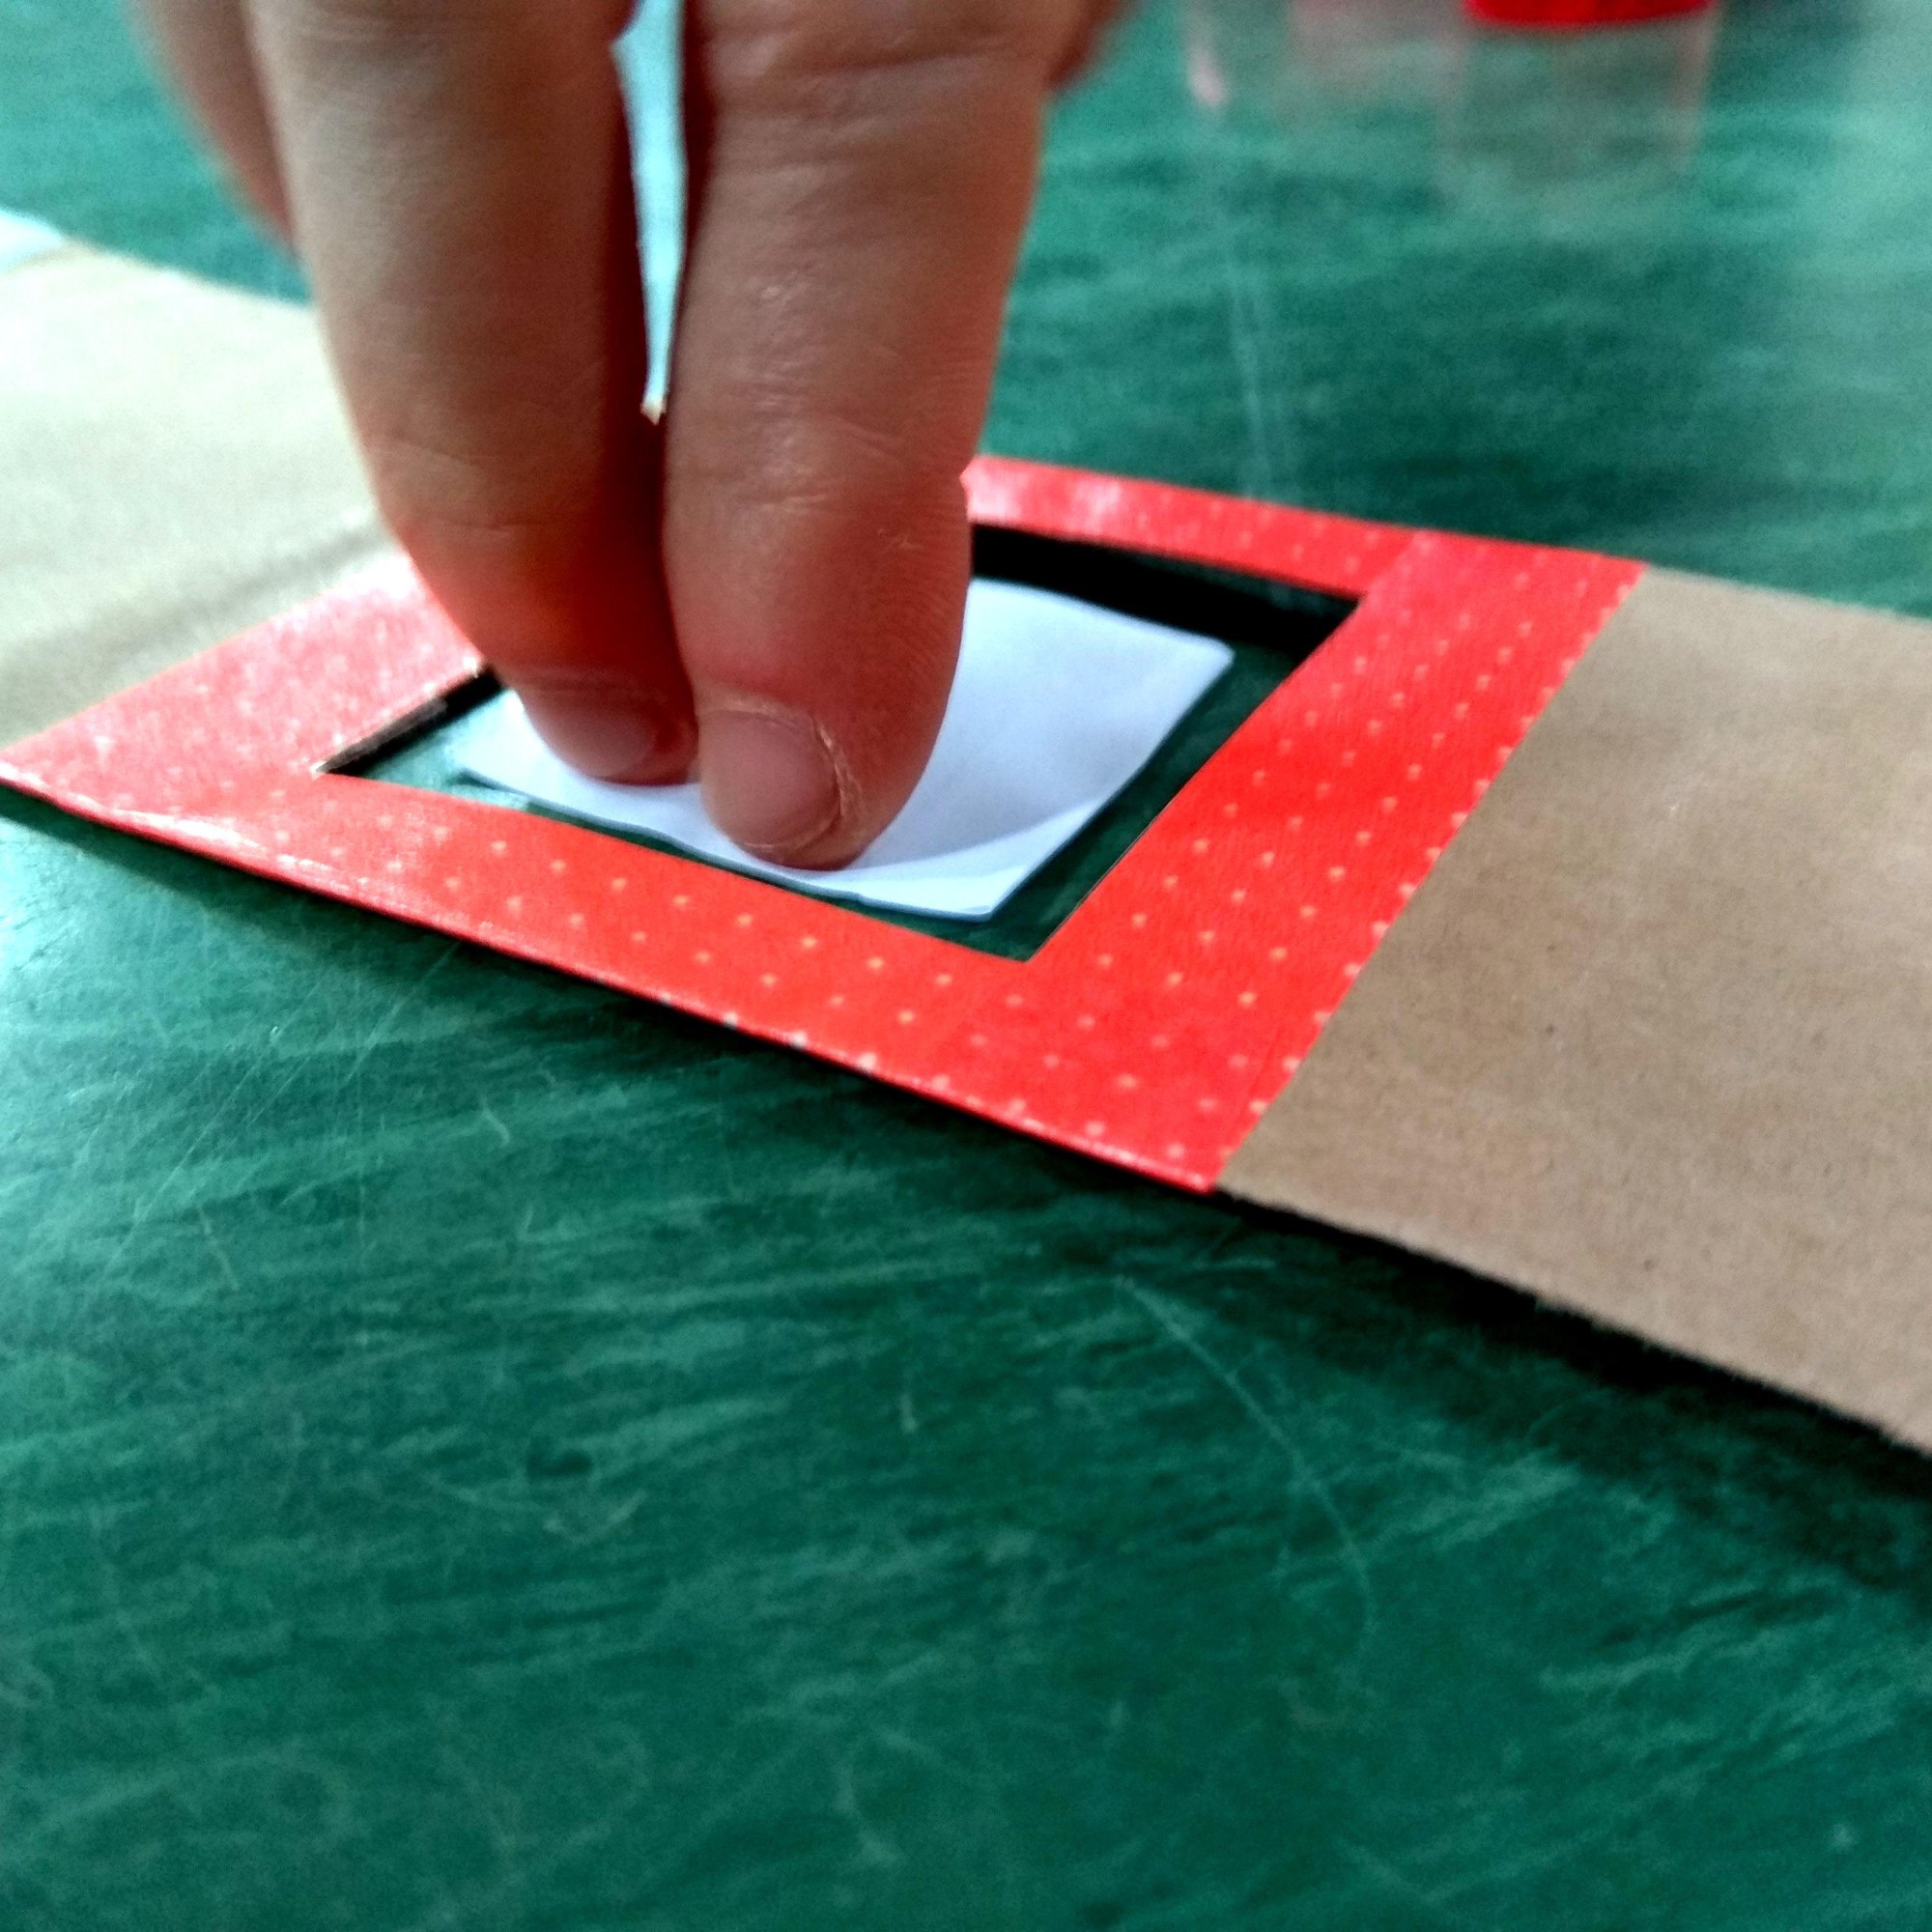
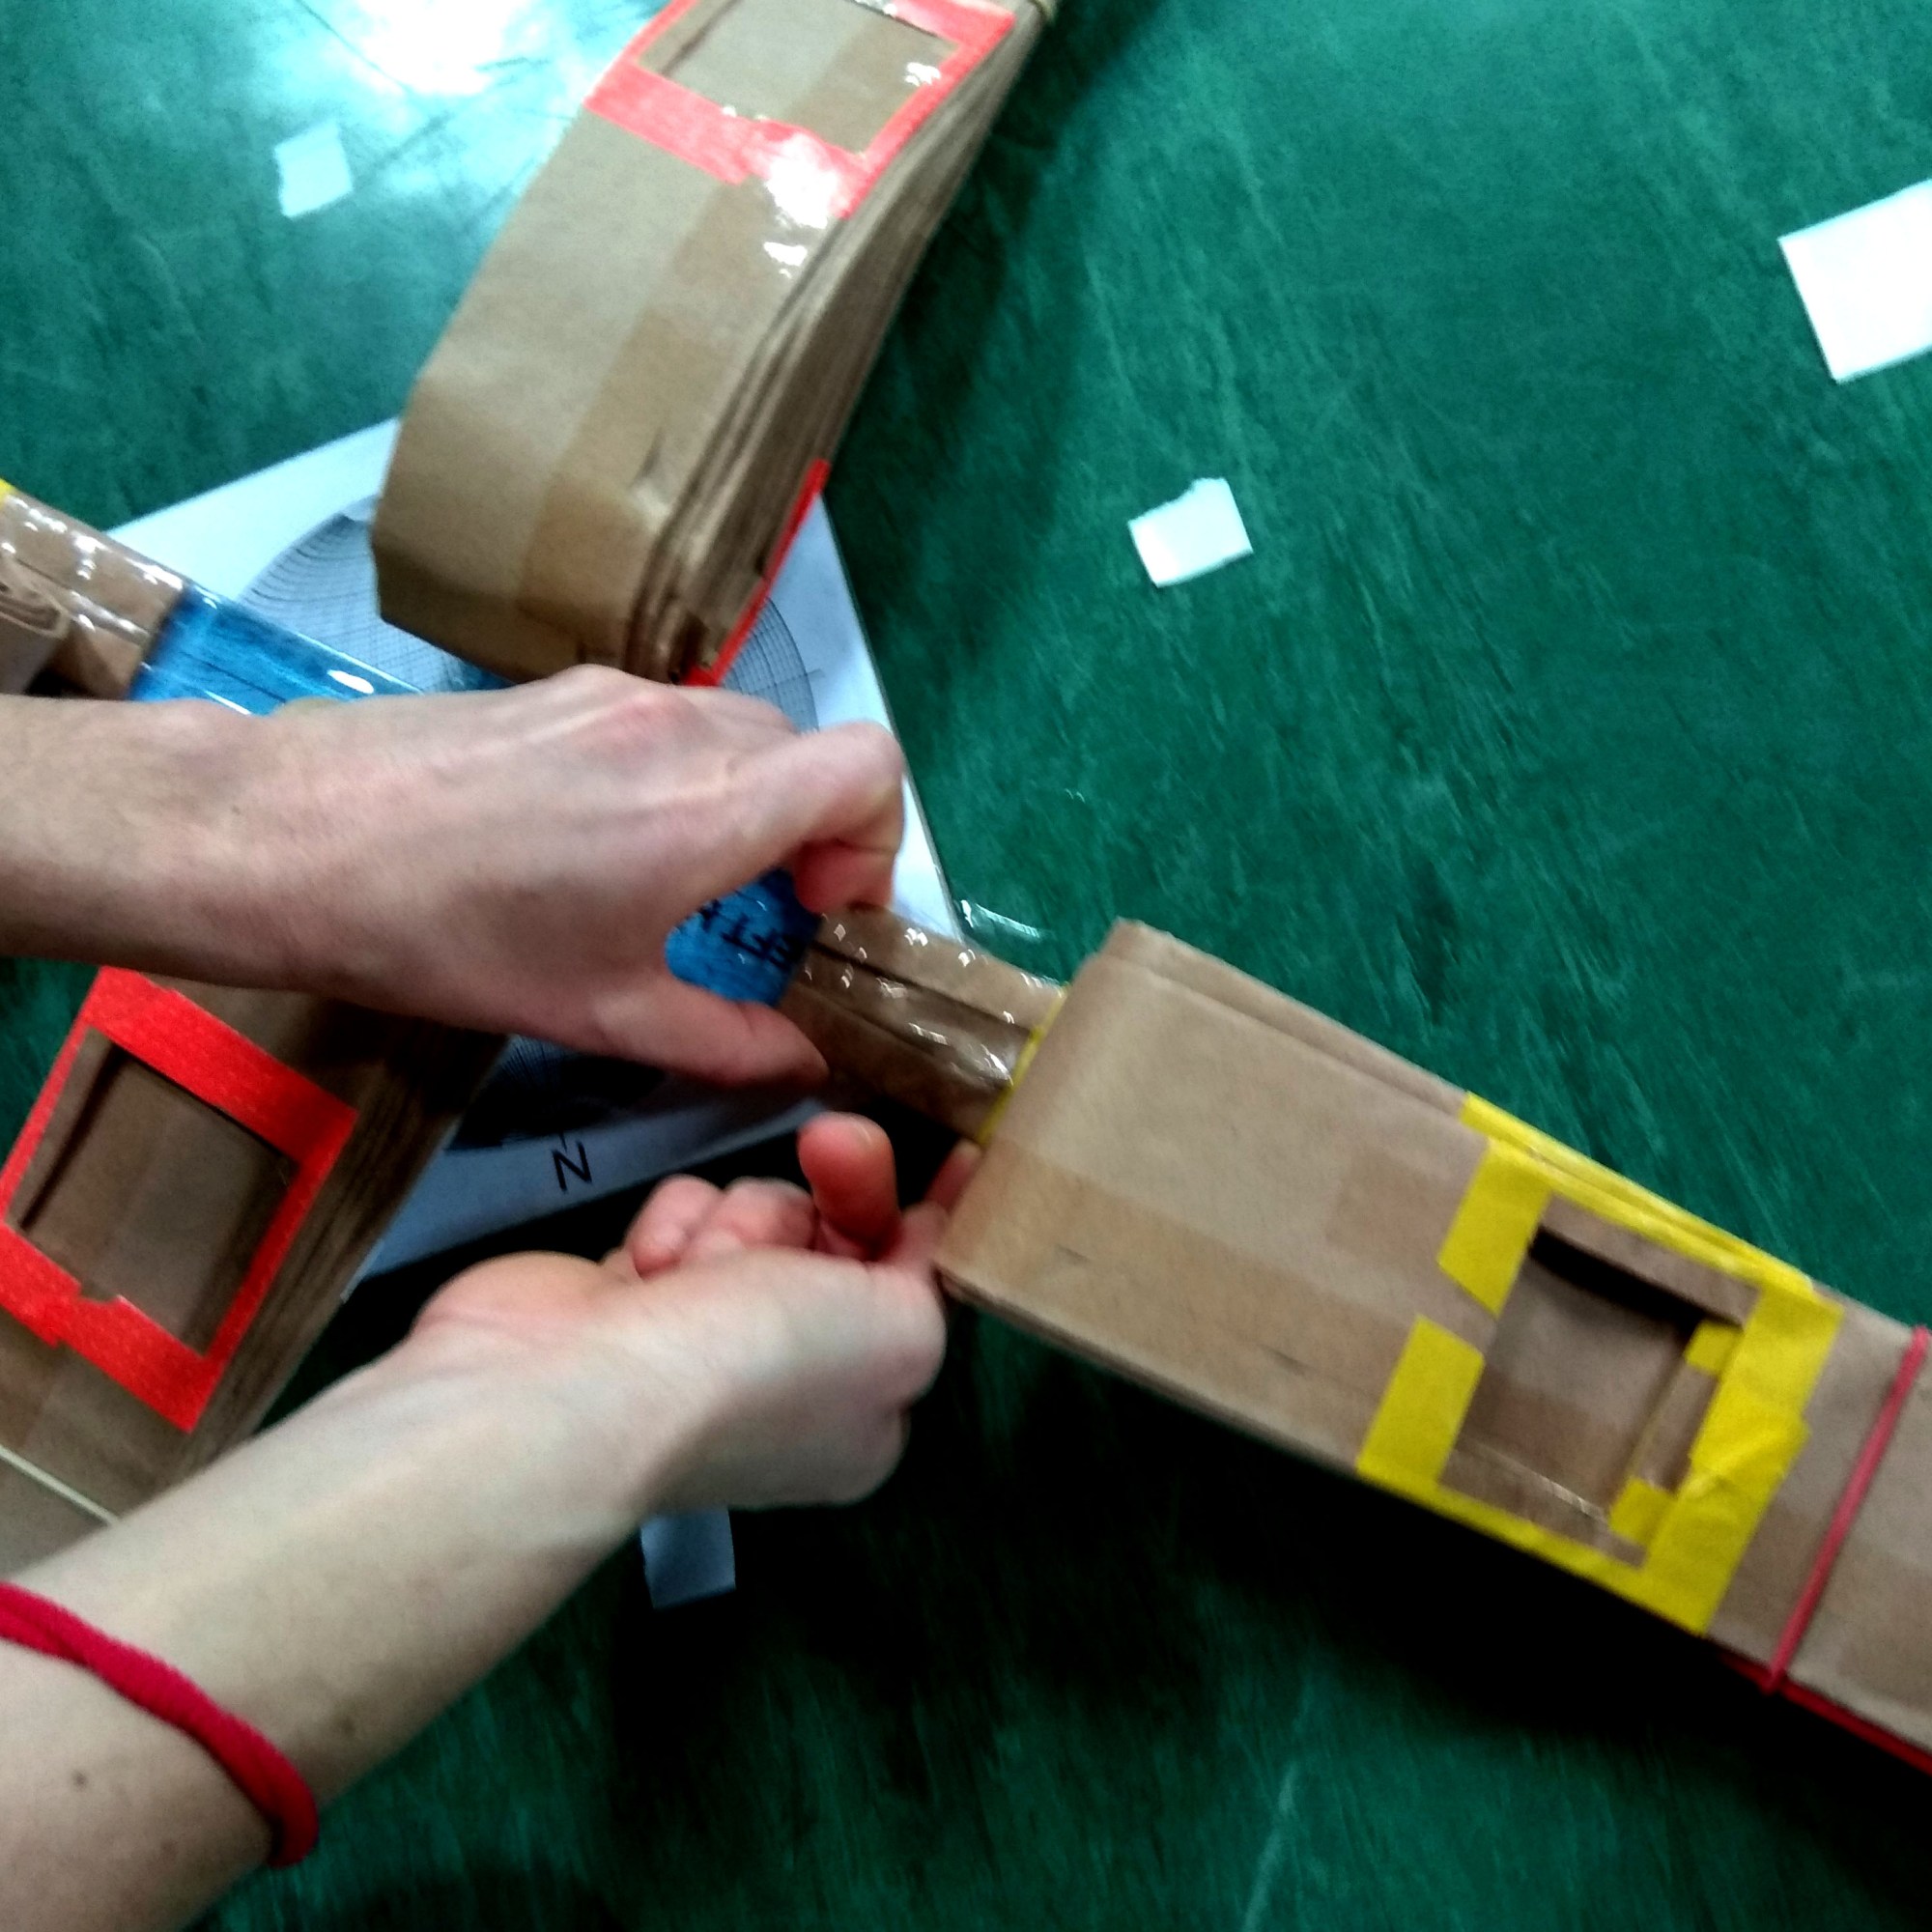
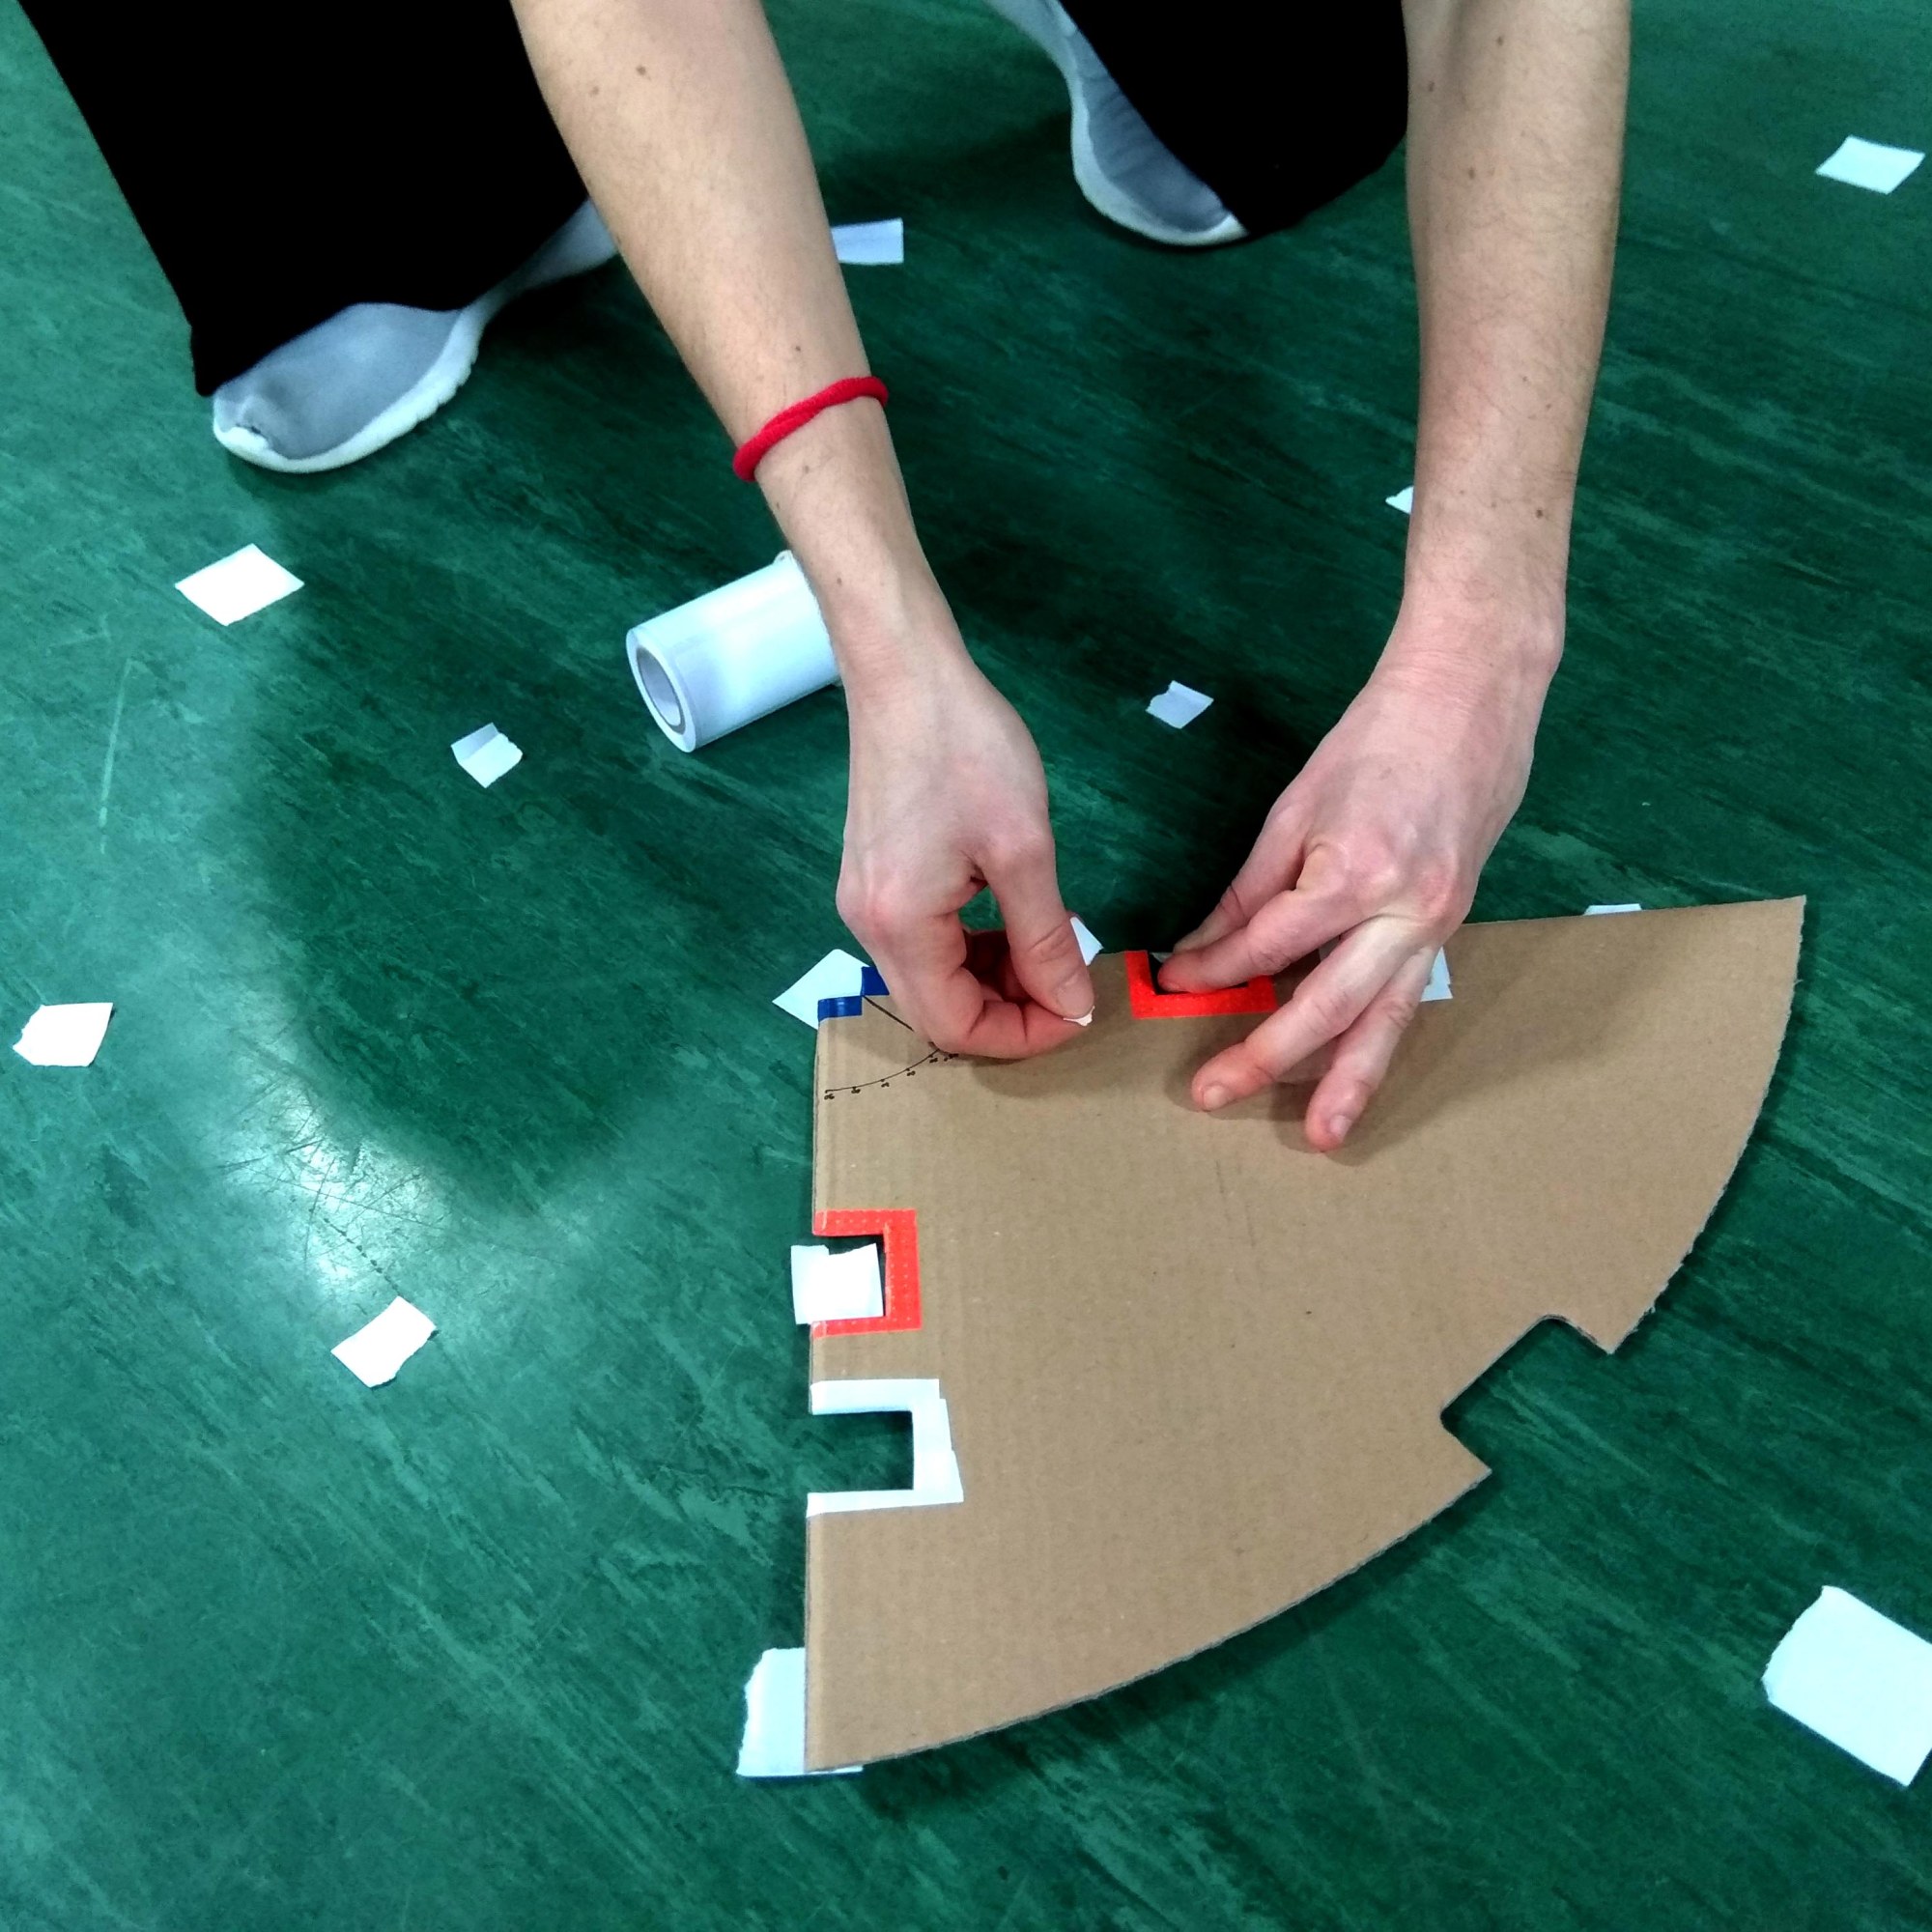
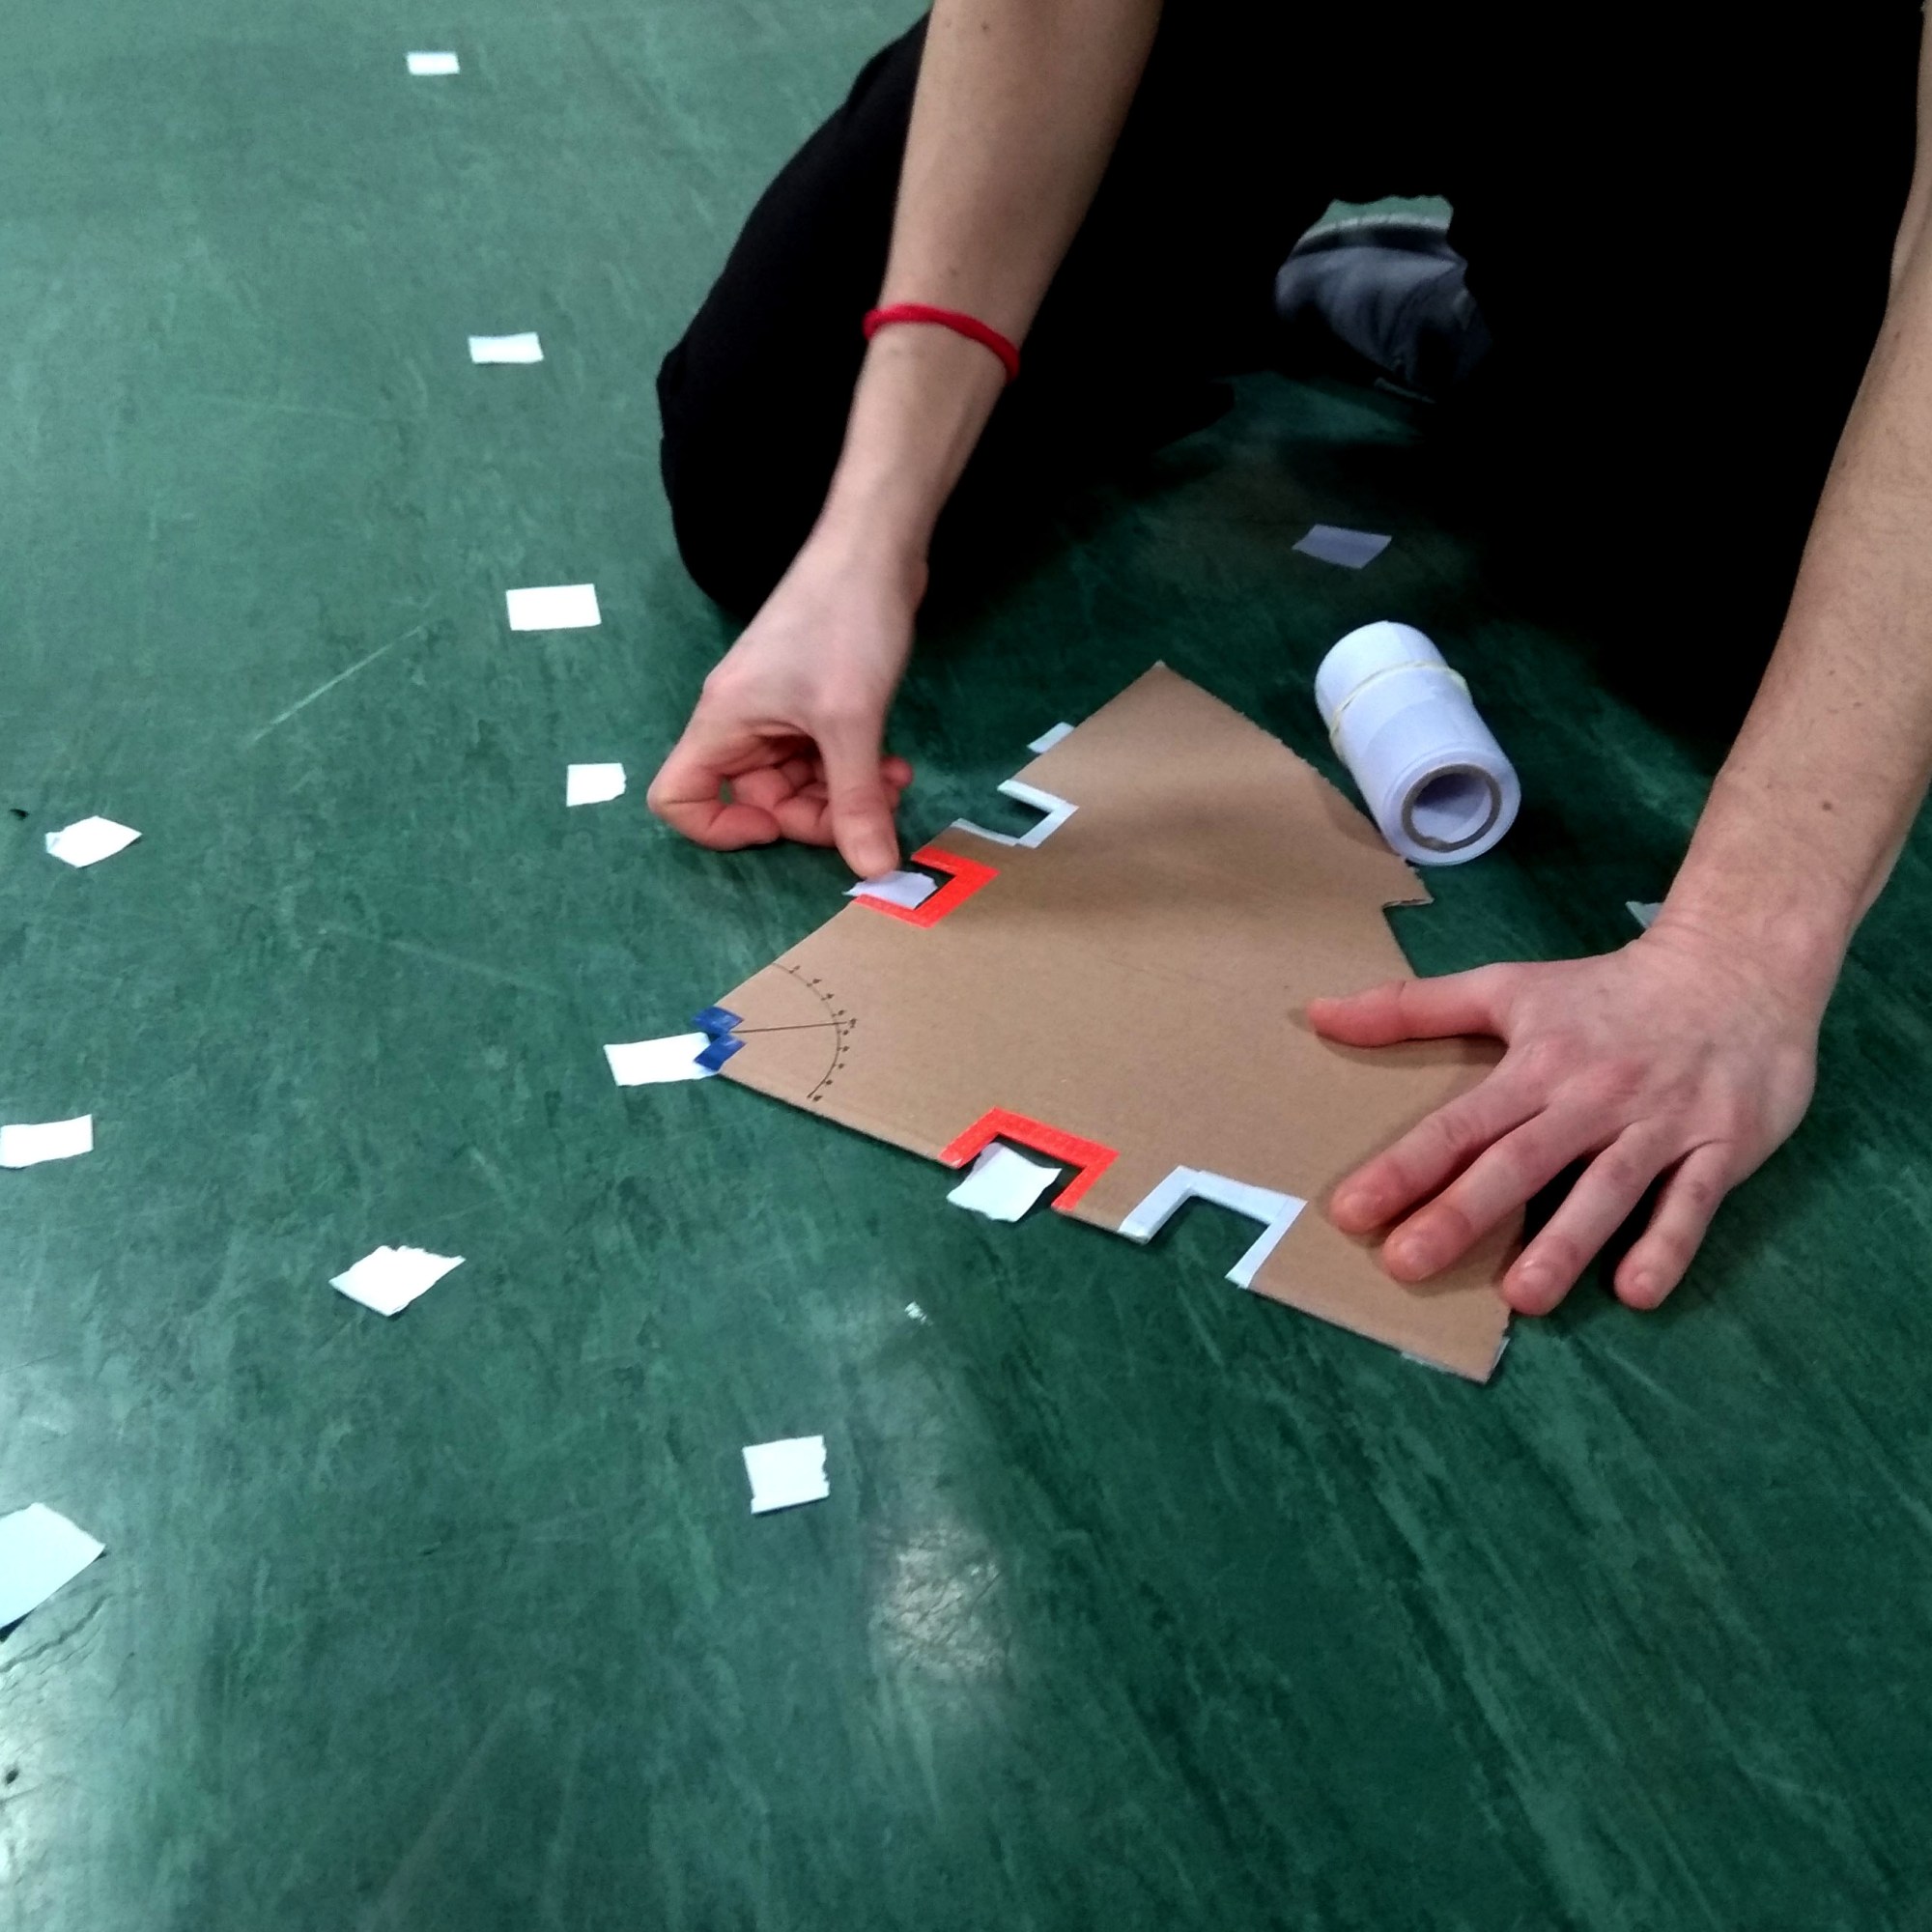
Next day, I continued the preparation of my paper frame, by cutting the two different sets of holes on the four stripes and assigning them with two different colors by masking their periphery with tape: yellow-(or white when yellow tape was out) for the first category, and red (or pink) for the second, so that during application I would know what goes where, as well as when to rotate the paper frame in space: on the perpendicular axes of my structure I would use the yellow/white holes and on the diagonal axes of the construction I would use the red/pink ones. With the masking tape I also achieved the reinforcement of the whole thing, and some playful color. I then rolled the stripes back to the rulers’ cross to fold the construction and secure it with rubbers.
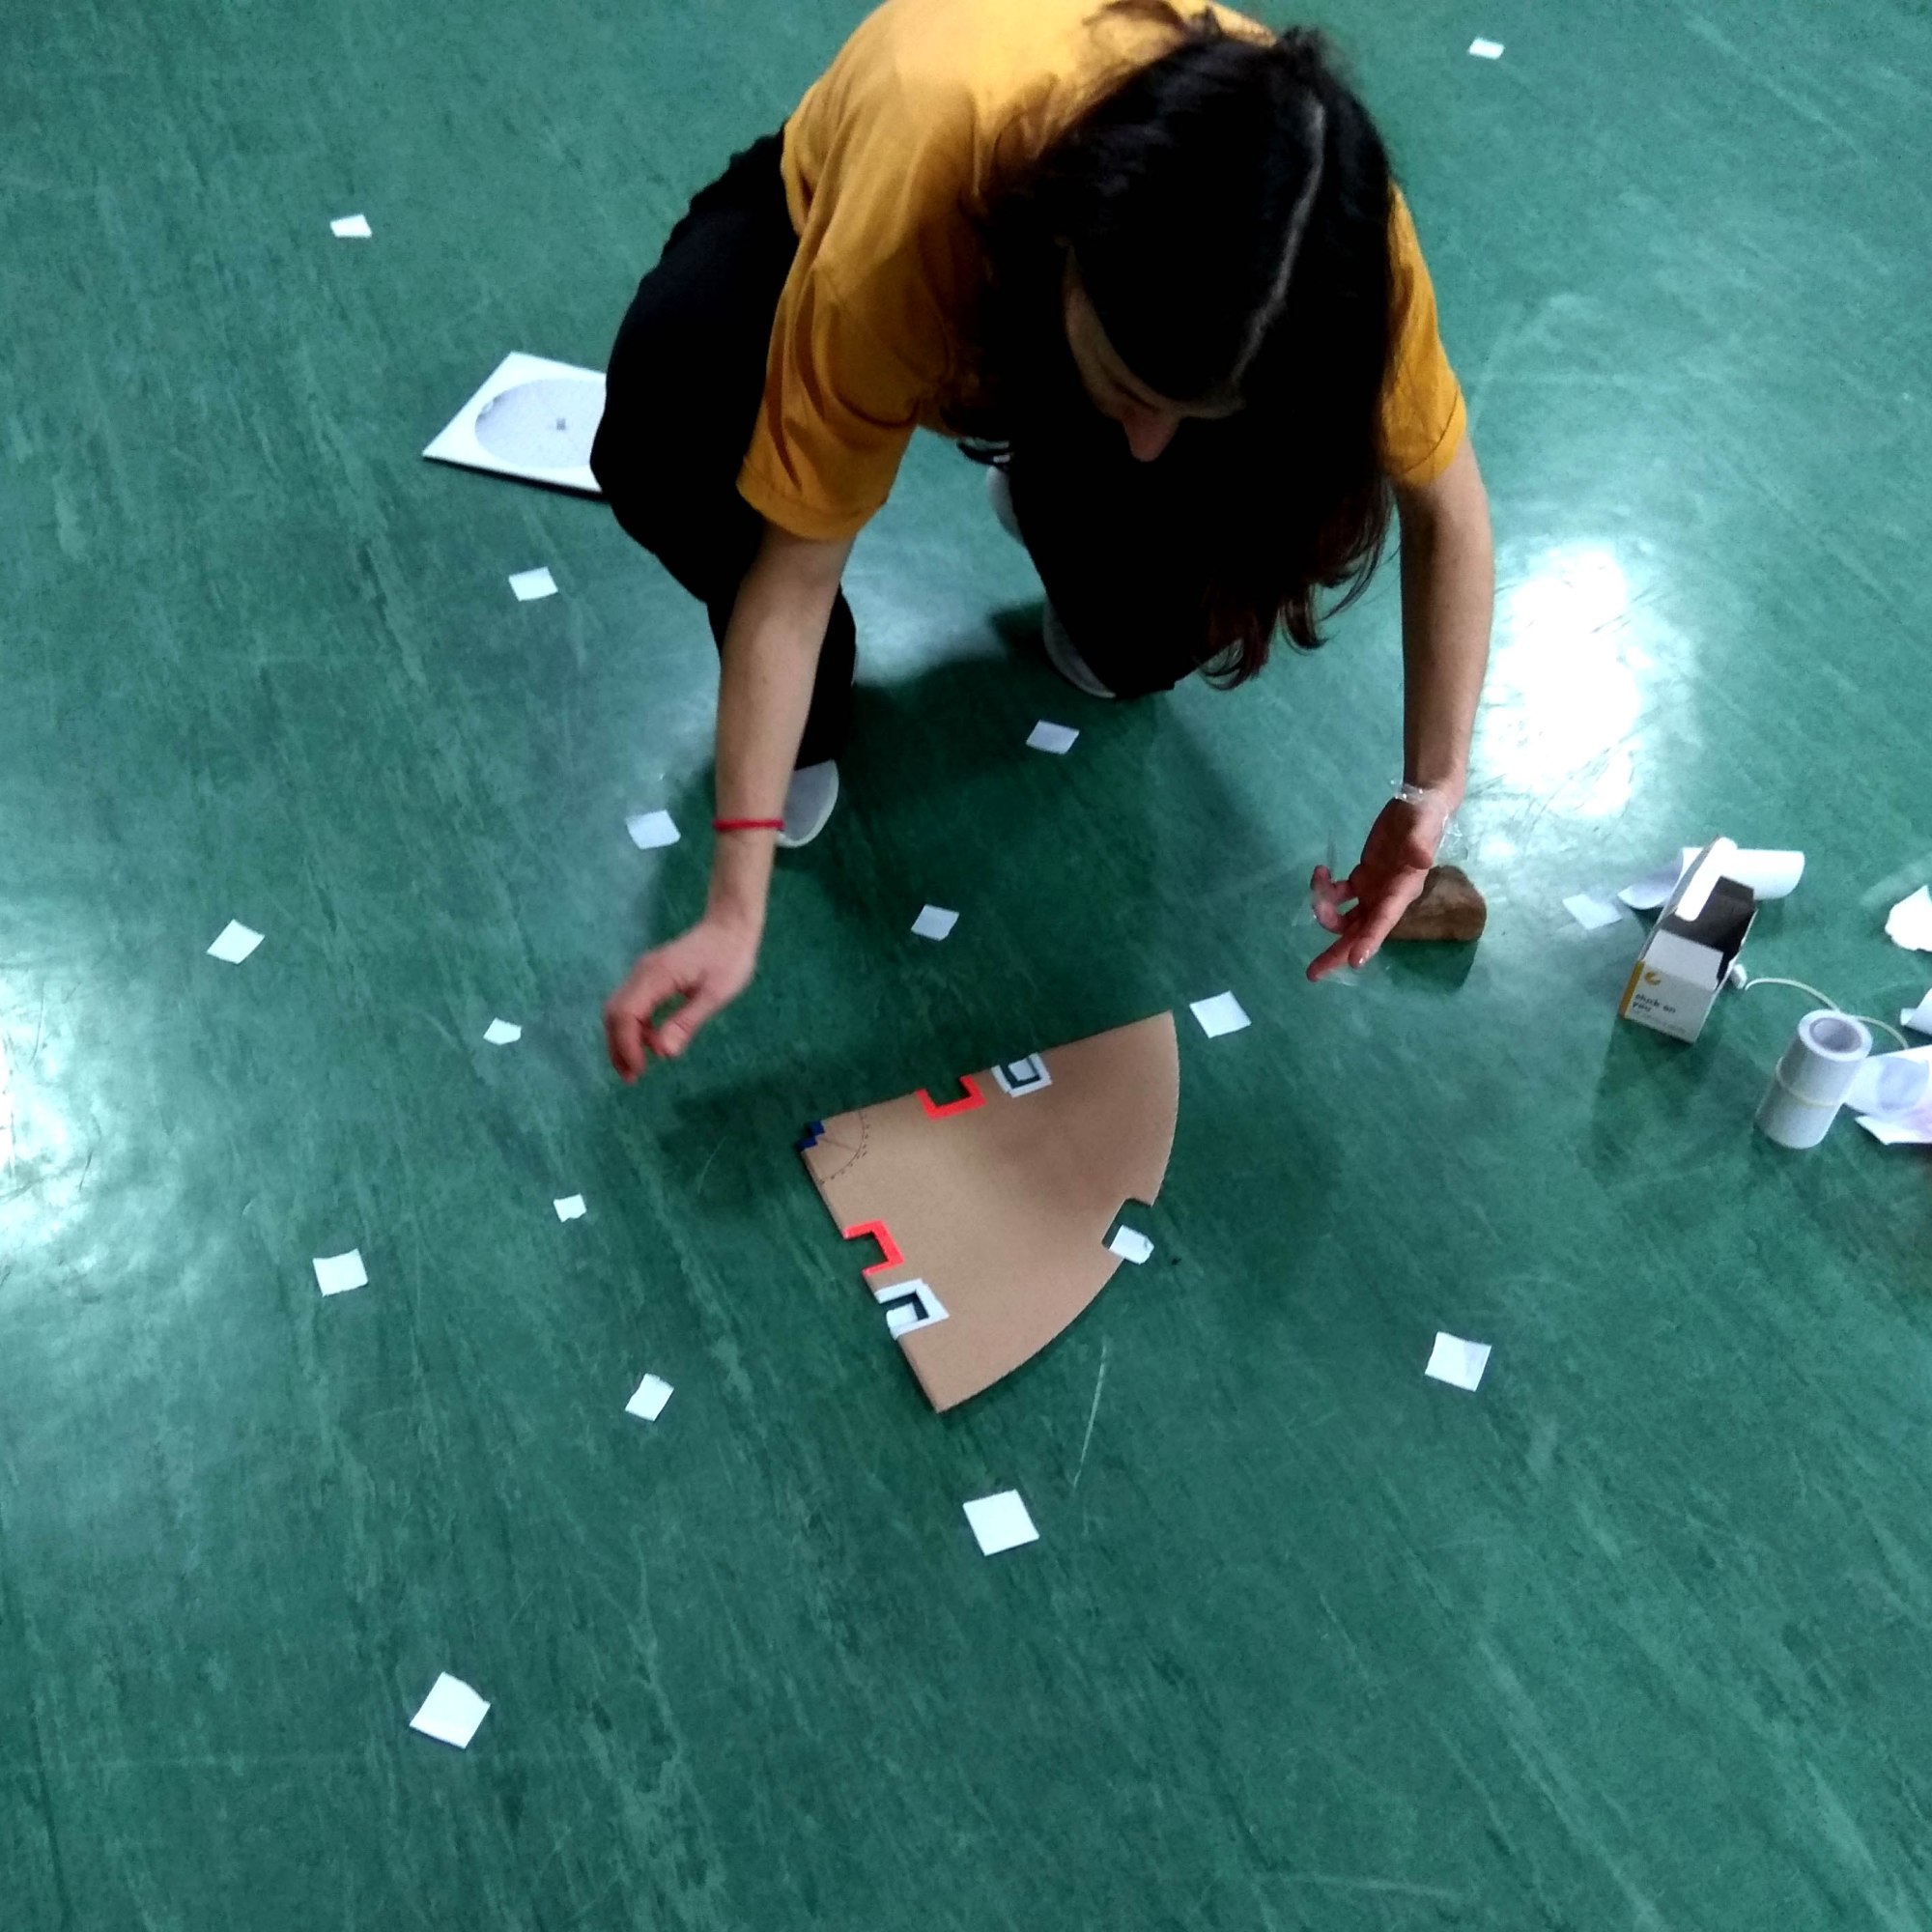
For the smaller squares (those hidden under the rulers’ cross, separately marked on a transparent plastic film), my partner made a separate construction out of carton, marking the relevant holes and the axes’ geometry, taking care that their neighboring holes, already on the frame, where marked there as well, in order to be able to apply the carton correctly, when finishing with the paper frame, folding it and taking it away.
This part of home preparation took me about 6 hours.
And that was all. I was now ready to apply it in a totally empty space and start rehearsing again!
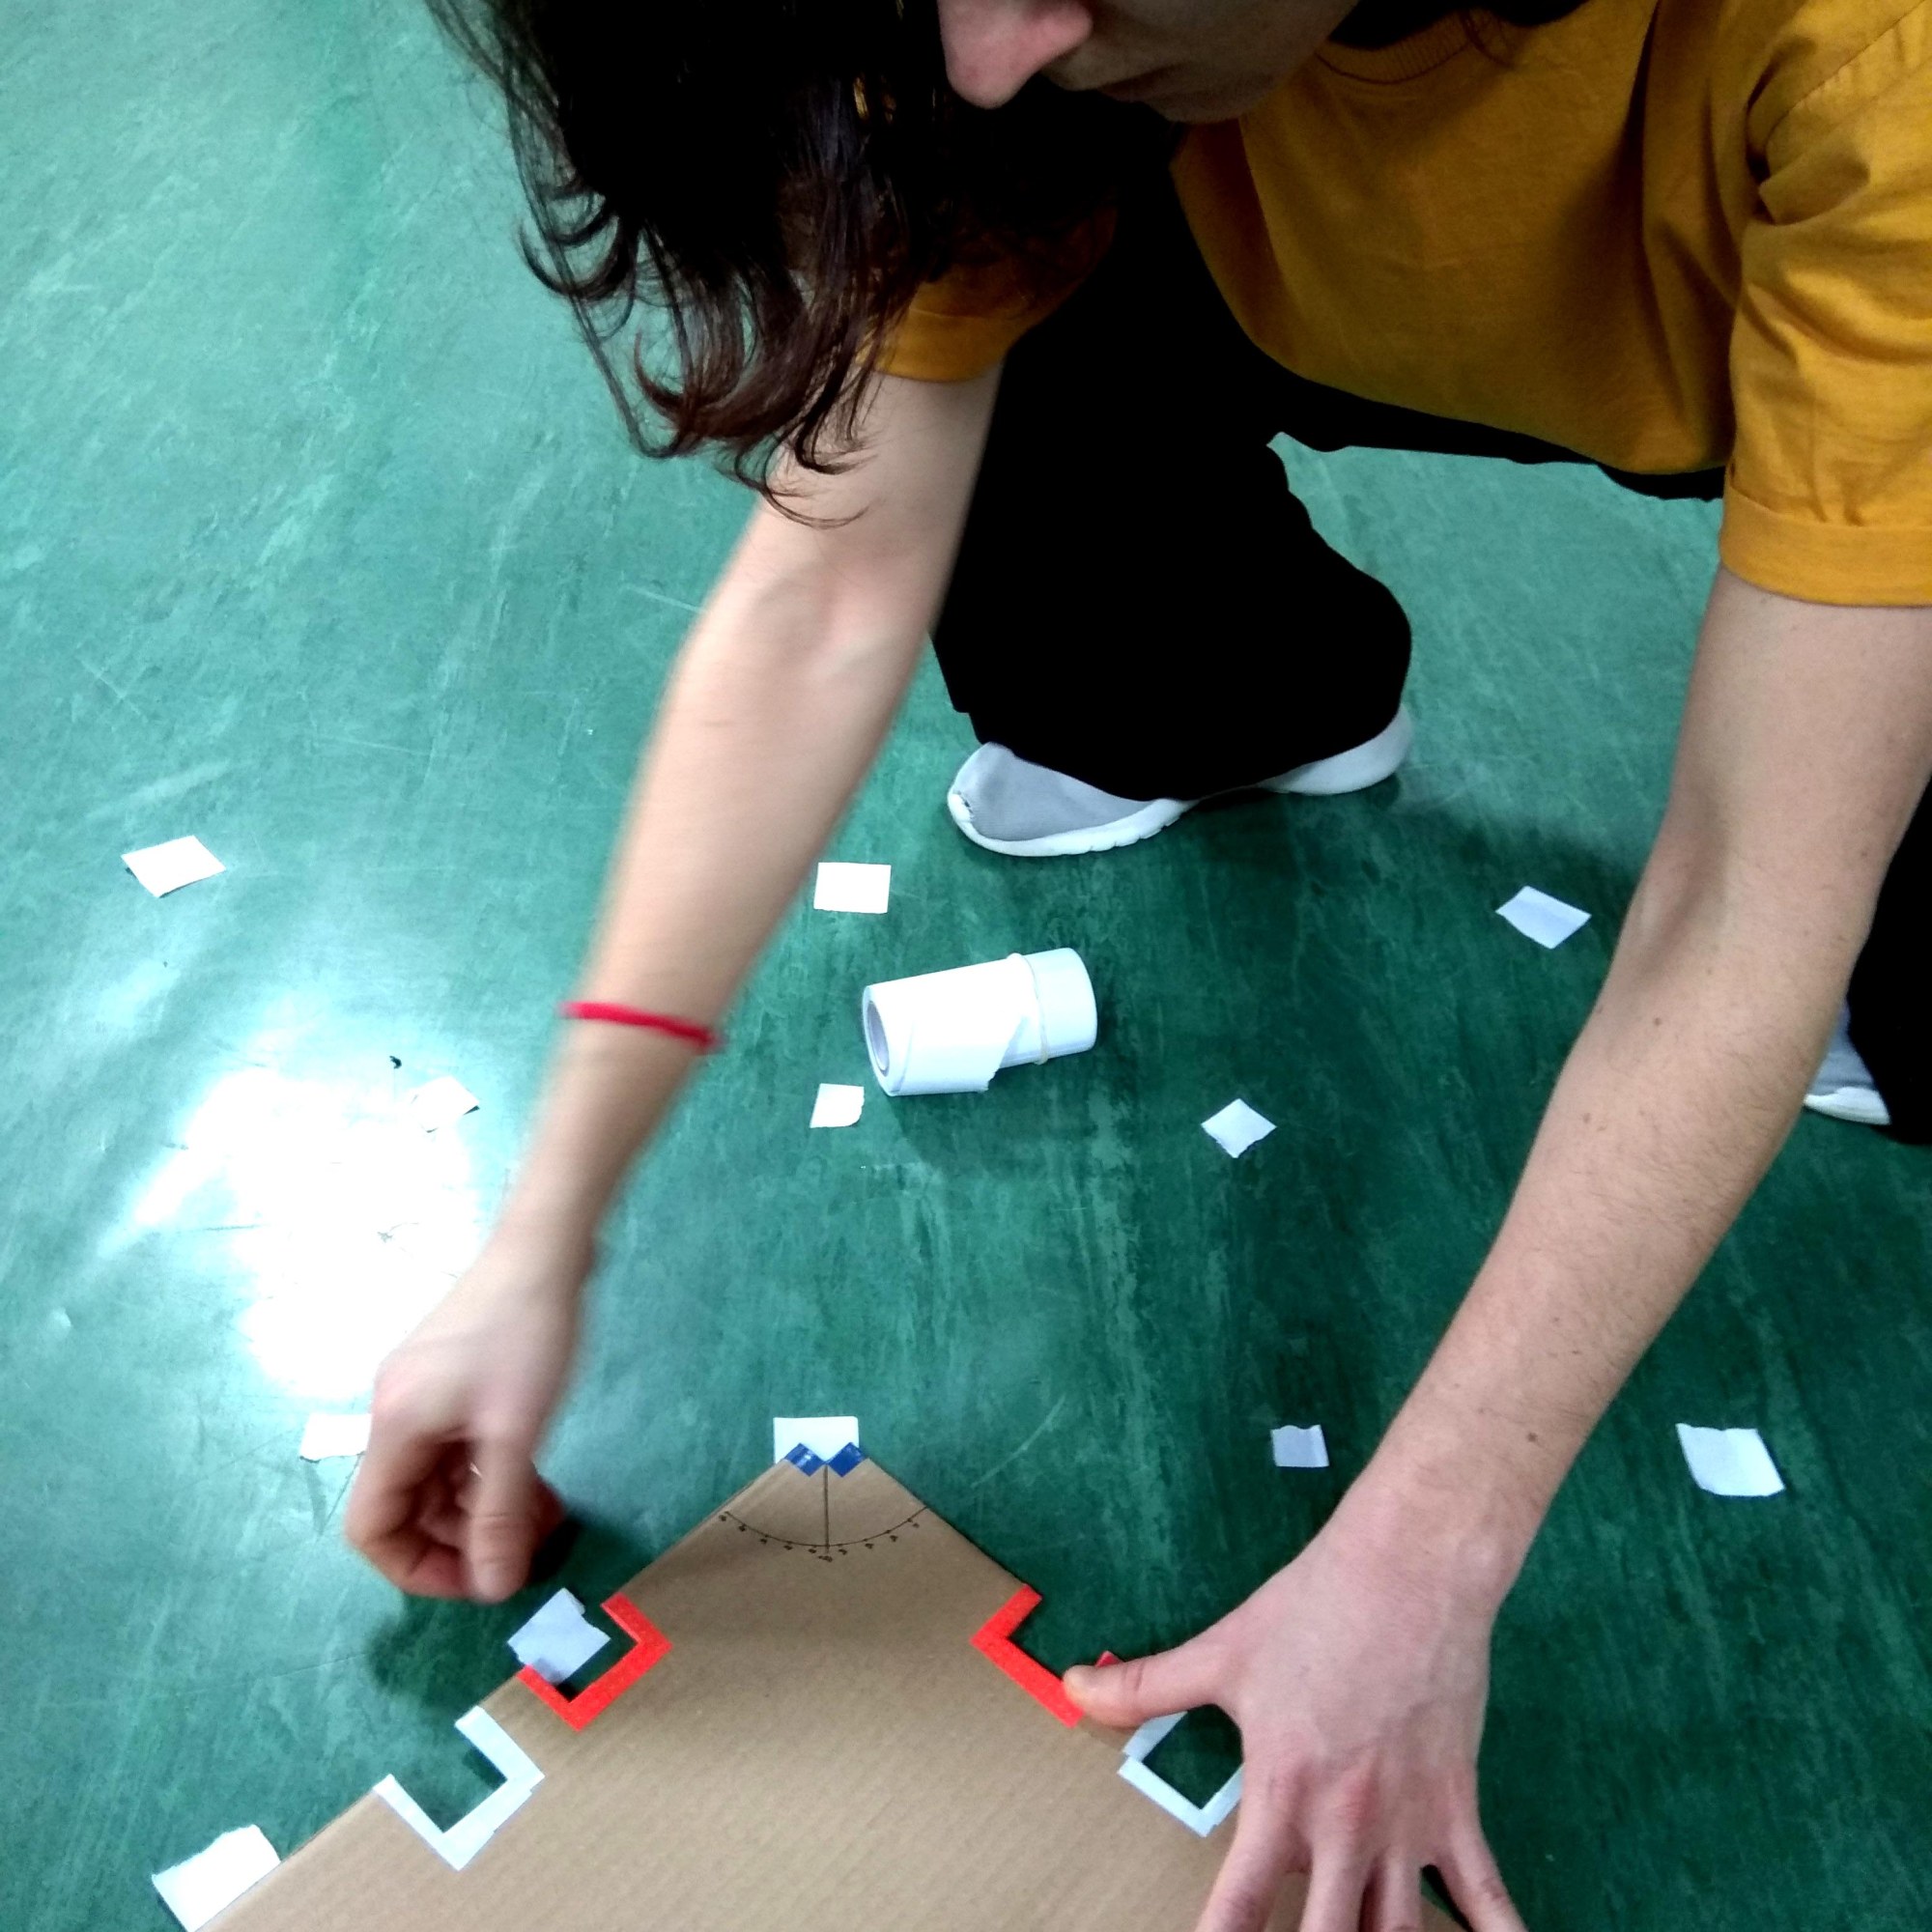
I started as planned, securing in position the rulers’ cross of the paper frame with some transparent tape. Then I continued marking on the perpendicular axes of my spatial structure from the yellow/white holes of the paper frame, using a rubber on the stickers roll to easily cut my marks exactly at the desired size.


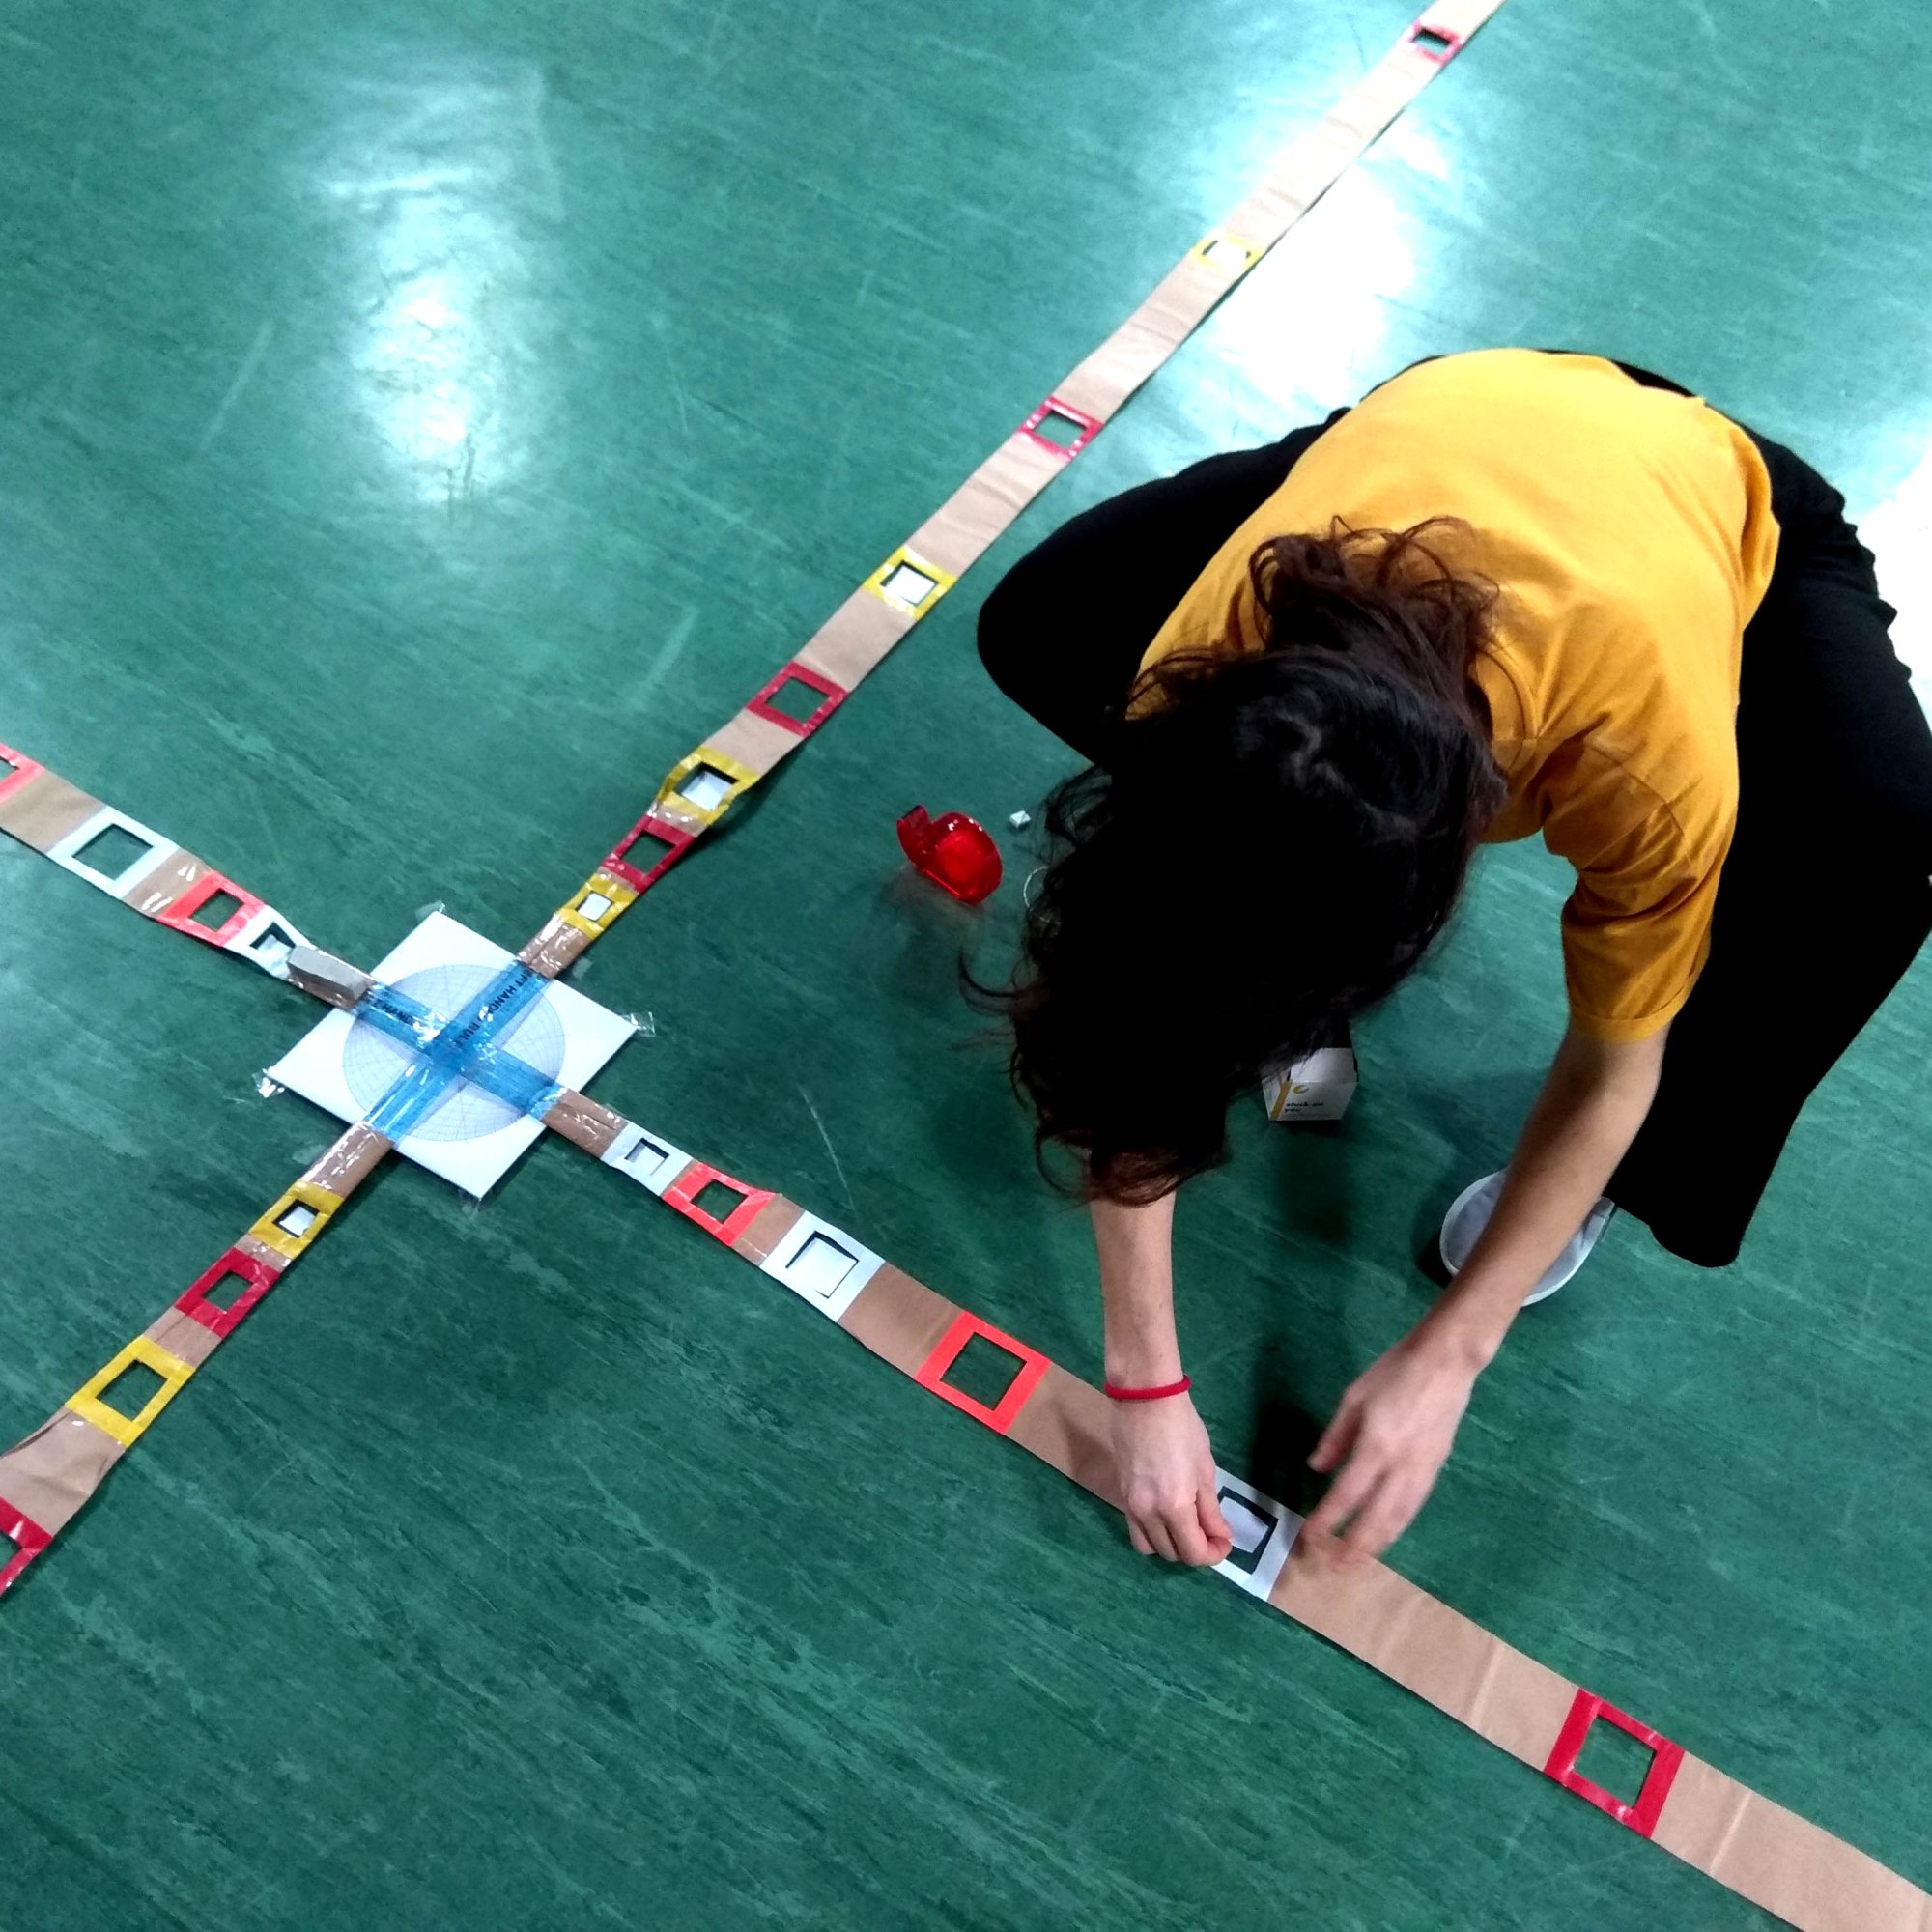


Then I released the transparent tape on the cross, rotated carefully the paper frame construction according to the Schmidt net and secured the cross again in its new position. continued marking on the diagonal axes of my spatial structure from the red/pink holes.


As soon as I had finished with all the red holes, I folded the paper frame and took it away, in order to bring my small carton and additionally mark the smaller squares.


And that was all. All marks were there.


preparation time: 17 Hours
setting time: 20 minutes
clear up time: 5 minutes

Reflecting on the results, I think all preparation gave me back to the fullest.
Success! 🙂
